
Brining a turkey is a simple trick to make it taste way better and stay juicy. You soak the turkey in salty water with herbs, spices, or even fruit, then let it sit for hours or overnight. As the turkey soaks, it soaks up flavor and moisture so when you cook it, it won’t be dry. This method is great for holiday dinners or anytime you want a really good bird.
You can do a wet brine or a dry brine. A wet brine means you dunk the turkey in a big pot of flavored water. A dry brine means you rub salt and spices all over the skin. Both ways work, but they’re a little diffrent. Below you’ll learn the basics, see pros and cons of each, and find easy recipes. Pick the brine you like best and wow your guests next time you cook a turkey.
1. Understanding Turkey Brining
Brining a turkey means soaking it in a salty solution so it tastes richer and stays moist. The solution often has water, salt, sugar, herbs, spices, or citrus. As the turkey sits, osmosis makes the meat take in some of that liquid. Then when you roast it, the turkey keeps more juice inside and ends up tender and flavorful.
1.1 What is Turkey Brining?
Turkey brining is just soaking the bird in a saltwater mix combined with other flavor stuff. You leave it in the fridge for several hours or overnight, depending on how big the turkey is. During that time, the saltwater goes into the meat and helps it hold onto moisture when you cook it.
1.2 Benefits of Brining Turkey
- Better flavor: The salt and spices get into the meat so it’s well seasoned all the way through.
- More juicy meat: The turkey holds onto extra moisture, so it dont dry out.
- Tender texture: You’ll get slices that are soft and melt in your mouth instead of tough or rubbery.
2. Types of Brine
There are two main ways to brine a turkey: wet brine and dry brine. Both can give great results, but they work in different ways. Knowing how they differ will help you choose the right one for your meal.
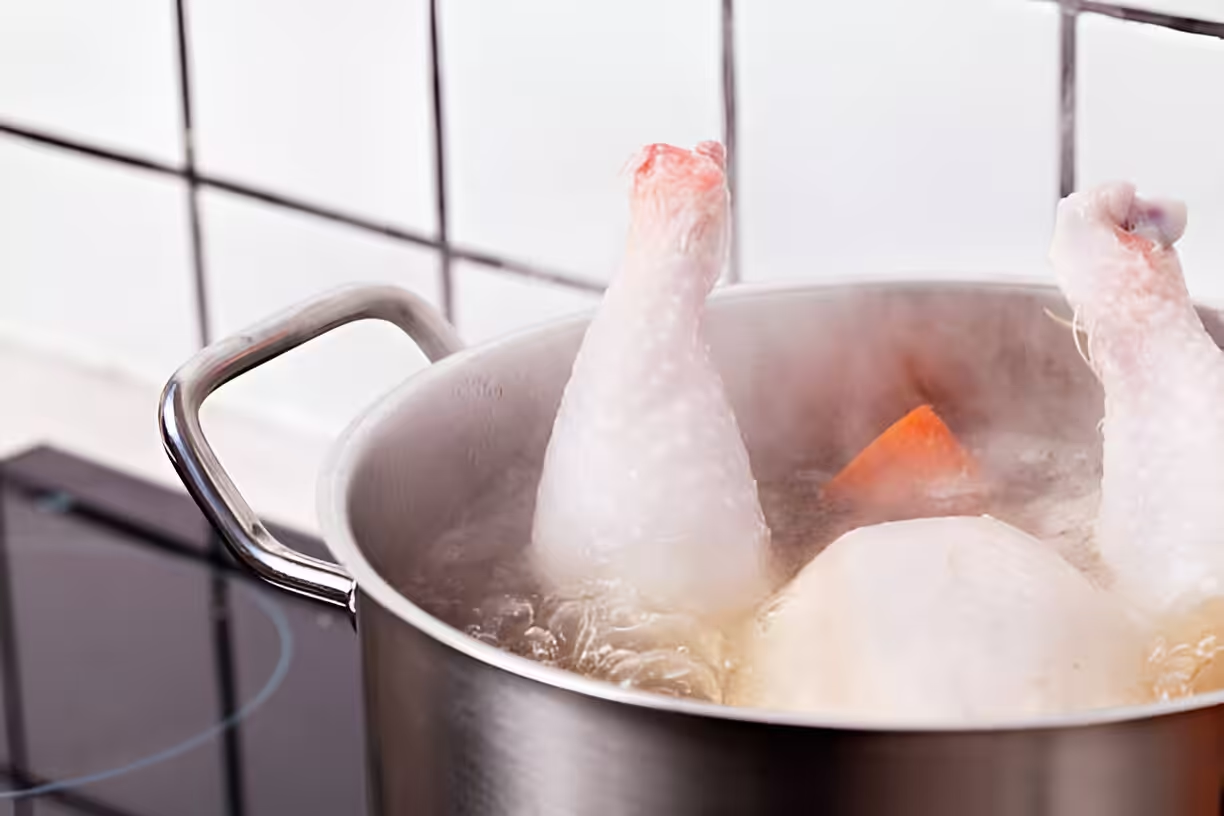
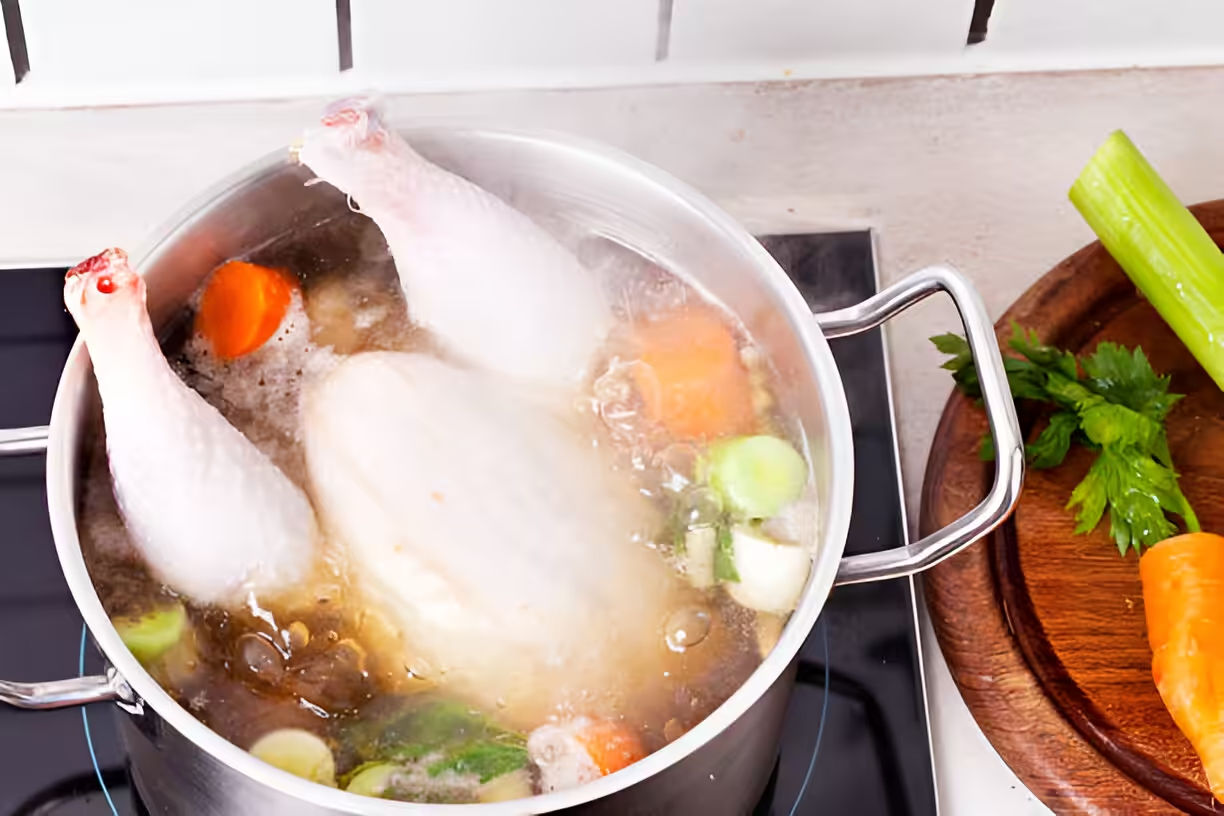
2.1 Wet Brine
In a wet brine, you put the turkey into a big container full of water, salt, sugar, and extra flavorings like herbs or citrus. The bird soaks in that liquid, which adds both moisture and taste. Wet brining is perfect if you want a juicy, tasty turkey, but you need a large container and room in the fridge.
2.2 Dry Brine
Dry brining means rubbing a mix of salt and spices straight onto the turkey’s skin and under it where you can. The salt pulls out some liquid from the meat, then that liquid gets reabsorbed along with the spices. It’s less messy than wet brine and you dont need a big pot, but it might not add as much moisture.
2.3 Comparison of Wet and Dry Brining
- Wet Brine:
- Pros: maximum moisture, lots of ways to add flavor
- Cons: needs a big container, can be messy, must stay cold
- Dry Brine:
- Pros: less gear needed, easier to handle, quicker prep
- Cons: less moisture boost, fewer flavor options
3. Easy Turkey Brine Recipes
3.1 Simple Herb-Infused Wet Brine
Try this if you want a classic herb taste:
- 1 cup kosher salt
- 1 cup brown sugar
- 1 gallon water
- 2 cups mixed fresh herbs (rosemary, thyme, sage)
- 4 garlic cloves, smashed
- 1 sliced lemon
Mix salt, sugar, and water in a pot. Heat and stir until they dissolve. Let it cool. Then stir in herbs, garlic, and lemon. Submerge turkey for 12–24 hours in the fridge.
Tip: Make sure the brine is completely cool before adding the turkey or you could overcook the outside.
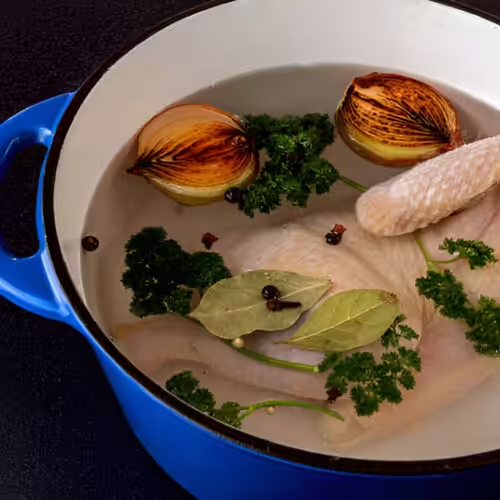
3.2 Citrus and Spice Wet Brine
This one adds a bright taste:
- 1 cup kosher salt
- 1 cup water
- 2 cups orange juice
- 1 tablespoon coriander seeds
- 1 tablespoon peppercorns
- 2 bay leaves
Heat salt and water till salt dissolves. Let cool, then stir in orange juice, seeds, peppercorns, and bay leaves. Brine turkey for 12–24 hours.
Tip: You can add lemon or lime peels if you like more citrus punch.
3.3 Traditional Dry Brine Recipe
For a quick dry brine:
- ½ cup kosher salt
- ½ cup brown sugar
- 1 tablespoon garlic powder
- 1 tablespoon black pepper
- 1 tablespoon dried thyme
- 2 teaspoon onion powder
Mix spices and salt. Rub all over turkey and under skin. Leave uncovered in fridge for at least 24 hours.
Tip: Save extra mix in an airtight jar to use later—it’s great on chicken or pork.
3.4 Maple-Apple Brine
A sweet blend that’s a bit different:
- 2 cups apple cider
- ½ cup maple syrup
- 1 cup kosher salt
- 1 gallon water
- 3 cinnamon sticks
Combine all in a pot, heat till salt dissolves, then cool. Soak turkey 12–24 hours. This combo goes well with roasted veggies.
3.5 Mustard and Herb Brine
For a tangy kick:
- 1 cup Dijon mustard
- 1 gallon water
- ½ cup kosher salt
- ½ cup chopped fresh rosemary
- ½ cup chopped fresh thyme
Whisk mustard, water, and salt. Stir in herbs. Submerge turkey for 12–24 hours. Add mustard seeds if you want extra crunch after cooking.
4. Common Mistakes to Avoid When Brining Turkey
4.1 Over-Brining
Leaving the turkey in brine too long makes it way too salty and mushy. Follow the recipe times and tweak for your bird’s size.
4.2 Not Rinsing Properly
If you don’t rinse off extra salt, the skin can get overpowering. Rinse under cold water, then pat dry with paper towels so you can get crispy skin.
4.3 Undersized Containers
Using a small bucket means uneven brine and a sloppy kitchen. Pick a pot or bag big enough so the turkey is fully submerged with room to spare.
5. Cooking and Roasting the Brined Turkey
5.1 Pre-Cooking Preparation
After brining, rinse and dry the turkey well. Let it sit at room temp for about 30 minutes so it cooks more evenly.
5.2 Cooking Methods
You can roast, smoke, or grill a brined turkey. Roasting at 325°F (163°C) is classic. Smoking gives a deep flavor. Grilling adds char. All work because the bird stays juicy.
5.3 Temperature and Timing
Cook unstuffed turkey about 13–15 minutes per pound, stuffed 15–17 minutes per pound. Use a meat thermometer—165°F (74°C) in the breast and thigh is safe.
6. FAQs About Turkey Brine Recipes
6.1 How long should I brine my turkey?
About 1 hour per pound, up to 24 hours max. Smaller turkeys only need 8–12 hours.
6.2 Can I use table salt instead of kosher salt?
Yes, but table salt is finer so it’s saltier by volume. Use half as much if you swap.
6.3 What is the best container for brining turkey?
Use a food-safe bucket, a large stock pot, or a brining bag. Make sure it fits in your fridge and leaves space for liquid to move around.
6.4 Can I brine a turkey the night before?
Definitely. Just keep it in the fridge so it stays cold and safe.
6.5 Are there any alternatives to brining?
If you’re short on time or room, try injecting marinade or using a rub for some extra flavor and moisture.
Conclusion
Brining lifts your turkey from okay to awesome by locking in flavor and moisture. Try different brine recipes to find your favorite. With these tips and tricks, you’ll serve a turkey that’s juicy, tasty, and sure to impress anyone at your table!
turkey brine recipes easy
Equipment
- 1 Large pot (at least 1-gallon capacity)
- 1 Whisk or spoon for stirring
- 1 set Measuring cups and spoons
- 1 Container for brining the turkey (cooler or large resealable plastic bags)
Ingredients
- 1 gallon water
- 1 cup kosher salt
- 1 cup brown sugar
- 1 tablespoon black peppercorns
- 1 tablespoon dried thyme
- 1 tablespoon dried rosemary
- 1 tablespoon crushed garlic
- 1 tablespoon allspice berries
- 1 lemon sliced Optional
- ice Optional: if needed to keep brine chilled
Instructions
- In a large pot, combine 1 gallon of water, 1 cup of kosher salt, and 1 cup of brown sugar.
- Add black peppercorns, dried thyme, dried rosemary, crushed garlic, and allspice berries to the pot.
- Heat the mixture over medium heat, stirring until the salt and sugar have fully dissolved.
- Remove the pot from heat and let the brine cool to room temperature. If using lemon, add the slices now.
- Once cool, pour the brine into your brining container (cooler or resealable bag).
- Submerge the turkey breast side down in the brine, ensuring it is fully covered. If needed, add ice to keep it chilled.
- Seal the container and refrigerate or store in a cool place for 12 to 24 hours.
- After brining, remove the turkey, rinse with cold water, and pat dry with paper towels before cooking.

Leave a Reply