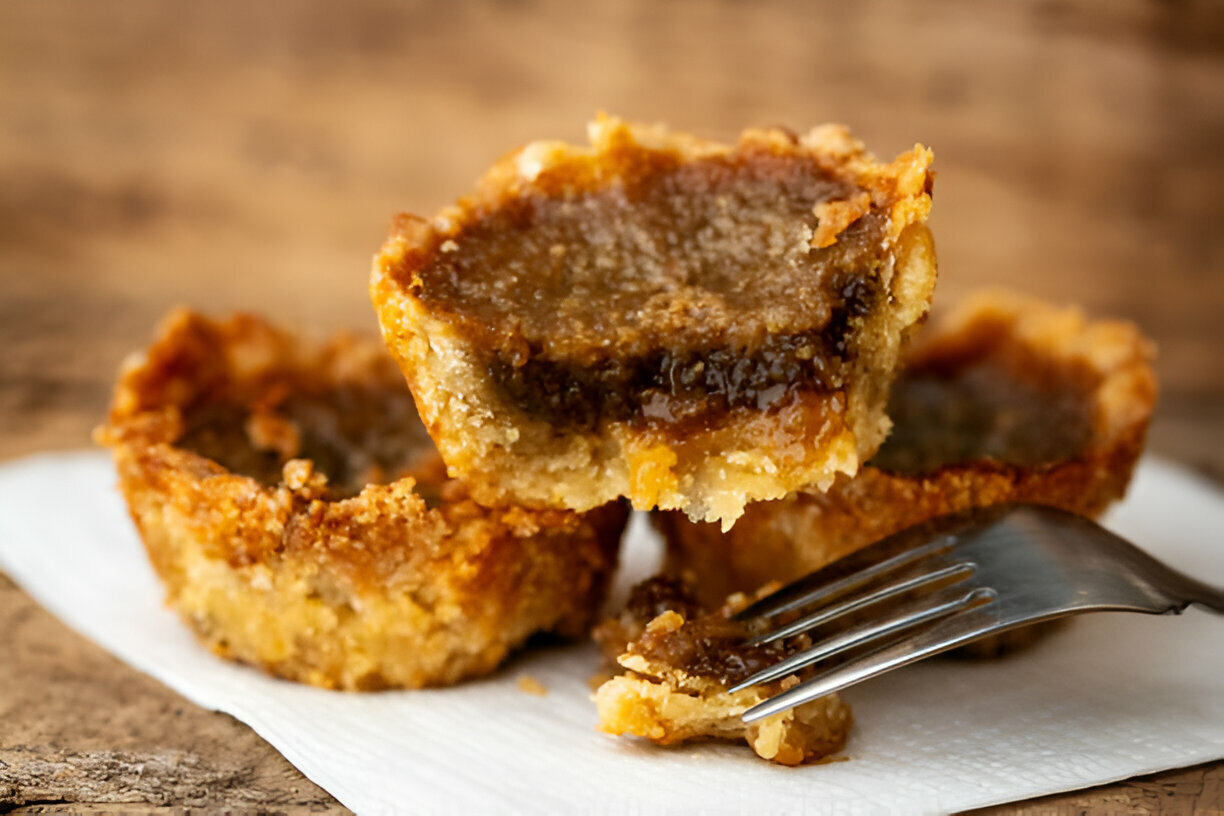
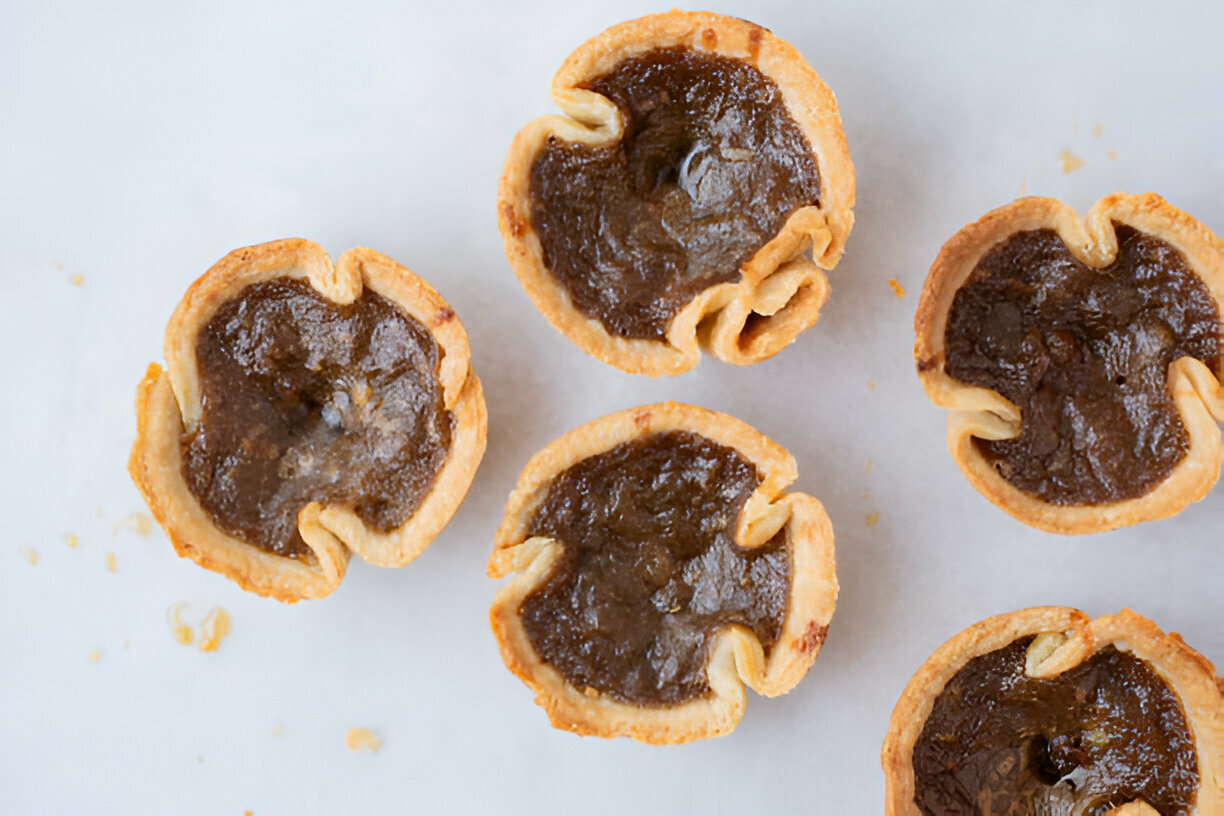
Butter tarts are one of Canada’s favourite desserts, reminding me of cozy kitchens and weekend fairs. They got a crunchy, flaky crust and a sweet, sticky centre that kinda oozes when you take a bite. Everyone from kids to grandparents can’t get enough of em, and theyre a must‐try if you ever visit up north.
You can trace butter tarts back to the 1800s, when English settlers brought over recipes and then tweaked them with local ingredients. Over time they grew into a staple dish that showed how creative folks were with sugar, butter and eggs. Today, they’re more than just a treat; they’re a symbol of shared stories and community gatherings across provinces.
In this post we’ll explore what makes butter tarts so special, from their history to the key ingredients. I’ll also share a simple step‐by‐step recipe and some fun variations you might wanna try. Whether you’ve baked before or your new in the kitchen, this guide will help you whip up a tasty batch.

What Are Butter Tarts?
Butter tarts are a classic Canadian dessert known for their gooey, sweet filling wrapped in a light pastry shell. The filling is made mostly of brown sugar, eggs and vanilla wich melts into a caramel‐like goo when baked.
The pastry is super basic: just flour, butter and cold water mixed then rolled thin. When you bake it the crust becomes flaky and kinda crisp. The mix of crunchy and soft make every bite feel special.
You can keep them plain or jazz them up by stirring in raisins, nuts or choco chips. No matter how you make em, butter tarts always taste like a little piece of Canada.
The History of Butter Tarts
The journey of butter tarts began in the early 19th century when settlers wrote down recipes in cookbooks. They borrowed ideas from English desserts but used what was on hand, like local butter and sugar. The first printed recipe showed up around 1900, though folks think they was made way before that.
Early cooks had to use simple pantry items, so brown sugar, butter and eggs were perfect. This mix made a rich, sweet filling that didnt need fancy tools. Families passed recipes down, often tweaking them a bit each time.
Today, butter tarts have become a big part of Canada’s food story. You’ll see em at fairs, birthdays and holiday dinners all across the country. They remind people of home and old times, and thats why they still hold a special place in many hearts.

Key Ingredients for the Best Classic Canadian Butter Tarts
To bake the best butter tarts you need good stuff. Here’s the main ingredients you’ll want:
- Pastry Ingredients:
- Flour: All‐purpose. Measure it proper so crust isnt hard.
- Butter: Use unsalted and keep it cold for flakiness.
- Water: Ice‐cold, add slowly so butter dont melt.
- Salt: A little pinch to balance the sweet.
- Filling Ingredients:
- Brown Sugar: Dark adds rich caramel taste, light is milder.
- Eggs: Help bind the goo and give it texture.
- Butter: Melted unsalted butter for extra richness.
- Vanilla: Pure extract is best for flavour.
- Salt: A small amount to cut sweetness.
If you can, buy organic or local ingredients. They might cost more but you can taste difference.
The Best Classic Canadian Butter Tarts Recipe
Ingredients
For 12 butter tarts, you will need the following ingredients:
- For the Pastry:
- 1 ½ cups all‐purpose flour
- ½ cup unsalted butter, cold and cubed
- ¼ cup ice water
- ½ teaspoon salt
- For the Filling:
- 1 cup brown sugar, packed
- 2 large eggs
- ½ cup unsalted butter, melted
- 1 teaspoon pure vanilla extract
- ¼ teaspoon salt
Directions
Follow these step‐by‐step instructions to create your butter tarts:
- Prepare the Pastry: In a large mixing bowl, combine the flour and salt. Cut in cold butter with a pastry cutter or your fingers until mixture looks like coarse crumbs. Slowly add ice water, one tablespoon at a time, mixing just till dough comes together. Shape into a disc, wrap in plastic, chill for 30 minutes.
- Preheat the Oven: Set oven to 375°F (190°C).
- Roll Out the Dough: On a floured surface, roll chilled dough to about ⅛‐inch thickness. Cut circles with a cookie cutter or glass.
- Fit into Muffin Tin: Gently press each circle into tin cups, pushing up sides to form shells.
- Make the Filling: In a bowl, whisk brown sugar, eggs, melted butter, vanilla and salt until smooth.
- Assemble the Tarts: Fill shells about three‐quarters full. Dont overfill or it will spill.
- Bake: Bake for 20–25 minutes until filling is set and tops are light golden.
- Cool: Let tarts cool in tin for 10 minutes before removing. Transfer to rack to cool completely.
- Serve: Enjoy warm or at room temperature. Try with ice cream or whipped cream.
Tips and Advice
- Keep butter cold when mixing for a flakier crust.
- Feel free to add nuts, choc chips or raisins to the filling.
- Store leftovers in an airtight container for up to 3 days or freeze.
Variations on Classic Butter Tarts
While the classic butter tart is a favourite, you can change them up:
- Raisin Butter Tarts: Add raisins for a chewy texture.
- Chocolate Butter Tarts: Stir in some chocolate chips for a rich twist.
- Nutty Butter Tarts: Mix in chopped pecans or walnuts for crunch.
Experiment with different fillings to find your own favourite version.
Serving Suggestions and Pairings
Here are some ways to serve butter tarts:
- Serve warm with a scoop of vanilla ice cream for a hot‐cold combo.
- Pair with coffee or tea to balance the sweetness.
- Garnish with whipped cream, berries or a drizzle of caramel.
FAQ Section
Here are answers to some common questions regarding butter tarts:
- What is the difference between butter tarts and pecan pies? Butter tarts use a custard‐style filling and may or may not have nuts. Pecan pies have a thicker, gel‐like filling loaded with pecans.
- Can you freeze butter tarts? Yes, they freeze well! Place cooled tarts in an airtight container, freeze up to 3 months.
- How do you store butter tarts? Store in an airtight container at room temperature for up to 3 days. Freeze for longer storage.
- What's the best way to reheat butter tarts? Preheat oven to 350°F (175°C) and heat tarts for about 10 minutes.
- How do you know when butter tarts are done baking? The filling should be set but still slightly jiggly in the centre and the tops should be golden.
Conclusion
Butter tarts mean more than just dessert in Canada; they connect us to family and tradition. Try the classic recipe or test out different fillings to make it your own. Share them with friends and family and you’ll taste a bit of Canadian heritage. Happy baking!

Best Classic Canadian Butter Tarts
Equipment
- 1 mixing bowl
- 1 rolling pin
- 1 muffin tin
- 1 pastry cutter or fork
- 1 small saucepan
- 1 spoon or spatula
- 1 measuring cups and spoons
Ingredients
- 1.5 cups all-purpose flour
- 0.5 cup unsalted butter Cold, cubed.
- ¼ teaspoon salt
- 3 tablespoons ice water
- 1 cup brown sugar
- 0.5 cup corn syrup
- ¼ cup unsalted butter Melted.
- 2 large eggs
- 1 teaspoon vanilla extract
- ¼ teaspoon salt
- 0.5 cup raisins or walnuts Optional.
Instructions
- In a mixing bowl, combine the flour and salt. Add the cold, cubed butter and blend using a pastry cutter or fork until the mixture resembles coarse crumbs.
- Gradually mix in the ice water until the dough comes together. Shape the dough into a disk, wrap in plastic, and refrigerate for about 30 minutes.
- Preheat the oven to 375°F (190°C).
- Roll out the chilled dough on a floured surface to about ¼ inch thick. Cut out circles slightly larger than the muffin tin cups.
- Gently press each dough circle into the muffin tins, ensuring it covers the base and sides.
- In a small saucepan, combine the brown sugar, corn syrup, melted butter, eggs, vanilla extract, and salt. Whisk until smooth and well combined.
- If using, sprinkle raisins or chopped walnuts into each pastry shell.
- Pour the filling mixture into each pastry shell, filling them about ⅔ full to allow for expansion during baking.
- Bake in the preheated oven for 20-25 minutes or until the filling is bubbling and the pastry is lightly golden brown.
- Remove from oven and allow to cool in the muffin tin for about 5 minutes before transferring to a wire rack to cool completely.


Leave a Reply