
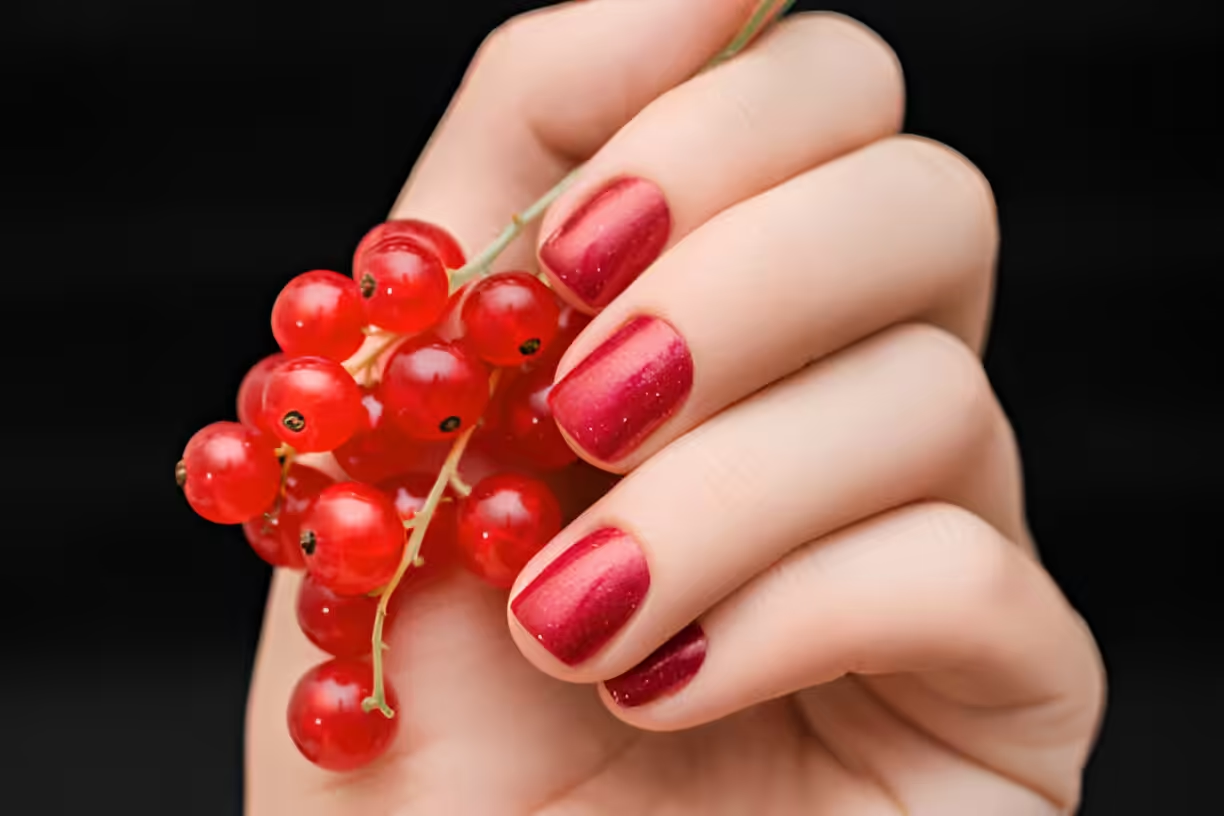
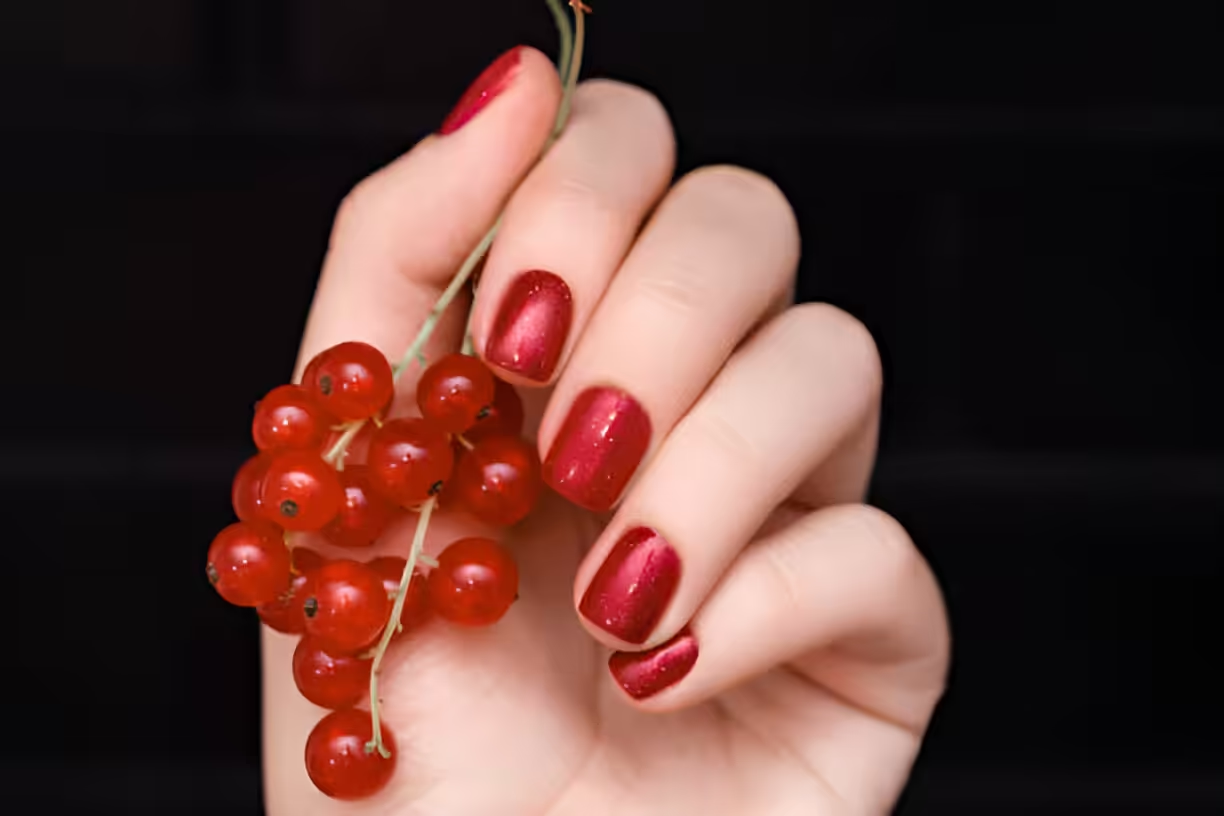
Cranberry nails are all about that deep red color that reminds you of the little berries you see in fall dishes. They look fancy but you can do them simple or go wild with patterns, glitter, or gems. Lots of people love them because they fit almost any mood or occasion, from a school dance to a quick mani you do at home.
Nail art used to be just a basic coat of polish, but now its a way to really show who you are. Trends keep changing, and cranberry nails came up as a big favorite since they bring both color and a cozy vibe when its cool outside. You can go glossy or matte, add some lines or flowers, even mix and match shades of red for an ombré effect.
In this guide we’ll talk about what cranberry nails really are, why they got so popular, and how you can get that look yourself. We’ll also share some care tips, fun design ideas, and even a little about how cranberries help your health. Let’s jump in and make those nails pop!
What Are Cranberry Nails?
Cranberry nails mean painting your nails a rich, dark red like real cranberries. You can find lots of nail polishes made to nail that perfect berry tone. What makes them cool is that they look good on anyone and you can dress them up or down.
The name comes from the cranberry fruit known for its bright red color and healthy stuff inside. That berry connection gives you ideas for all kinds of looks. You could do just plain red polish, or you might try a matte finish or add glitter bits that look like sugar crystals.
Before, most people stuck to simple colors for their mani-pedis but now lots of us want something bolder. Nail art is like a canvas for your fingers and cranberry nails show you’re up for trying new designs and gutsy colors.
The Popularity of Cranberry Nails
Social media really pushed cranberry nails into the spotlight. On platforms like Instagram and TikTok people share their latest manicures and tips nonstop. Watching others rock that deep red makes you wanna try it too, even if you never thought red was your thing.
Then there’s celebs and influencers showing off their manicures, and boom, fans copycat the look. A single photo of a famous person with cranberry nails can start a wave of salon appointments or DIY mani sessions at home.
They’re extra popular in fall and winter, since the deep red matches the holiday spirit and cozy vibes. When you’re at a family gathering or a holiday party, cranberry nails just feel right and festive.
How to Achieve Cranberry Nails?
3.1 Tools and Materials Needed
Before you start, make sure you got everything:
- Nail polish: Pick a good cranberry red, brands like Essie, OPI, or Sally Hansen work great.
- Base coat: This protects your nails and helps the color stick better.
- Topcoat: To add shine and keep your mani from chipping.
- Nail file and buffer: For shaping your nails nice and smooth.
- Cotton pads: To clean up mistakes and wipe off polish.
- Optional: Nail art brushes or dotting tools if you want fancy designs.
3.2 Step-by-Step Guide
Just follow these steps for salon-style cranberry nails at home:
- Prep your nails: File and buff to shape, push back cuticles to start with a clean slate.
- Apply base coat: A thin layer protects your nails and makes polish go on smooth.
- Paint cranberry polish: Put on a thin first coat, let it dry, then add a second or third coat till it looks rich.
- Add designs: If you want patterns, use brushes or dotting tools once polish is dry.
- Finish with topcoat: Seal everything in for shine and extra strength.
- Keep them fresh: Wear gloves when cleaning and reapply topcoat every few days to prevent chips.
Creative Variations of Cranberry Nails
4.1 Glossy vs. Matte Finish
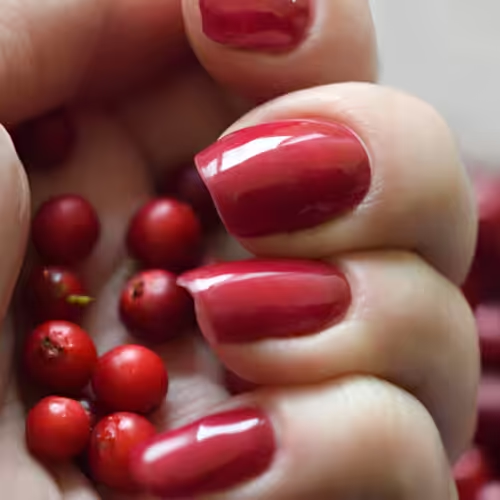
- Glossy: Classic look, super shiny, really shows off that red color.
- Matte: Gives your nails a cool, soft look. Use a matte topcoat over the cranberry polish.
- Mixed: Try glossy on some nails and matte on others, or do half-and-half on each nail for a trendy vibe.
4.2 Designs and Patterns
- Geometric: Use tape to make lines and shapes filled with other colors.
- Floral: Paint small flowers in white or gold for a pretty contrast.
- Seasonal: Add snowflakes, pumpkins, or leaves to match the holiday or season.
- Accent nails: Pick one nail for a different design or color to make your mani stand out.
Nail Care Tips for Maintaining Cranberry Nails
- Moisturize: Use cuticle oil or hand cream to keep skin and nails hydrated.
- Avoid chemicals: Harsh cleaners can dull your polish, so wear gloves when cleaning.
- Reapply topcoat: A quick swipe every few days keeps shine and stops chips.
- Get regular manicures: Even doing your nails at home every week helps them look fresh.
Nutritional Benefits of Cranberries
- Antioxidants: Cranberries fight cell damage in your body.
- Vitamin C: Good for your immune system and skin health.
- Nail support: Nutrients in cranberries can help your nails grow stronger.
- Yummy snack: Eat them fresh or in juice to get these benefits daily.
FAQs About Cranberry Nails
- What are cranberry nails? A deep red nail color inspired by the cranberry fruit.
- How long do they last? With care, up to two weeks before you need a touch-up.
- Can I do them at home? Totally! Just grab the right tools and follow a guide.
- What if they chip? Put a bit of polish on the chip, seal with topcoat, or redo the whole nail.
- Any fun variations? Try different finishes, patterns, or accent nails for a new look.
Conclusion
Cranberry nails are a fun way to show off your style with a bold but cozy color. With tons of ways to mix finishes, patterns, and care tips, you’ll be rocking that berry-red mani all season long.
Bonus: Cranberry Nail Art Recipe
9.1 Ingredients
- Cranberry nail polish
- Base and top coat
- Optional glitter
- Dotting tools or nail art brushes (optional)
9.2 Directions
- Start with a base coat and let it dry.
- Apply cranberry polish as your main color.
- Add dots of glitter or try marbled effects by blending colors with a brush.
- Seal everything with a top coat for a shiny finish.
9.3 Expert Advice
For inspo, look on Instagram or Pinterest. Always keep nail health first and give them a break between designs so they don’t get weak.
cranberry nails
Equipment
- 1 mixing bowl
- 1 whisk
- 1 baking dish (9x9 inch)
- 1 cutting board
- 1 parchment paper
- 1 oven
Ingredients
- 1 cup fresh cranberries
- 1 cup granulated sugar
- ½ cup unsalted butter softened
- 2 large eggs
- 1 teaspoon vanilla extract
- 1 cup all-purpose flour
- ½ teaspoon baking powder
- ¼ teaspoon salt
- ½ cup chopped walnuts optional
Instructions
- Preheat the oven to 350°F (175°C). Grease and line a 9x9 inch baking dish with parchment paper.
- In a mixing bowl, combine the softened butter and granulated sugar. Whisk until light and fluffy.
- Add the eggs one at a time, followed by the vanilla extract. Mix well until incorporated.
- In another bowl, whisk together the flour, baking powder, and salt. Gradually add this dry mixture to the wet ingredients, stirring until just combined.
- Gently fold in the fresh cranberries and chopped walnuts (if using) into the batter.
- Pour the batter into the prepared baking dish and spread evenly.
- Bake in the preheated oven for 25 minutes or until golden brown and a toothpick inserted comes out clean.
- Allow to cool completely before cutting into squares for serving.


Leave a Reply