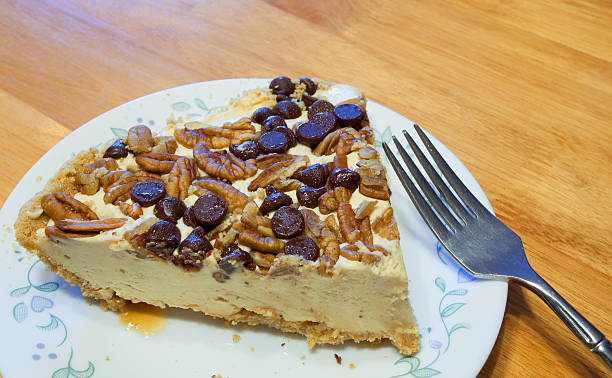
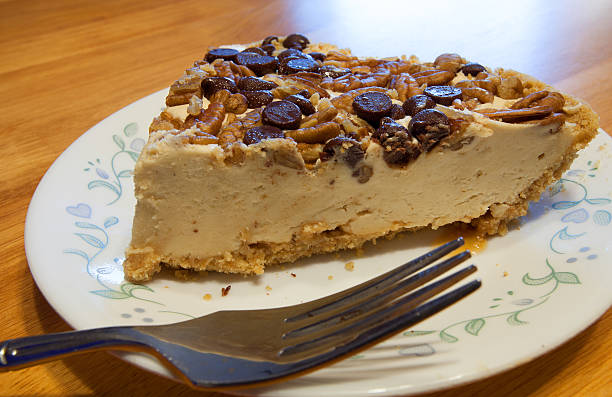
Rice Krispie Treat Cheesecake is a fun mashup of two classic desserts that you never knew you needed. It’s got that crispy chewy Rice Krispie treat base, gooey marshmallows mixed with buttery goodness, and then a smooth creamy cheesecake layer on top. It feels kinda like a childhood snack meets a fancy party dessert but still easy enough for a casual get-together. You can change it up any way you like, and it always turns out tasty, even if you mess up a bit.
This treat got super popular cause its textures and flavors just work so good together. You can add chocolate chips, peanut butter, or even fruit bits if you want something different. It’s perfect for birthdays, potlucks, or just a snack night with family.
In this article we’ll look at where Rice Krispie treats started, the basics of cheesecake, and how they became best friends. We’ll also share a simple recipe, some tips to help you not mess it up, cool variations and answers to the questions you’re probly asking.

Chapter 1: Understanding Rice Krispie Treats
1.1 What Are Rice Krispie Treats?
Rice Krispie treats are no-bake bars that Kellogg’s came up with in the 1930s. You only need Rice Krispies cereal, melted marshmallows and butter then press it in a pan. The end result is a chewy crunchy square thats kinda sticky but in a good way. They’ve been a hit at school parties and fairs for decades.
1.2 Ingredients in Rice Krispie Treats
The main stuff you need is:
- Rice Krispies cereal: gives that signature crisp texture
- Marshmallows: add sweetness and gooeyness
- Butter: binds it together and adds richness
These three simple things make a treat that kids and adults both love.
1.3 Popular Variations
People love to remix the basic recipe. A few ideas are:
- Chocolate Krispies: stir in cocoa powder or chocolate chips
- Peanut Butter Krispies: add a swirl of pb for a nutty twist
- Fruit-flavored Krispies: use berry cereal or toss in dried fruit
Chapter 2: Introduction to Cheesecake
2.1 What Is Cheesecake?
Cheesecake is a creamy dessert made from cream cheese, sugar and eggs baked over a crust of crushed cookies or crackers. It actually goes way back to ancient Greece where they served it to athletes at the first Olympics. Over time people all around the world added their own tweaks, so now you can find all kinds of flavors and styles.
2.2 Types of Cheesecake
Here are some common kinds:
- New York-style cheesecake: thick, dense and super creamy, often uses sour cream or heavy cream
- No-bake cheesecake: skips the oven, sets in the fridge with gelatin or just cold
- Flavored cheesecakes: like chocolate, pumpkin, fruit or even matcha
2.3 The Appeal of Cheesecake
People love cheesecake because its so creamy and rich but you can dress it up any way you want. It’s fancy enough for birthdays or holidays but also works as a cosy treat on a tuesday night.

Chapter 3: Combining Rice Krispie Treats and Cheesecake
3.1 The Inspiration Behind the Dish
Somebody thought hey what if we mash these two together and it was genius, the crunchy base with a silky top. The playful vibes of a Rice Krispie treat mix perfectly with the smoothness of cheesecake. It became a hit at bakeries and home parties real quick cause everyone’s curious to try it.
3.2 Flavor Profiles and Texture
The crunch of the cereal meets the creamy cheese layer and every bite is kinda like a sugar rush with a soothing side. The marshmallows sweetness balances the tangy cream cheese so you don’t get overwhelmed. It’s a mix that feels fresh but also takes you back to childhood.
Chapter 4: Rice Krispie Treat Cheesecake Recipe
4.1 Ingredients
- For the Rice Krispie Treat Base:
- 4 cups Rice Krispies
- 4 cups mini marshmallows
- 3 tablespoons butter
- For the Cheesecake Layer:
- 16 oz cream cheese, softened
- 1 cup powdered sugar
- 1 teaspoon vanilla extract
- 1 cup whipped cream
- For the Topping:
- 1 cup mini marshmallows
- ½ cup chocolate chips (optional)
4.2 Directions
Step 1: Prepare the Rice Krispie Base
Melt butter in a large pot on low heat then add marshmallows, stir till smooth. Take off the heat and mix in Rice Krispies till everything is coated. Press that mix into a greased 9x13 pan, flatten it out nice and even.
Step 2: Make the Cheesecake Filling
Beat the cream cheese until it’s smooth, then add sugar and vanilla, mix well. Gently fold in whipped cream till the filling is light and fluffy.
Step 3: Assemble the Cheesecake
Spread the cheesecake mix over the Rice Krispie layer, use a spatula to smooth. Chill in the fridge for at least 30 minutes so it sets a bit.
Step 4: Add Topping
After it’s set, sprinkle mini marshmallows on top and chocolate chips if you like extra sweetness.
Step 5: Chill and Set
Put it back in the fridge for 4 hours or overnight till firm. Cut into squares and serve cold.
4.3 Serving Suggestions
For a fancier look, plate slices with a drizzle of chocolate sauce or a dollop of whipped cream. You can also add fresh berries like strawberries or raspberries for color and tang.
4.4 Tips for Success
Use fresh marshmallows and cream cheese for best taste. Don’t skip the chill time or your cheesecake layer might be too soft. Feel free to swap in flavored whipped cream or add another extract like almond for a twist.
Chapter 5: Variations of Rice Krispie Treat Cheesecake
5.1 Flavor Variations
You can try all sorts of yummy combos:
- Chocolate Rice Krispie Cheesecake: mix in chocolate cereal or cocoa powder
- Peanut Butter Rice Krispie Cheesecake: swirl in peanut butter for a nutty kick
- Fruity Rice Krispie Cheesecake: toss dried fruits into the base or use fruit cereal
5.2 Ingredient Swaps
If you want healthier or have allergies try these swaps:
- Brown rice cereal for more fiber
- Vegan marshmallows if you need dairy free
- Low-fat cream cheese or Greek yogurt for lighter cheesecake
Chapter 6: Storing and Serving Rice Krispie Treat Cheesecake
6.1 Storage Tips
Keep it in an airtight container or wrap tight with plastic wrap. It stays good in the fridge up to a week but tastes best in the first few days.
6.2 Best Ways to Serve
Let it warm up a bit at room temp so slicing is easier. Serve on colorful plates or trays and top with fresh fruit or sauce for a nice touch.
Chapter 7: Nutritional Information
7.1 Overall Nutritional Breakdown
This dessert is rich and sweet so it’s kinda high in calories, usually 300–400 per slice depending on toppings you use. Watch out for allergens like dairy, gluten, or nuts if you add peanut butter.
7.2 Health Considerations
If you’re avoiding gluten or dairy you can swap in gluten-free cereal and vegan dairy alternatives. Always check labels for hidden allergens and think about your nutritional needs before digging in.
Chapter 8: FAQs
8.1 Can I make Rice Krispie Treat Cheesecake ahead of time?
Definitely you can, it tastes even better after chilling a day in advance and makes life easier for parties.
8.2 How long will it last in the refrigerator?
About a week if stored right but eat it in the first few days for best flavor.
8.3 Can this recipe be made gluten-free?
Yes just choose gluten-free Rice Krispies and check other ingredients are ok too.
8.4 What can I use if I do not have whipped cream?
You can use whipped topping from the store or try coconut cream whipped till fluffy for a dairy free option.
Conclusion
Rice Krispie Treat Cheesecake is a fun twist that combines crunch and cream in every bite. Its easy to change up and perfect for any event. Try making it your own and share your favorite twists with friends!

Rice Krispie Treat Cheesecake
Equipment
- 1 9-inch springform pan
- 2 mixing bowls
- 1 electric mixer
- 1 saucepan
- 1 rubber spatula
- 1 set measuring cups and spoons
- 1 parchment paper
Ingredients
- 4 cups Rice Krispies cereal
- 4 cups mini marshmallows For crust and topping.
- 4 tablespoons unsalted butter
- 16 ounces cream cheese Softened.
- 1 cup granulated sugar
- 1 teaspoon vanilla extract
- 2 large eggs
- ½ cup chocolate chips
- 1 tablespoon vegetable oil
Instructions
- Preheat your oven to 325°F (160°C). Grease the springform pan and line the bottom with parchment paper for easy removal.
- In a saucepan over low heat, melt the butter. Once melted, add the mini marshmallows and stir until completely melted and smooth.
- Remove the pan from heat and mix in the Rice Krispies cereal until well-coated. Press the mixture firmly into the bottom of the prepared springform pan to form the crust. Set aside to cool.
- In a large mixing bowl, beat the softened cream cheese with an electric mixer until creamy.
- Gradually add the granulated sugar and vanilla extract, mixing until smooth.
- Add the eggs one at a time, mixing well after each addition, until fully incorporated.
- Pour the cheesecake batter over the cooled Rice Krispie crust in the springform pan, smoothing the top with a spatula.
- Bake in the preheated oven for 20 minutes, or until the edges are set but the center is slightly jiggly.
- Remove from the oven and let cool at room temperature for about 1 hour, then refrigerate for at least 4 hours, or until fully set.
- Before serving, sprinkle the top with mini marshmallows. In a small saucepan, melt chocolate chips with vegetable oil over low heat, stirring until smooth. Drizzle the melted chocolate over the cheesecake and marshmallows.


Leave a Reply