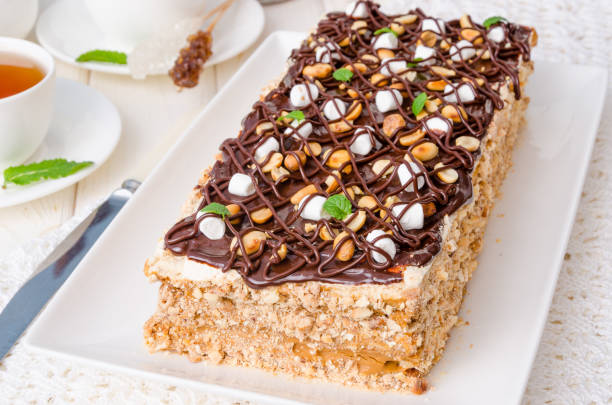
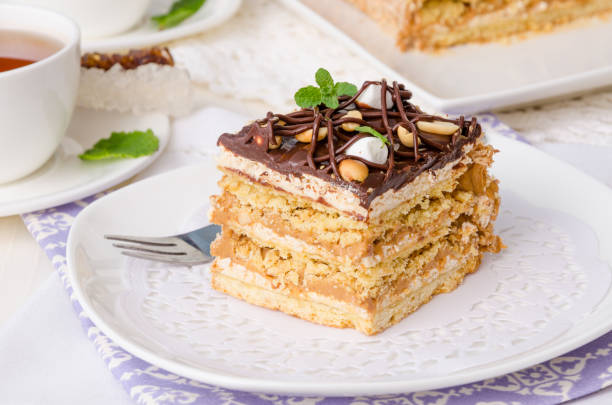
From the very first bite of this Peanut Butter Cup Pie I was totally sold – it’s like peanut butter and chocolate had a party in your mouth. You don’t even need to fire up the oven, which is awesome on hot days or when you just wanna chill after school. It’s simple enough that anyone can make it, yet fancy enough to grab the spotlight at family gatherings or weekend hangouts.
People love this pie because it’s a perfect mash-up of flavors and textures. You’ve got a crunchy crust, a silky smooth peanut butter filling, and a glossy chocolate top. With just a few basic ingredients and easy steps, even a newbie baker can whip this up without stressing.
In the next few sections, you’ll learn where this dessert idea came from, why it’s such a hit, and exactly how to build one of your own. We’ll cover the must-have ingredients, walk you through each step, and share little tricks to make your pie turn out just right. Get ready to wow your friends (or just reward yourself) with this nostalgic yet modern treat!

What is Peanut Butter Cup Pie?
Peanut Butter Cup Pie is a no-bake dessert that takes the idea of those classic peanut butter cups and turns it into a big, sliceable treat. You start with a crumbly crust, then pile on a creamy peanut butter layer, and finish with a shiny chocolate topping. It’s not only tasty, but it looks really cool when you cut into it and see the layers.
The idea probably popped up when bakers got tired of just making candy and wanted to share that peanut butter-chocolate combo in a bigger, easier form. Over time people have experimented by adding caramel swirls, nuts for crunch, or even mixing in mini cups right in the filling. Whether you stick to the original or mix it up, this pie has become a go-to for anyone who loves that sweet & salty vibe.
Why You’ll Love Peanut Butter Cup Pie
This pie hits all the right notes: rich, nutty peanut butter that melts in your mouth, plus sweet chocolate that adds a perfect contrast. The crust gives you a bit of crunch, the filling is smooth, and the topping is super indulgent. It’s like a taste adventure in every forkful.
Since it’s no-bake, your kitchen stays cool and you can have dessert ready in about 20 minutes of hands-on time. That means it’s great for last-minute plans or when you need a quick pick-me-up. Plus, you can make it ahead and stash it in the fridge until you’re ready to serve. It’s the kind of dessert that’s both nostalgic (because who doesn’t love cups of peanut butter and chocolate?) and totally fuss-free.

Ingredients Needed
Here’s what you’ll need to build your pie in three easy layers:
- Pie shell: Crushed graham crackers mixed with melted butter and a bit of sugar
- Filling: Softened cream cheese, creamy peanut butter, powdered sugar, and whipped cream
- Topping: Melted chocolate or a simple chocolate ganache
If you want to switch things up a bit, try these tweaks:
- Swap in almond butter instead of peanut butter for a nutty twist
- Fold in chopped peanuts or even bits of peanut butter cups for extra crunch
- Drizzle some caramel sauce on top for more sweetness
How to Make Peanut Butter Cup Pie
Step-by-Step Directions
1. Make the Crust
Crush your graham crackers until they’re fine crumbs (a zip-top bag and rolling pin work great). Stir them with melted butter and sugar until it looks like damp sand. Press that mixture into your pie pan, going up the sides too, then pop it in the fridge to chill while you do the filling.
2. Whip Up the Filling
In a mixing bowl, beat the cream cheese and peanut butter together until smooth. Slowly add the powdered sugar, mixing well so it’s lump-free. Gently fold in the whipped cream to keep it light and fluffy. Taste it and add more sugar if you want it sweeter.
3. Assemble the Pie
Spread the peanut butter filling over your chilled crust in an even layer. Melt your chocolate or make a ganache by heating cream and then stirring in chopped chocolate until it’s glossy. Drizzle or pour that over the filling. Top with extra chopped nuts or chocolate chips if you like.
4. Chill to Set
Refrigerate the finished pie for at least 4 hours, or ideally overnight. This helps everything firm up so you can slice clean pieces.
Tips for Success
Make sure your cream cheese is at room temp so the filling is super smooth. Store the pie covered in the fridge — it’ll last up to a week. Before serving, you can add a swirl of whipped cream or sprinkle chocolate shavings on top for a nice finish.
Nutritional Information
Here’s a rough idea of what one slice packs:
- Calories: Around 300
- Fat: 20g (including some saturated fat)
- Sugar: 15g
- Protein: 5g
Keep in mind serving sizes vary, but most people find one slice to be just right. It’s richer than a basic fruit pie, but the creamy filling makes it super satisfying.
Serving Suggestions & Pairings
To make your dessert moment even better, try pairing slices with:
- Coffee: A bold cup cuts through the sweetness
- Milk: Classic, creamy, and kid-friendly
- Dessert wine: Something sweet like a Moscato works nicely
Decorate each serving with a dollop of whipped cream and a few chocolate shavings, or add fresh berries for a pop of color.
FAQs
What’s the best way to store Peanut Butter Cup Pie?
Keep it in the fridge, covered, for up to a week. You can also freeze it, but it might get a bit softer when it thaws.
Can I make Peanut Butter Cup Pie ahead of time?
Definitely. Making it a day before gives the flavors time to mingle. You can prep it up to two days ahead of showtime.
What’s a good substitute for peanut butter?
If you’re allergic, try sunflower seed butter or almond butter. They both give you that creamy feel but a different taste.
Can I add more chocolate to the filling?
You bet! Stir in some melted chocolate into the peanut butter mixture, or swirl it on top before chilling.
Is Peanut Butter Cup Pie gluten-free?
To make it gluten-free, use gluten-free graham crackers or swap the crumbs for ground nuts mixed with melted butter.
Conclusion
Peanut Butter Cup Pie is a crowd-pleaser that combines the best parts of candy and dessert. Its creamy peanut butter layer and chocolatey finish bring back fun memories, while the no-bake method keeps things easy and cool. Give this recipe a try and watch it disappear at your next get-together!
Call to Action
If you loved making (and eating) this pie, share the recipe with friends or drop a comment below on how yours turned out. Don’t forget to follow our blog for more easy, tasty dessert ideas you can whip up anytime!

Peanut Butter Cup Pie
Equipment
- 1 9-inch pie pan
- 2 mixing bowls
- 1 electric mixer or whisk
- 1 rubber spatula
- 1 measuring cups and spoons
Ingredients
- 1 pre-made chocolate cookie crust (9-inch) chocolate cookie crust
- 1 cup creamy peanut butter For a richer flavor, use a combination of crunchy and creamy peanut butter.
- 8 oz cream cheese softened
- 1 cup powdered sugar
- 1 cup heavy whipping cream
- 1 teaspoon vanilla extract
- ½ cup mini peanut butter cups chopped
- Additional mini peanut butter cups for garnish
Instructions
- In a mixing bowl, beat the softened cream cheese and peanut butter together using an electric mixer until smooth and well combined.
- Gradually add the powdered sugar, mixing until fully incorporated.
- In another bowl, whip the heavy cream and vanilla extract until soft peaks form.
- Gently fold the whipped cream into the peanut butter mixture using a rubber spatula until fully combined.
- Fold in the chopped mini peanut butter cups to the filling.
- Spoon the filling into the prepared chocolate cookie crust, smoothing it out evenly.
- Refrigerate the pie for at least 2 hours, or until set.
- Before serving, top the pie with additional whipped cream and garnish with extra mini peanut butter cups.


Leave a Reply