
You catch the smell through the steam vent and suddenly you are starving. That crispy, garlicky aroma hits you like a warm hug from the kitchen. You can almost taste the tender pull of the chicken even before it's done.
The pressure cooker is doing its thing, building pressure just right while locking in all those flavors. It’s kinda like the smell teases you while promising this meal’s gonna be worth the wait, no doubt.
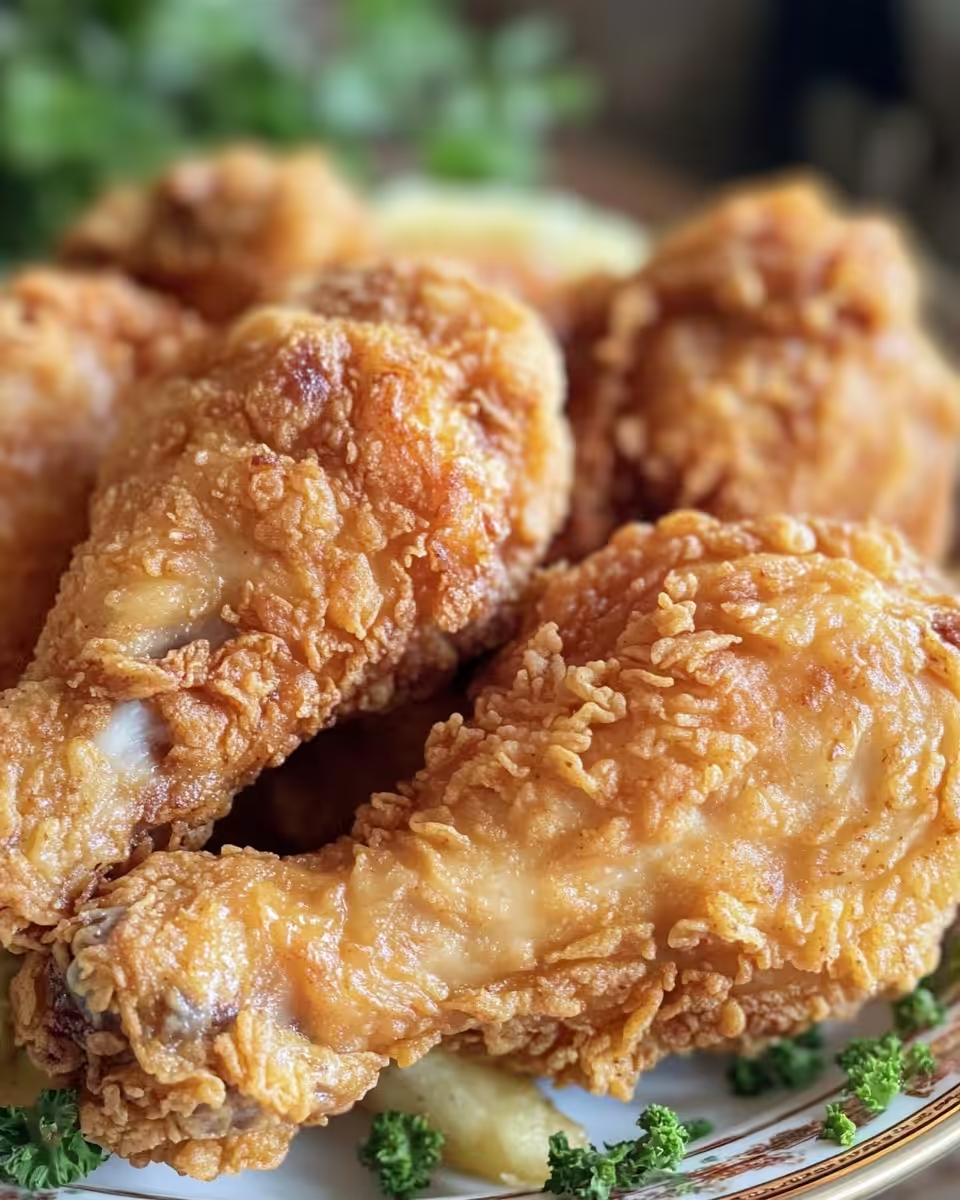
When you sense the quick release, your stomach growls louder. That moment when you pop open the lid and spot the golden crust on the chicken is pure joy. You’re about to dive into some seriously good eats, y’all.
Why Your Cooker Beats Every Other Pot
- Cookin’s way faster with pressure build, saving you time in the kitchen.
- Locks in moisture for that juicy, tender pull you love.
- Sealing ring keeps steam right where it belongs for even cooking.
- One-pot meal magic means less clean up, and who doesn’t want that?
- Perfect for crisping up your chicken before pressure cooking to get best texture.
- Natural release lets flavors settle in while keeping meat super tender.
- You control when to quick release for perfect doneness every time.
All the Pieces for This Meal
- 2 pounds boneless, skinless chicken breasts (about 3)
- 2 teaspoons kosher salt
- ½ teaspoon freshly cracked black pepper
- 2 teaspoons garlic powder
- 1 teaspoon paprika
- ½ teaspoon cayenne
- 1 cup all-purpose flour
- 3 large eggs, beaten
- Vegetable oil, for frying
- 4 tablespoons salted butter
- ⅓ cup all-purpose flour
- 1 ½ cups chicken stock
- 1 cup whole milk
- 1 teaspoon garlic powder
- ½ teaspoon dried thyme
- ¾ teaspoon kosher salt (plus more to taste)
- 1 teaspoon freshly ground black pepper
This lineup has everything you need to make that southern classic right at home. You pound your chicken breasts to even thickness so it cooks real good inside your pressure cooker. Then y’all season it up with garlic powder, paprika, cayenne, kosher salt, and pepper for that well-rounded flavor bite.
Your dredging station’s setup is crucial: one bowl with flour, one with eggs. That double coating locks in crunch and juiciness after frying a bit in vegetable oil. The sauce starts simple with butter, flour, then chicken stock to pull it all together in a creamy gravy that tastes like home.
Your Complete Cooking Timeline
First things first get your chicken breasts pounded nice and even with a meat mallet or rolling pin. This helps them cook uniformly so no dry edges or underdone spots.
Next, season both sides well with the salt, pepper, garlic powder, paprika, and cayenne. Don’t be shy here—this spice combo gives it that real good southern kick.
Set your dredging station with two plates or shallow bowls. One with 1 cup flour, the other with your beaten eggs. Dip your chicken first in flour, then eggs, then back to flour pressing gently to make sure that crust sticks well.
Heat about half an inch of vegetable oil in a large skillet over medium heat. Fry the chicken breasts in batches for about 4-5 minutes per side until golden brown and crispy. This step’s key for that crunchy outside before pressure cookin keeps the inside juicy.
After frying, transfer the chicken to a paper towel-lined plate so it drains good. In your pressure cooker add about 1 ½ cups chicken stock mixed with whole milk, garlic powder, dried thyme, salt, and pepper. Lay your fried chicken in there.
Seal the lid and let that pressure build up. Cook on high for about 10 minutes, then do the natural release for 5 minutes before you finish with a quick release so it’s perfectly tender pull and ready to serve.
While the pressure cooker does its job, melt 4 tablespoons salted butter in a small saucepan. Add ⅓ cup flour and whisk real good to get a roux. Gradually whisk in chicken stock�and milk mixture until thickened for your gravy. Pour over the chicken and enjoy!
Smart Shortcuts for Busy Days
You can totally speed things up without losing flavor. Just flatten your chicken ahead the night before and keep it wrapped tight in fridge. It’s one less thing to do when dinner calls.
Another quick move is to mix your flour and spices together in a big bowl. When you’re ready just dip your chicken in egg and straight into that seasoned flour mix. Saves tidying another bowl.
Lastly, don’t be shy bout using store-bought chicken stock or gravy if you’re slammed for time. It works real good with your homemade fried chicken and keeps things stress-free.
What It Tastes Like Fresh From the Pot
The minute you sink your teeth into this your mouth gets hit with that crunchy golden crust. It’s perfectly seasoned with just the right salty spice back note that makes you come back for more.
Inside that crust the chicken sits juicy and tender like it just fell apart from the fork. That tender pull texture is what makes this dish stand out from any other fried chicken you done had.
The buttery gravy slicks over every piece giving it a creamy, rich flavor boost that completes the whole experience. It’s the kinda comfort food that warms you up from the inside out.
Overall y’all get a perfect blend of crisp outside, juicy inside, and sauce that ties the whole thing together. This here is a plate gonna make you smile every bite.
Making It Last All Week Long
After your feast if you’ve got leftovers, store them right to keep tastes fresh. Place cooled chicken in airtight containers before popping in the fridge. It’ll hold good for about 3-4 days.
Freezing is a smart move too. Wrap each piece tight in plastic wrap then foil. Freeze up to 2 months. When you ready just thaw overnight in the fridge and reheat slow to keep tenderness intact.
Gravy stores well separate from chicken. Pour leftovers into a jar and store in fridge up to 4 days. Warm gently on stove or microwave to serve again.
If reheating, you can crisp chicken back up real good in a hot oven for a few minutes. This keeps your crust crunchy and the inside nice and tender.
Everything Else You Wondered About
- Can I use chicken thighs? Yeah, thighs work great, just adjust pressure cooking time to about 8 minutes.
- Why do I pound the chicken? Pounding makes the thickness even so the chicken cooks perfect inside without drying out.
- What if I don’t have all the spices? No worries, stick with salt, pepper, and garlic powder for a basic but tasty flavor.
- Can I skip frying and just pressure cook? Sure, but you’ll miss the crispy crust which is the best part of chicken-fried chicken.
- What’s quick release mean? It means you open the valve right away to let steam out fast instead of waiting for it to go down slow.
- Is natural release better? For this recipe, yes. It lets the chicken rest and keeps it juicy and tender while flavors settle in.
Chicken-Fried Chicken Made Easy in Your Pressure Cooker
Equipment
- 1 Mixing bowl Large
Ingredients
Main Ingredients
- 2 pounds boneless, skinless chicken breasts (about 3)
- 2 teaspoons kosher salt
- ½ teaspoon freshly cracked black pepper
- 2 teaspoons garlic powder
- 1 teaspoon paprika
- ½ teaspoon cayenne
- 1 cup all-purpose flour
- 3 large eggs beaten
- Vegetable oil for frying
- 4 tablespoons salted butter
- ⅓ cup all-purpose flour
- 1 ½ cups chicken stock
- 1 cup whole milk
- 1 teaspoon garlic powder
- ½ teaspoon dried thyme
- ¾ teaspoon kosher salt plus more to taste
- 1 teaspoon freshly ground black pepper
Instructions
Instructions
- Pound chicken breasts to even thickness.
- Season chicken with salt, pepper, garlic powder, paprika, and cayenne.
- Set up dredging station with flour and beaten eggs. Coat chicken: flour, egg, flour.
- Heat oil and fry chicken 4-5 minutes per side until golden and crispy.
- Transfer to paper-towel plate to drain.
- Place chicken in pressure cooker with stock, milk, garlic powder, thyme, salt, pepper.
- Seal and cook on high pressure for 10 minutes. Let natural release for 5 minutes, then quick release.
- Make gravy by melting butter, whisking in flour, then gradually stock and milk until thick.
- Serve chicken topped with gravy.


Leave a Reply