
That first hiss from the cooker tells you something good is happening. The sealing ring is doing its job, and the pressure build starts to dance inside that pot. You feel a sense of excitement knowing your dinner is coming together fast and good.
When you hear that steam cue, it's like a little signal from your kitchen that things are moving along right. You might be chopping, stirring, or just watching the clock but that hush and hiss kinda gives you a warm feeling. It’s a short wait for some dang great food.
The pressure cooker lets you get the crispy outside with tender chicken inside, but faster than the usual frying or baking. You recall how the sauce thickens perfectly thanks to the quick release letting you move on without messing anything up. It feels like cooking without stress.
The Real Reasons You Will Love This Method
- Fast pressure build gets your meal going so you aren’t stuck waiting forever.
- Quick release means no overcooking and your chicken stays juicy and tender.
- Sealing ring keeps flavors locked in tight, making every bite taste just right.
- The lemon sauce thickens nice and smooth, no lumps, thanks to the stirring and timing you control.
- Using the pressure cooker cuts the frying time down but keeps that great crispiness you expect.
Everything You Need Lined Up
- 1 ½ lbs boneless skinless chicken breasts cut into 1 inch pieces
- 2 eggs lightly beaten
- Salt and pepper to taste
- ½ cup all purpose flour
- ½ cup + 1 tablespoon cornstarch
- Oil for frying (canola or vegetable oil works best)
- ⅓ cup lemon juice
- ⅓ cup sugar
- ½ cup water
- 2 teaspoons sesame seeds for garnish
- 2 tablespoons sliced green onions for topping
- 1 teaspoon grated lemon zest for a punch of flavor
Make sure your chicken pieces are cut pretty even so they cook through nicely. The eggs get the coating to stick, and the mix of flour and cornstarch is what makes that crispy crust you love. You gotta have oil hot enough for frying but not smoking, so it cooks the chicken perfect without burning.
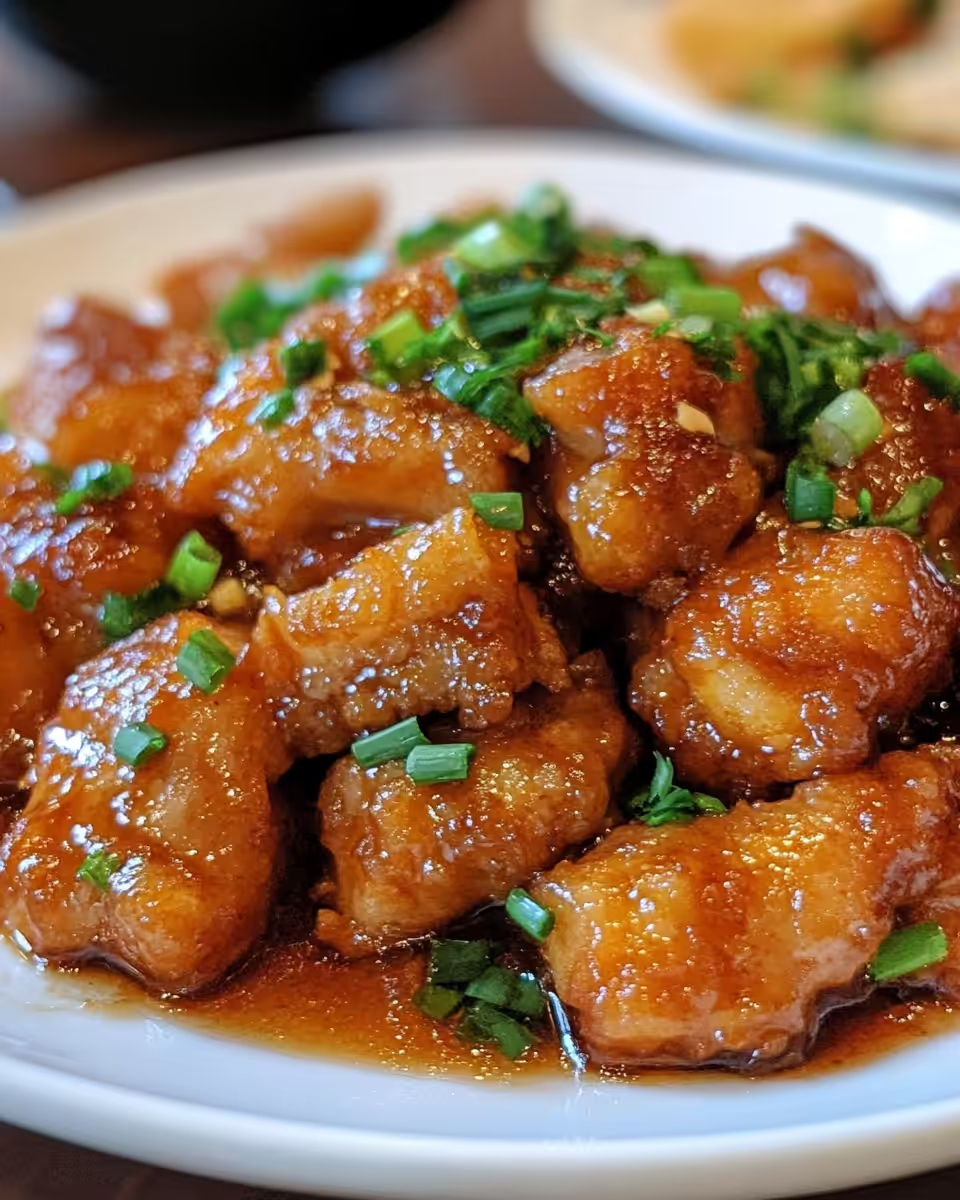
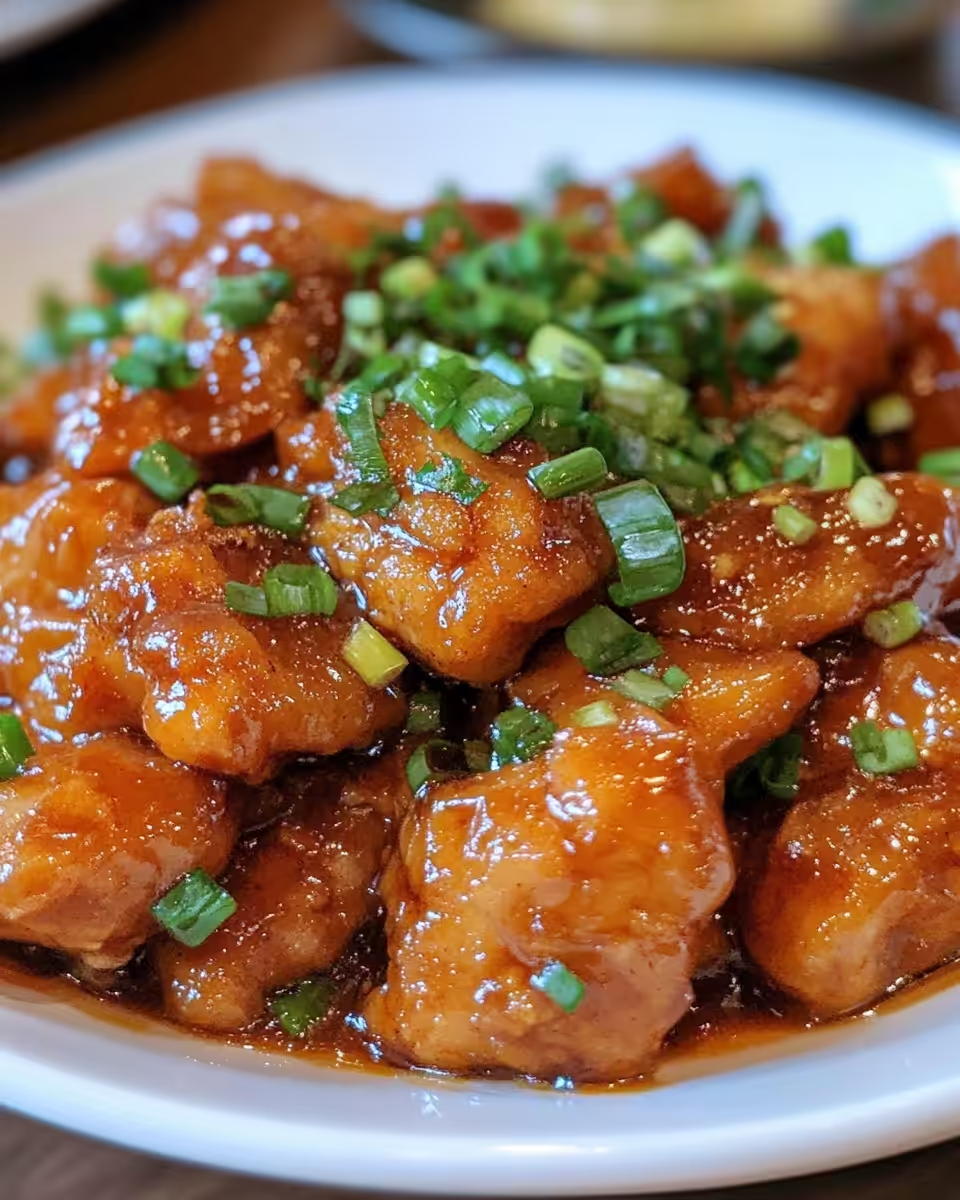
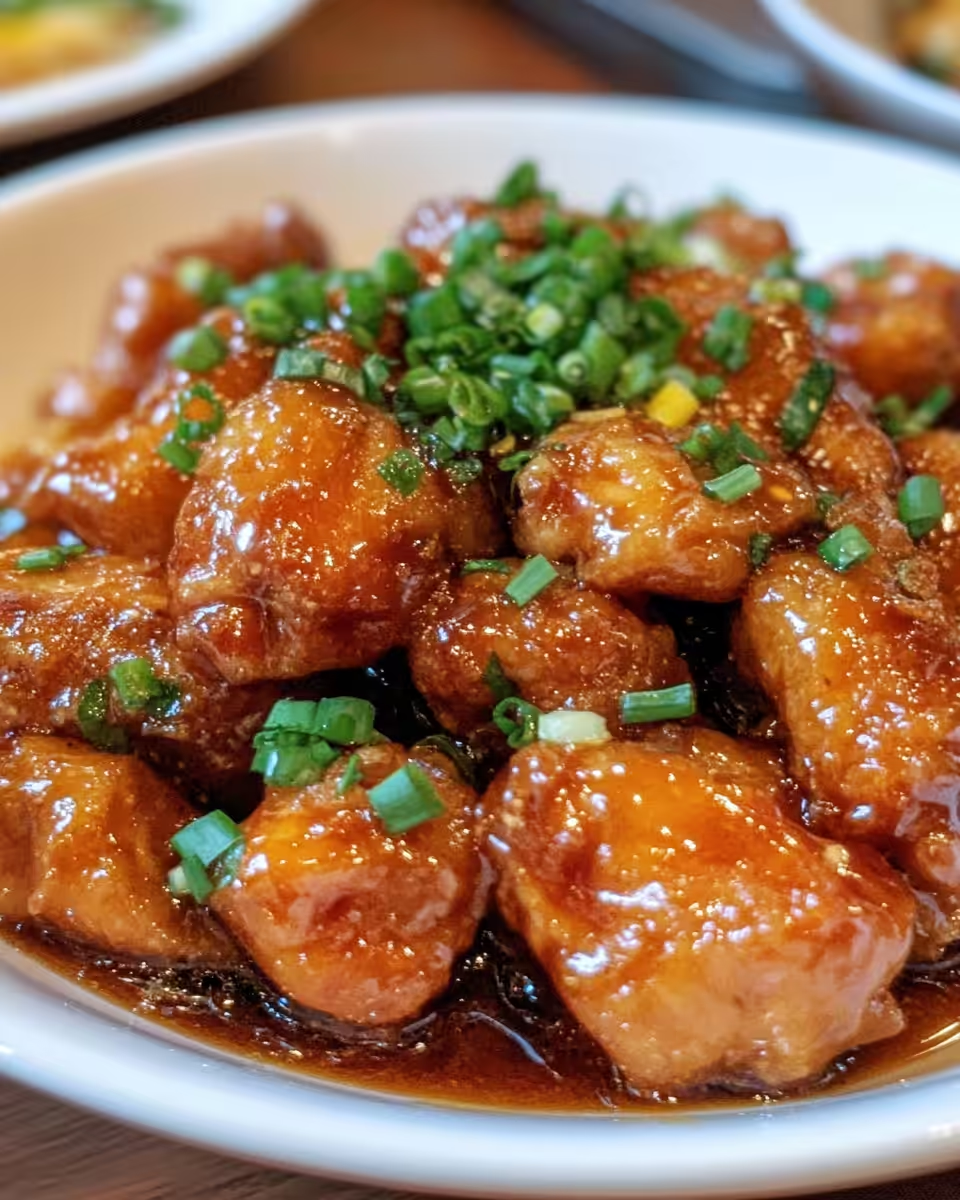
The lemon juice, sugar, and water blend with cornstarch to make a sauce that’s sweet, tangy, and just right thick. Sesame seeds and green onions are your finishing touch, giving you that nice texture and color you’re gonna spot first on the plate.
Your Complete Cooking Timeline
- Season chicken with salt and pepper. Get those pieces ready to soak up the flavors.
- In a medium bowl, mix the flour and ½ cup cornstarch. This combo is your crunchy coating.
- Dip the chicken pieces into the beaten eggs. Make sure each piece is fully covered.
- Dredge them in the flour mixture, coating them evenly. Don’t rush this part or you'll miss spots.
- Heat oil in a skillet or deep fryer over medium-high heat. You want it hot but not smoking.
- Fry chicken in batches for about 4-5 minutes each, till golden brown and fully cooked. Drain on paper towels so they don’t get soggy.
- In a small saucepan, whisk lemon juice, sugar, water, and 1 tablespoon cornstarch until smooth. Cook on medium heat, stir non-stop until sauce thickens and turns translucent. Pour over fried chicken, toss well, sprinkle sesame seeds and green onions before serving.
Pro tip: While your chicken is frying, you can start on the sauce so it’s ready once the chicken’s done. When you pour sauce over, you’ll notice it clings real good because of that thickening trick.
When your pressure cooker’s involved, you gotta watch that sealing ring and steam cues close. Quick release helps you stop cooking right on time so chicken stays juicy. Slow release here would risk soggy crust, so keep it quick.
Quick Tricks That Save Your Time
- Use pre-cut chicken breast pieces from the store if you want to skip chopping.
- Mix flour and cornstarch ahead of time and store in a jar for next use.
- While frying one batch of chicken, prep the next batch’s coating to speed things up.
- Start the lemon sauce while chicken fries so both finish cooking at the same time.
Those little hacks make your kitchen flow better, cutting down wait and stress. You gotta love when things work together like a team.
That First Bite Moment
You take that first bite and notice the crispy crust snaps just right, not too thick, not too thin. The chicken inside feels juicy and tender, kinda like melts in your mouth.
The lemon sauce hits next with a bright zing that wakes up your taste buds. It’s sweet but balanced with a little tart, the way you want it.
Sesame seeds add a subtle crunch, and the green onion slices bring a fresh kick that cuts through the richness. You spot that little burst of lemon zest and it pulls everything together real nice.
By the time you swallow, you’re already thinking about the next bite. It’s dang satisfying and exactly what you hoped for when you started cooking.
How to Store This for Later
- Refrigerate in an airtight container for up to 3 days. Heat gently to keep that crispiness, maybe use oven or air fryer instead of microwave.
- If you wanna freeze, separate chicken and sauce. Freeze chicken in a single layer with wax paper between pieces, then thaw gently before reheating.
- Sauce stores well in the fridge or freezer separately. Warm it slowly on stovetop to avoid clumps.
- If you packed leftovers for lunch, keep sauce in a little separate container and add it right before eating. Keeps the chicken crispy.
Storage’s kinda all about keeping that fried crisp and lemony punch fresh. Microwaves can make fried food soggy quick, so plan your reheating right.
Your Most Asked Questions Answered
- Can I use thighs instead of breasts? Yep, thighs work real good too. They’re juicier but might take a teeny bit longer to cook.
- Do I need to use the pressure cooker for frying? No, frying’s done on stove or deep fryer here. Pressure cooker helps mostly with sauce and faster cooking of coated chicken if you want to skip frying all the time.
- What’s the best way to keep chicken crispy after cooking? Quick release on pressure cooker is key, and draining chicken on paper towels after frying helps. Reheat in oven or air fryer to keep crisp.
- Can I make the lemon sauce ahead? Totally. Just store in fridge, reheat gently when you’re ready. Sauce thickens faster but you can whisk in little water to loosen.
- Is cornstarch necessary? Yes, it’s kinda the secret for that crispy coating and thickening sauce. You can’t really substitute it for flour alone here.
- How do I know when pressure cooker is at pressure? You’ll spot a steady steam cue from the valve. Plus that louder hiss means pressure build is happening.
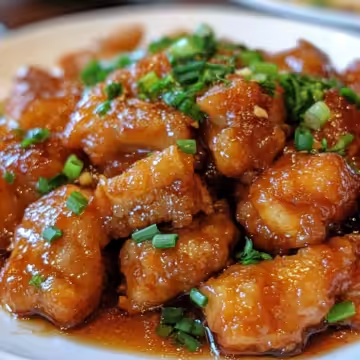
Chinese Lemon Chicken in Your Pressure Cooker
Equipment
- 1 Mixing bowl
- 1 Skillet or deep fryer
- 1 Saucepan
Ingredients
Main ingredients
- 1 ½ lbs Boneless skinless chicken breasts cut into 1 inch pieces
- 2 Eggs lightly beaten
- Salt and pepper to taste
- ½ cup All purpose flour
- ½ cup + 1 tablespoon Cornstarch
- Oil for frying canola or vegetable oil works best
- ⅓ cup Lemon juice
- ⅓ cup Sugar
- ½ cup Water
- 2 teaspoons Sesame seeds for garnish
- 2 tablespoons Sliced green onions for topping
- 1 teaspoon Grated lemon zest for a punch of flavor
Instructions
Instructions
- Season chicken with salt and pepper.
- Mix flour and ½ cup cornstarch in a medium bowl.
- Dip chicken pieces into beaten eggs.
- Coat chicken evenly in the flour mixture.
- Heat oil in a skillet or deep fryer over medium-high heat.
- Fry chicken in batches for about 4–5 minutes each until golden brown. Drain on paper towels.
- In a small saucepan, whisk lemon juice, sugar, water, and 1 tablespoon cornstarch until smooth. Cook over medium heat until thickened and translucent.
- Pour lemon sauce over fried chicken. Toss well.
- Sprinkle with sesame seeds, green onions, and lemon zest before serving.


Leave a Reply