
That first hiss from the cooker tells you something good is happening. It’s like a little signal from your kitchen that makes you wanna grab a spoon and get ready for something tasty. You spot the steam sneaking out around the sealing ring, and you know the pressure build is working just right. It’s kinda comforting, that sound, like a promise that dinner’s on its way to being awesome.
As you wait, you notice the float valve doing its thing, popping up to let you know the cooker’s fully sealed. It’s like this tiny little flag waving that yells cooking mode activated. You swear you can almost smell the wings already starting to get that crispy edge even inside the cooker. It’s all going down quick too, which makes you feel like a pro even if it’s your first time using the pressure cooker for wings.
The only tough part? Trying not to peek while the natural release does its thing after cooking. That part’s kinda like the slow dance at the end of a great song, all gentle and teasing. You wait, you listen, and then bam - quick release to finish it off if you’re impatient, but you know the natural release is the real deal for juicy, tender wings every time.
Why Your Cooker Beats Every Other Pot
- Pressure cooker traps steam tight with its sealing ring, so no flavors escape.
- Pressure build speeds cooking up so you won’t be stuck waiting forever for wings.
- Natural release lets wings rest in their juices, keeping the meat juicy and tender.
- Float valve lets you know when it’s sealed and hot enough to cook perfectly.
- Quick release is perfect when you can't wait and wanna eat sooner without overcooking.
- Its tight lid keeps all the heat and steam locked, saving energy and time.
- It’s super easy cleanup since everything cooks in one pot before crispening in the oven.
All the Pieces for This Meal
First, you gotta grab 3 pounds of chicken wings. Make sure they’re fresh and ready for that awesome saucing. Then, 3 tablespoons of unsalted butter melted are a game changer when coating those wings before cooking.
Don’t forget 2 tablespoons of sesame oil to add that nutty hint. Use 2 ½ teaspoons garlic powder for a cozy garlicky vibe, and 1 teaspoon kosher salt to bring out all the flavors. A little kick comes from ¾ teaspoon freshly ground black pepper and ¼ teaspoon cayenne pepper—that cayenne sneaks a loving heat.
For the sauce, you’ll need 4 tablespoons unsalted butter and ½ teaspoon crushed red pepper flakes to spice things up just right. Finely grate 1 teaspoon fresh ginger to add some zing. Mix in ⅓ cup honey and ⅓ cup Sriracha sauce for sweet and heat balance. To deepen the flavor, add 1 tablespoon soy sauce and 1 tablespoon fresh lime juice plus 1 tablespoon rice wine vinegar for that slight tang. For thickening, 1 teaspoon cornstarch does the trick.
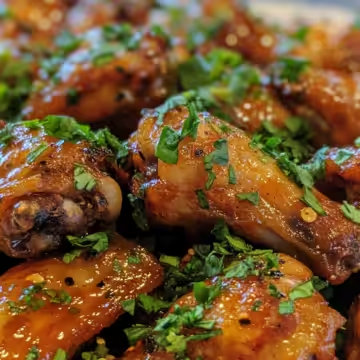
And don’t forget to sprinkle 2 teaspoons sesame seeds for garnish and ¼ cup fresh cilantro chopped fresh for that pop of bright freshness on top. Y’all gonna love how all these parts come together.
Your Complete Cooking Timeline
Step one, preheat your oven to 400 degrees Fahrenheit. Line a baking sheet with foil, and pop a wire rack on top slicked with a little grease. This setup is key to get wings crispy after pressure cooking.
Step two, toss the wings in a big bowl with the melted butter, sesame oil, garlic powder, salt, pepper, and cayenne till they’re coated all over. This makes sure every bite’s packed with flavor.
Step three, set your wings in a single layer on the rack. Bake them for 40 to 45 minutes, flipping halfway so they crisp up evenly and get that golden color you’re craving.
Step four, while wings bake, melt the butter in a small pan over medium heat. Toss in the crushed red pepper flakes and grated ginger. Stir for about a minute or two until it starts smelling fantastic.
Step five, mix in Sriracha sauce, honey, and simmer softly for a couple of minutes, then pull it off the heat. Adding soy sauce, lime juice, and rice vinegar here keeps the sauce lively.
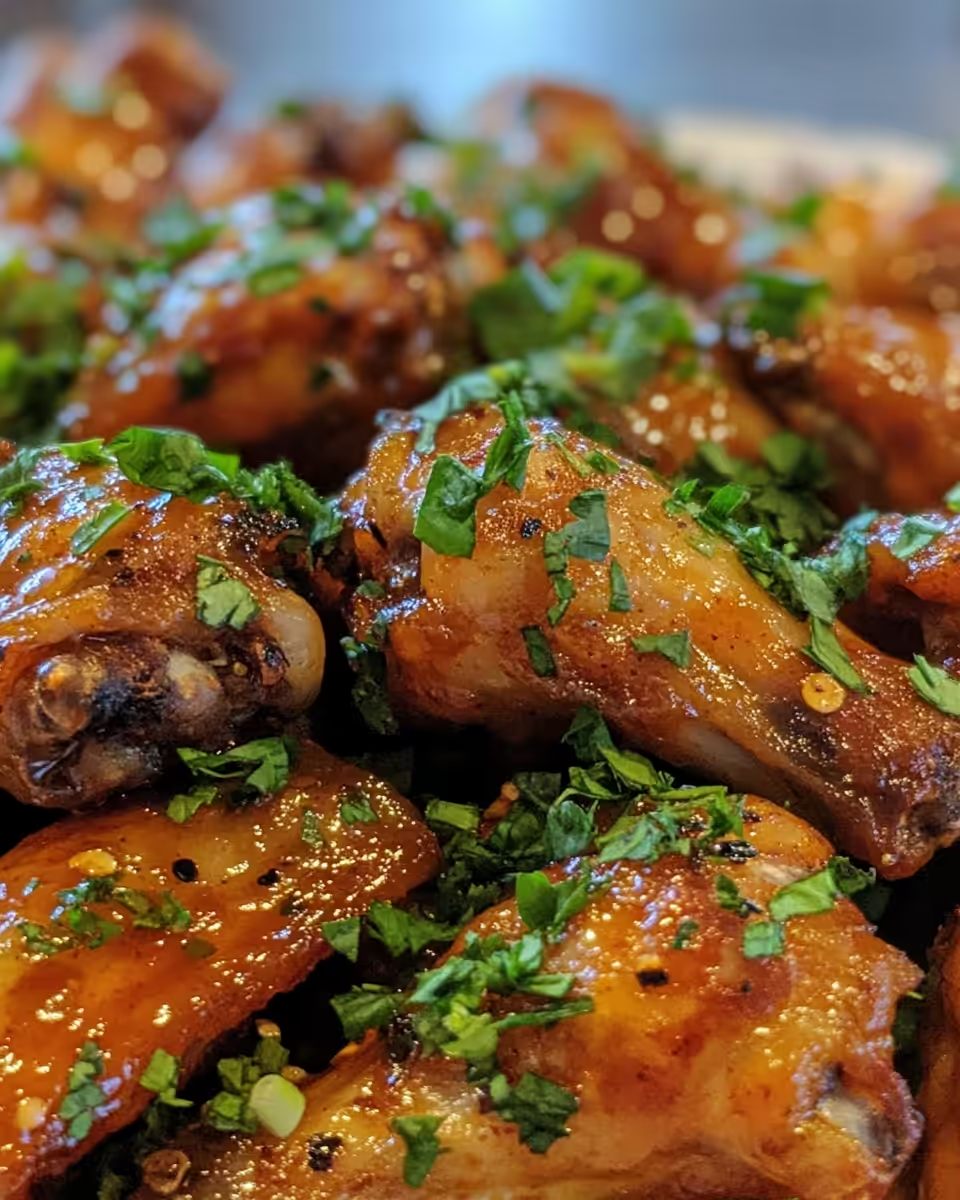
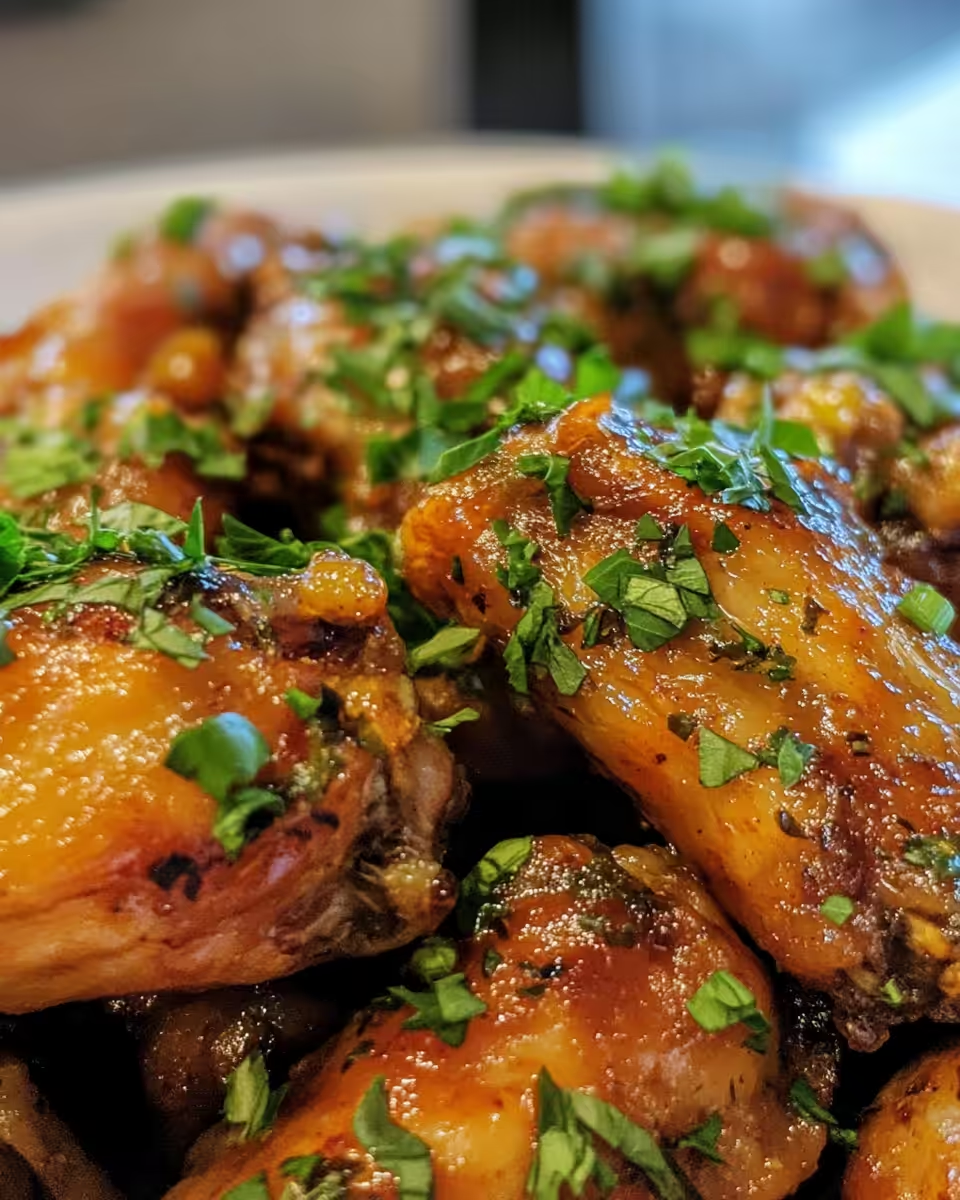
Last step six, when wings come out all crisp and hot, toss ’em in the sweet sriracha sauce. Coat ’em really good and then plate, sprinkle with sesame seeds and cilantro. Serve right away while still hot and saucy.
Valve Hacks You Need to Know
- You can speed up natural release by letting your pot sit off heat for 10 minutes before hitting quick release. It works real good to keep meat tender.
- Keep fresh water near for quick release steam that might surprise you. Always point away from face to avoid burns.
- Got stubborn sealing ring sticking? Lightly oil it before use. It helps keep it soft and seals better.
- When float valve pops, check your pressure settings. If it doesn’t rise, add a bit more liquid to trigger the cooking process.
That First Bite Moment
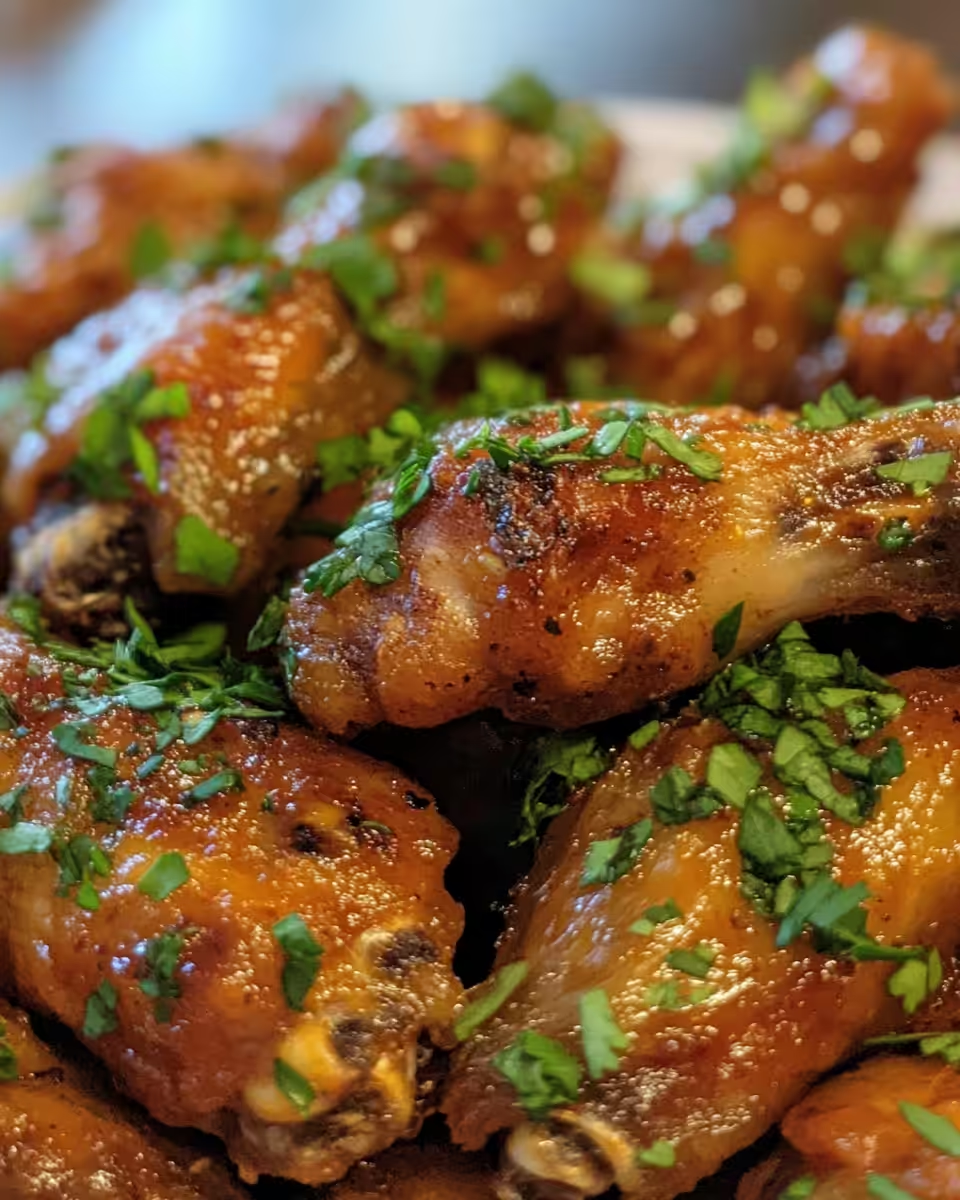
You feel the crunch of that crispy wing skin right before the tender meat bursts with flavor. Each bite is a little dance between spicy, sweet, and savory that makes your taste buds wanna throw a party.
The sauce clings just right, sugary and smoky from the honey and sriracha mix, with little bursts of brightness from the lime and vinegar. It’s just right to make you wanna lick your fingers clean (go ahead, don’t be shy!).
And the warmth from the cayenne and crushed red peppers keeps the heat lingering just long enough to feel cozy, not overwhelmed. Wings like this? Yeah, you’re gonna wanna make them all the time.
Making It Last All Week Long
Got leftovers? No worries. Store your chicken wings in an airtight container in the fridge. They’ll keep good for about 4 days.
For reheat, pop wings in a 350-degree oven for 10 to 15 minutes to get some of their crisp back. You can also use an air fryer if you got one. It works real good to make ’em crunchy again.
If freezing, wrap wings tight in foil or freezer bags, then thaw overnight in the fridge before reheating. This keeps them from drying out.
For best flavor, toss wings in a little bit more of the sweet sriracha sauce when reheating. That helps them feel fresh even days later.
Everything Else You Wondered About
- Can I use drumettes instead of wings? Yeah! Drumettes cook the same way and soak up the sauce real good.
- What if I don’t have a wire rack for baking? No problem. Just lay wings on foil-lined pan but flip ’em often to keep ’em crisp.
- Is it ok to skip the natural release? You can quick release but wings might be less juicy, so natural is better if you got time.
- Can I make sauce spicier? Totally. Add extra crushed red pepper flakes or more sriracha to taste.
- How long does it take in the pressure cooker? Wings usually need just 8 to 10 minutes under pressure before baking crispening.
- Why do I add cornstarch to the sauce? It thickens the sauce so it sticks nice and won’t drip off wings too much.
The Best Chicken Wings with Sweet Sriracha Sauce
Equipment
- 1 Mixing bowl Large
Ingredients
Main ingredients
- 3 pounds chicken wings
- 3 tablespoons unsalted butter melted for coating
- 2 tablespoons sesame oil
- 2 ½ teaspoons garlic powder
- 1 teaspoon kosher salt
- ¾ teaspoon freshly ground black pepper
- ¼ teaspoon cayenne pepper
Sauce and garnish
- 4 tablespoons unsalted butter for sauce
- ½ teaspoon crushed red pepper flakes
- 1 teaspoon fresh ginger finely grated
- ⅓ cup honey
- ⅓ cup Sriracha sauce
- 1 tablespoon soy sauce
- 1 tablespoon fresh lime juice
- 1 tablespoon rice wine vinegar
- 1 teaspoon cornstarch
- 2 teaspoons sesame seeds for garnish
- ¼ cup fresh cilantro chopped
Instructions
Instructions
- Preheat oven to 400°F. Line a baking sheet with foil and place a greased wire rack on top.
- Toss wings with melted butter, sesame oil, garlic powder, salt, pepper, and cayenne until coated.
- Place wings on rack and bake 40–45 minutes, flipping halfway through.
- While baking, melt butter for sauce. Add red pepper and ginger; stir for 1–2 minutes.
- Add honey, Sriracha, simmer, then remove from heat. Stir in soy sauce, lime juice, vinegar, and cornstarch. Let thicken.
- Toss crisp wings in sauce to coat. Sprinkle with sesame seeds and cilantro. Serve hot.


Leave a Reply