
That first hiss from the cooker tells you something good is happening. You catch that steam starting to build, the float valve doing its little dance, and you know the pressure is rising. It’s like your kitchen is waking up to some seriously tasty action.
When you hear that pressure build, you feel a kinda excitement 'cause you know the chicken’s gonna get tender real quick. No need to babysit your meal, just trust the cooker to do its thing while you chill for a bit. It’s worth every second of the wait.
And then comes the quick release or slow release, whichever you prefer, and you get that tender pull of chicken that melts in your mouth. That’s the payoff for all the waiting and anticipation, and it makes it totally worth every single minute.
The Truth About Fast Tender Results
- Pressure cooking gets your chicken tender way faster than regular cooking.
- The float valve shows when pressure’s reached, so you know it’s working right.
- Quick release lets you race to eat faster; slow release keeps flavors mingling.
- The cornstarch in your batter helps lock in juiciness and create a nice crust.
- Using boneless, skinless thighs means tender and flavorful bites all around.
- You don’t gotta stand over the stove constantly, the cooker handles the heat.
Your Simple Ingredient Checklist
- Vegetable or peanut oil for frying, just enough for crisping the chicken real good
- Chicken thighs, boneless and skinless, cut into bite sized pieces for quick cooking
- Four whole egg whites whipped till frothy for the batter to coat the chicken
- Cornstarch, a couple tablespoons, mixed in the egg whites to make the batter smooth
- Orange juice for that tangy base of the sauce, half a cup works well
- Soy sauce brings the salty depth, just a tablespoon is enough
- Brown sugar or honey adds that kinda sweetness to balance everything out
- Rice vinegar or regular distilled vinegar for a little zing, plus garlic and ginger minced fresh for punch
Oh and don’t forget the zest of one orange if you wanna bump up the citrus vibes, plus sliced green onions on top for a fresh finish. Oh yeah, a little sesame oil dash makes that sauce pop real good, and you sprinkle in a pinch of crushed red pepper to give it some kick.
How It All Comes Together Step by Step
- First thing, whip those egg whites in a big bowl until they get all frothy and fun. Stir in your cornstarch next, keep stirring till it’s a smooth batter.
- Toss your chicken pieces into the batter, make sure every bit is coated. Let it hang out for about 10 minutes. This part’s key for crispiness.
- While your chicken is chillin, grab a small saucepan. Put in orange juice, soy sauce, brown sugar, and vinegar, then heat it up till it simmers. Stir it once in a while till it thickens just a little, no rush here.
- Heat your oil to about 350 degrees Fahrenheit in a large wok or deep skillet—careful, it’s hot! This’ll get your chicken golden and crispy.
- Fry the battered chicken in batches, turning 'em occasionally so they cook all around and get that golden brown color. Usually takes around five to six minutes per batch.
- Once fried, lay the chicken pieces on paper towels to soak up extra oil. You don’t want soggy bites messing with your texture.
- Pour off most of the oil from your wok or skillet but keep one tablespoon—it helps bring everything together in the next step.
- Put chicken back into the wok, pour in the orange sauce, and toss chicken in it so every bite’s covered. Cook it another few minutes till sauce thickens real nice and clings tight.
Quick Tricks That Save Your Time
- Whip egg whites with a hand mixer, saves you from arm cramps and gets it frothy quick.
- Measure and prep all your sauce ingredients before you start cooking for smooth flow.
- Use a thermometer to get your oil perfect for frying, no guesswork needed.
- Fry chicken in small batches so oil temp doesn’t drop and chicken stays crispy.
- Make sauce ahead and just heat it up when chicken’s done to save a step at the end.
Your First Taste After the Wait
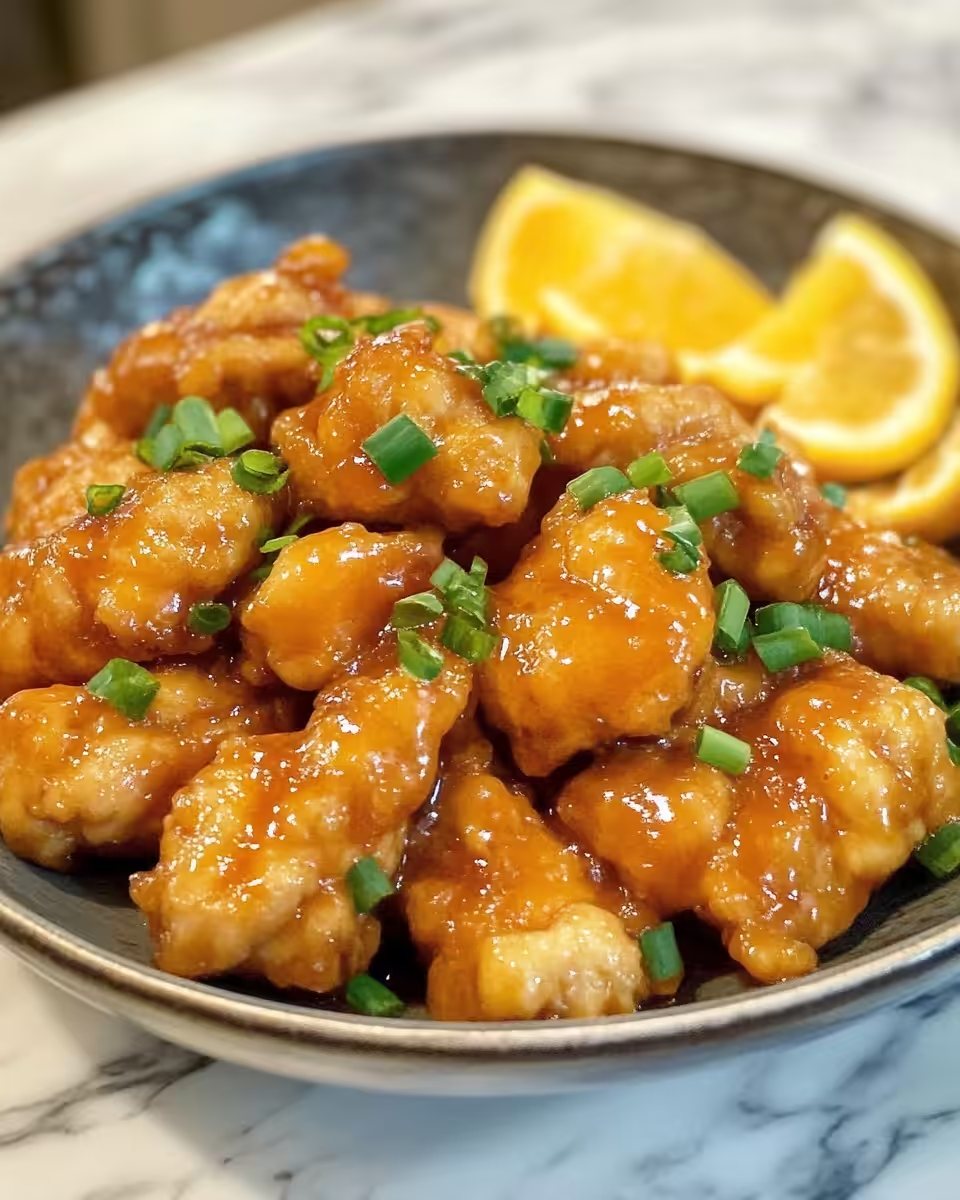
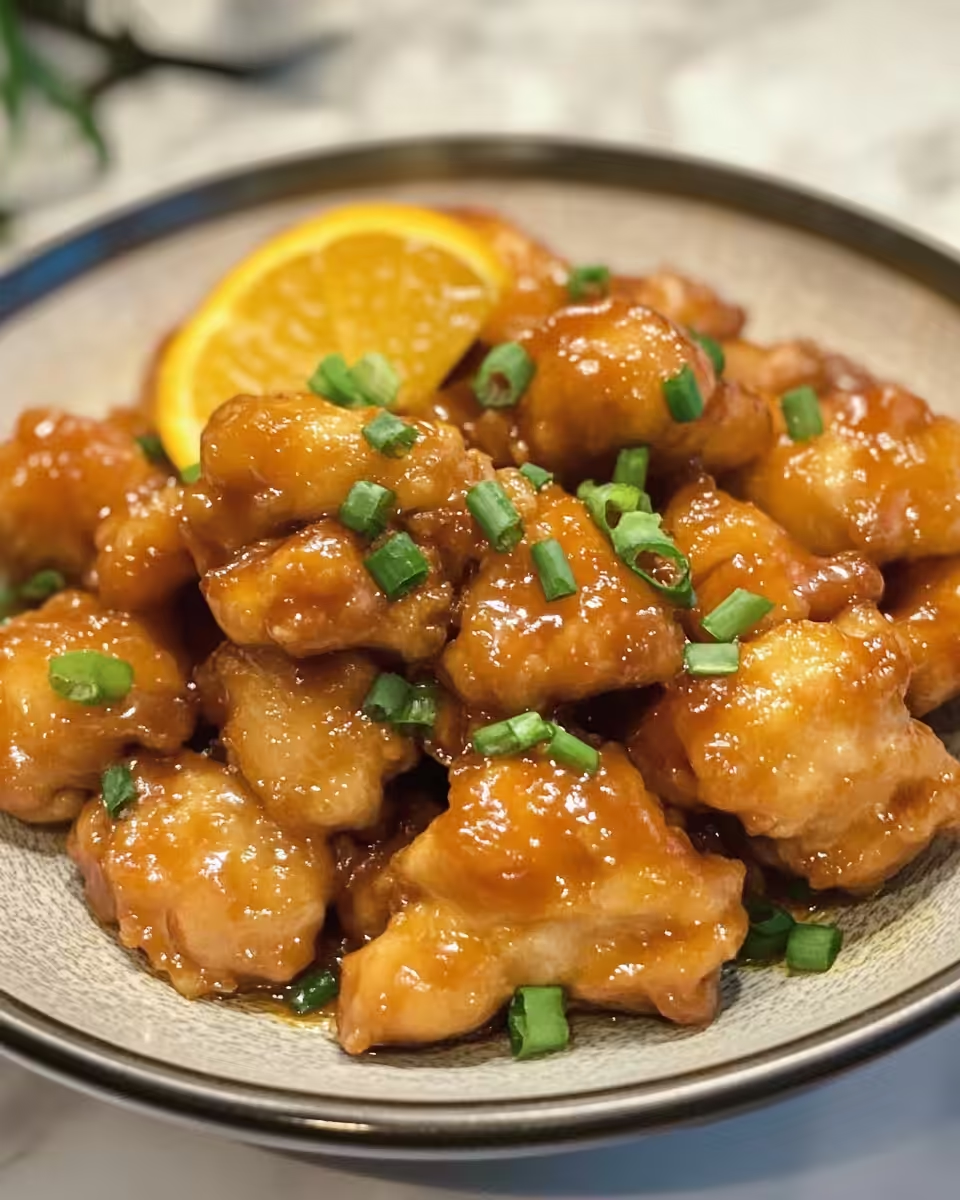
When you finally get to take that first bite, you notice how tender the chicken is, almost like it’s falling apart but still holding juicy and firm. You recall that crispy outside that cracks perfectly with a little crunch.
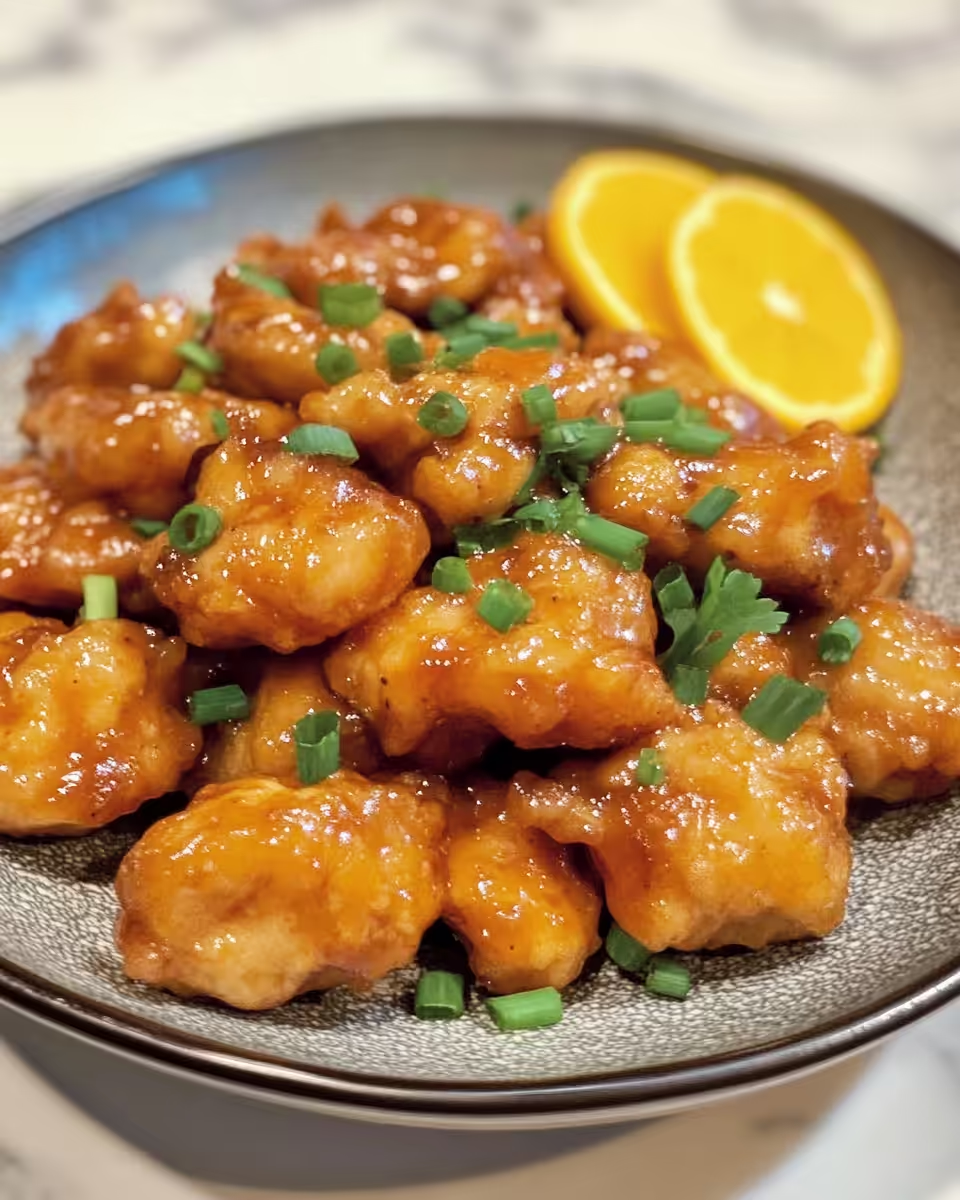
The sauce is sticky and glossy, sweet from the orange and brown sugar but balanced by just enough tang from the vinegar to keep it lively. That ginger and garlic hit sneaks in just right without overpowering, giving it a warm background flavor.
You catch that tiny heat bite from the crushed red pepper, kinda subtle but enough to make your taste buds sit up. It’s a good kinda kick that keeps things interesting with every bite.
And those green onions on top? They add a fresh crunch and pop of color that you didn’t know you needed until now. It all works real good together, trust me.
How to Store This for Later
If you wanna save leftovers, let the chicken cool completely before packing it up. Room temp is best first, gotta avoid sogginess.
Put the chicken and sauce in an airtight container, then pop it in the fridge. It keeps for about three to four days, and reheats great.
You can also freeze it if you're thinking way ahead. Use freezer-safe bags or containers, just make sure to squeeze out the air so it doesn’t get freezer burn. It’ll last a month or two easy.
Reheat gently in a skillet over medium heat or microwave with a splash of water to loosen the sauce. Slow release heat keeps that tender pull effect going even in leftovers.
What People Always Ask Me
- Can I use chicken breasts instead? Yeah, but chicken thighs stay juicier and less likely to dry out in the pressure cooker.
- Is it necessary to fry the chicken first? Frying gives that crispy coating but you could skip it and just coat in sauce if you want a softer texture.
- What if I don’t have cornstarch? You can try arrowroot powder or even flour, but cornstarch gives the best crisp and thickening.
- How spicy is this recipe? The crushed red pepper adds mild heat, but you can adjust to your taste by adding more or skipping it.
- Can I make this sauce without brown sugar? Sure, honey or white sugar works just fine to get that sweetness.
- Should I do quick release or slow release? Quick release for faster dinner, slow release if you wanna keep flavors more intense and tender pull more tender.
Orange Chicken
Equipment
- 1 Mixing bowl large
- 1 Wok or deep skillet
- 1 Saucepan small
Ingredients
Main ingredients
- 4 Egg whites whipped till frothy
- 2 tablespoon Cornstarch mixed in egg whites
- 1.5 lbs Chicken thighs boneless, skinless, cut in bite size
- ½ cup Orange juice
- 1 tablespoon Soy sauce
- 2 tablespoon Brown sugar or honey
- 1 tablespoon Rice vinegar or distilled vinegar
- 2 cloves Garlic minced
- 1 tablespoon Ginger minced fresh
- 1 Orange zest from 1 orange
- 2 Green onions sliced, for garnish
- 1 teaspoon Sesame oil
- 1 pinch Crushed red pepper
- Vegetable or peanut oil for frying
Instructions
Instructions
- Whip the egg whites in a large bowl until frothy. Stir in cornstarch to create a smooth batter.
- Add chicken pieces to batter and coat well. Let marinate for 10 minutes.
- In a saucepan, combine orange juice, soy sauce, brown sugar, and vinegar. Simmer until slightly thickened.
- Heat oil in wok or skillet to 350°F for deep frying.
- Fry chicken in batches until golden and crisp, about 5–6 minutes per batch.
- Drain fried chicken on paper towels to remove excess oil.
- Pour out most of the oil, leaving 1 tablespoon in the pan.
- Return chicken to pan. Add orange sauce and toss to coat. Cook until sauce thickens and clings to chicken.


Leave a Reply