
The pressure builds and you start counting down minutes until you eat. That little float valve pops up and you realize the cooker’s doing its thing. You catch the steam cues and know you’re close to dinner time, that moment when the smell makes your whole apartment feel like home.
You can’t help but peek a little. The quick release just gave way and now the wait for natural release is on. It’s that dang suspense that makes the first bite taste even sweeter. Your mouth waters like crazy thinking about flaky crust and creamy filling.
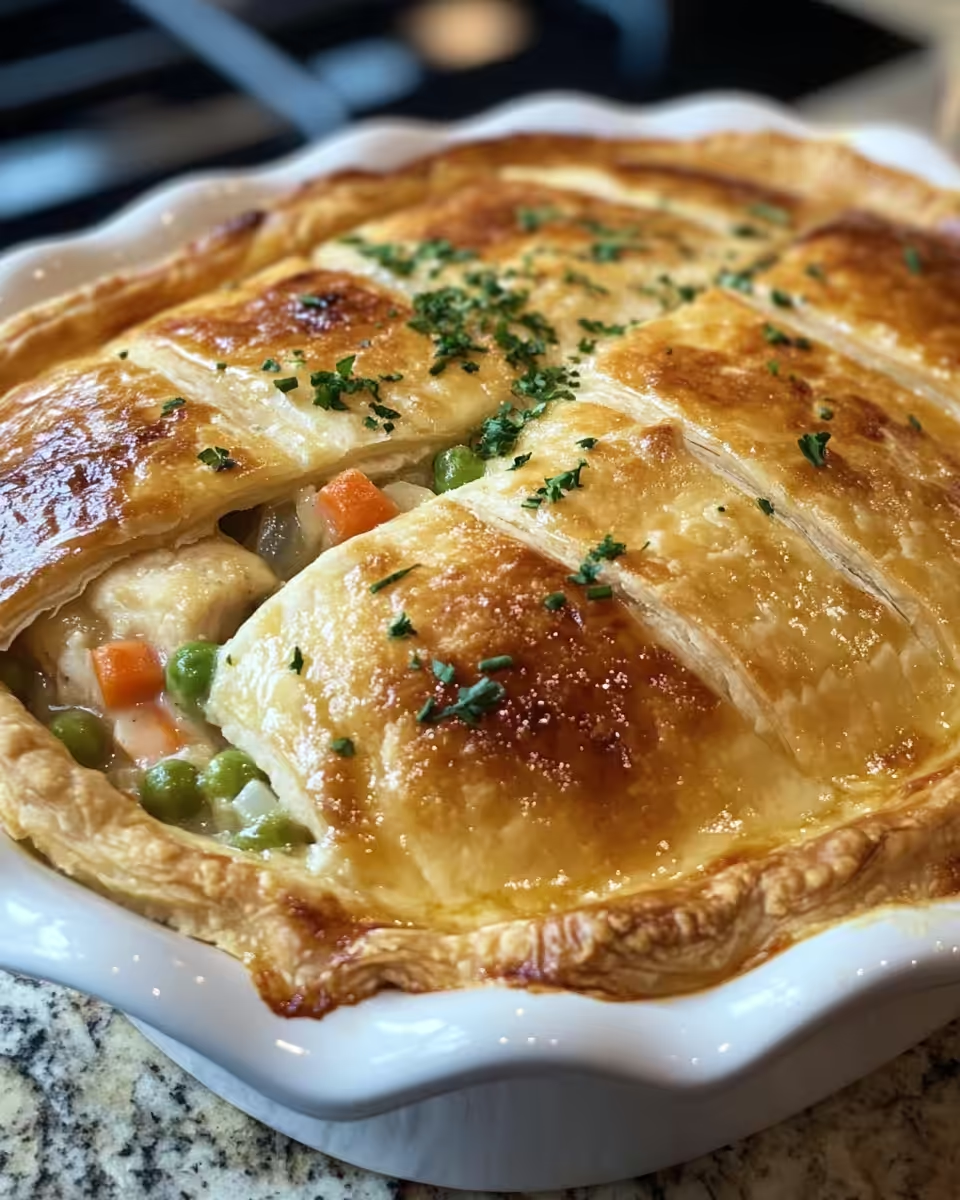
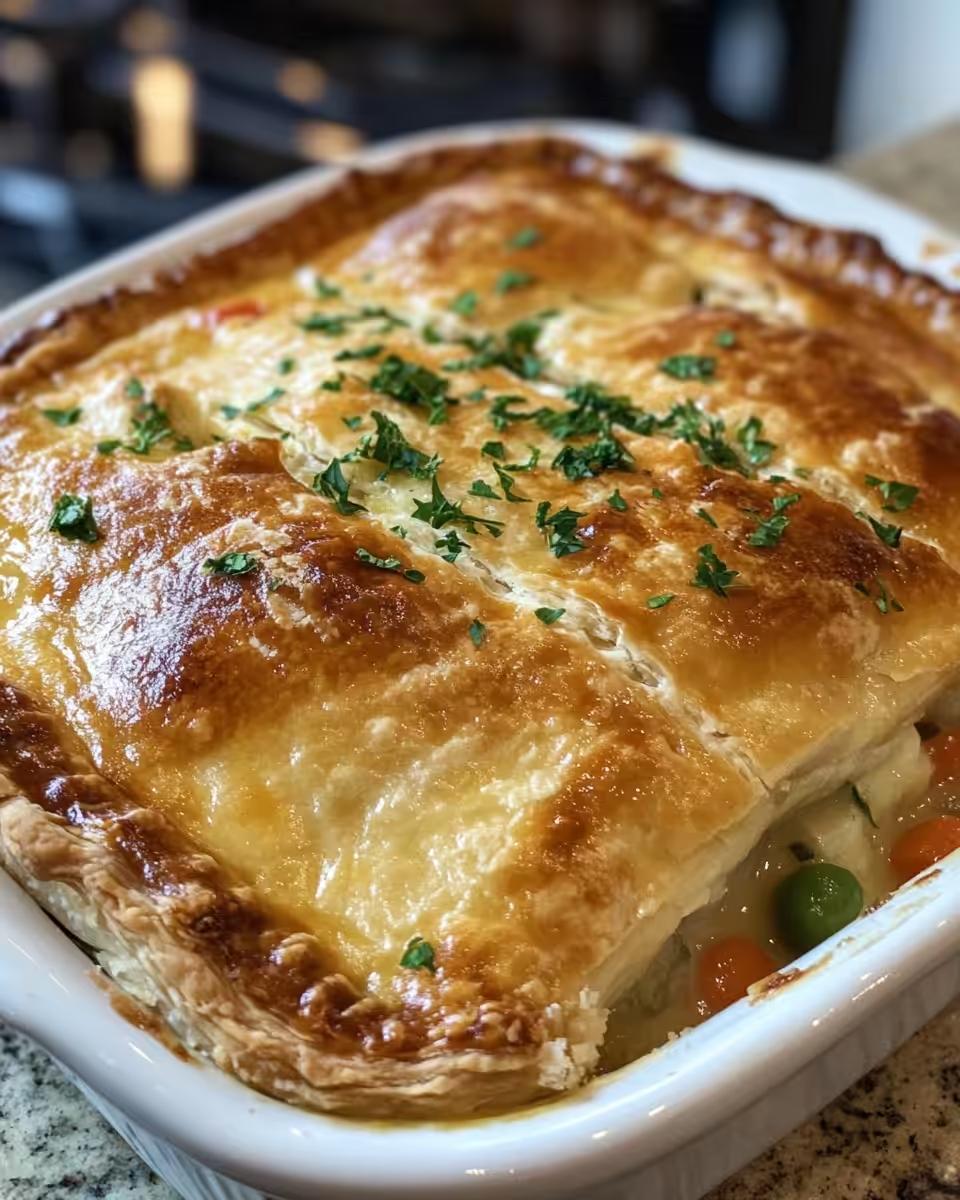
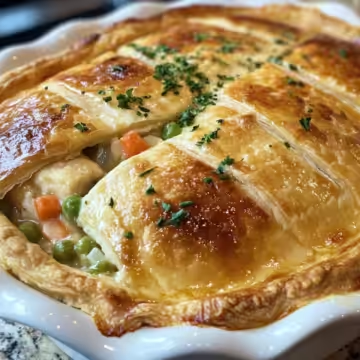
Cooking in a pressure cooker like this makes everything so much faster but no sacrifice on taste. You notice how each ingredient blends perfectly, juicy chicken and tender veggies all snug in that sauce. You recall why this classic never gets old and how your pressure cooker made it simple.
Why Your Cooker Beats Every Other Pot
- You get that tender chicken way quicker than oven baking does.
- It locks in flavors tight so every bite tastes rich and comforting.
- The veggies cook perfectly without getting mushy or losing their bite.
- Using steam pressure speeds up the whole process like a charm.
- You save yourself the fuss of babysitting the pot all day long.
- Cleanup’s easier ’cause you don’t need a million pans and dishes.
- The crust gets that perfect golden top when you finish it under the broiler after pressure cooking.
Everything You Need Lined Up
- 2 tablespoons butter — you gotsta melt this to start that yummy base.
- 1 small onion, diced — brings sweetness and depth to the filling.
- 2 cloves garlic, minced — you can never go wrong with garlic flavor here.
- 2 carrots, diced — adds color and that gentle crunch you wanna keep.
- 2 celery stalks, diced — gives a nice fresh veggie note to your pie.
- ⅓ cup all-purpose flour — this gonna thicken your filling real good.
- 2 cups chicken broth and 1 cup milk — the creamy combo that ties it all together.
- 2 cups cooked chicken, shredded — the star of the show, juicy and tender.
- 1 cup frozen peas, ½ teaspoon salt, ¼ teaspoon black pepper, and ½ teaspoon dried thyme — little touches that bring flavor life.
- A sheet of puff pastry or pie crust — gives you that flaky golden top everyone loves.
- 1 egg, beaten — for brushing on top and getting that shiny crust.
Getting all your stuff set up before starting makes the whole cooking way smoother. Having your veggies diced and chicken shredded saves you from stopping mid-cooking. You notice it helps the flavors get into the filling quicker, too. Keep everything nearby so you don’t have to run around looking for ingredients.
How It All Comes Together Step by Step
- First things first, preheat your oven to 400 degrees Fahrenheit so it’s ready when you need it.
- In a large skillet, melt butter over medium heat. Toss in diced onion, minced garlic, carrots, and celery. Sauté until soft, ’bout 5 minutes. You catch that aroma? It’s already promising.
- Sprinkle in the flour and stir constantly for 1 to 2 minutes. This gets rid of that raw flour taste and starts thickening your filling.
- Slowly whisk in chicken broth and milk, keep stirring till it thickens, ’bout 5 minutes. You’ll see it go from watery to creamy, just right to hug your chicken.
- Mix in shredded chicken, frozen peas, salt, pepper, and thyme. Cook for 2 more minutes so the flavors get cozy, then take off the heat.
- Pour this filling into your pie or baking dish. Spread it out nice and even so every bite’s got some love.
- Place your puff pastry or pie crust over the top, trim edges, and crimp ’em to seal. Brush with beaten egg. Cut a few slits in the crust to let steam escape, otherwise you might get a soggy mess.
- Bake in the oven for 25-30 minutes. You’re lookin’ for a golden crust and bubbly filling peekin’ through those slits. Let it cool just a bit before cutting — nobody wants a scorched tongue.
Time Savers That Actually Work
- Use pre-cooked rotisserie chicken from the store. It’s ready to shred and always juicy.
- Grab frozen pre-chopped veggies if you’re in a real rush. It saves you slicing time and still tastes good.
- Mix your herbs ahead in a little jar. That way you don’t gotta measure every time.
- Make your filling a day ahead and just bake when you want dinner. It’s even better after resting.
- Keep a sheet of frozen puff pastry in the freezer so you’re never caught off guard.
That First Bite Moment
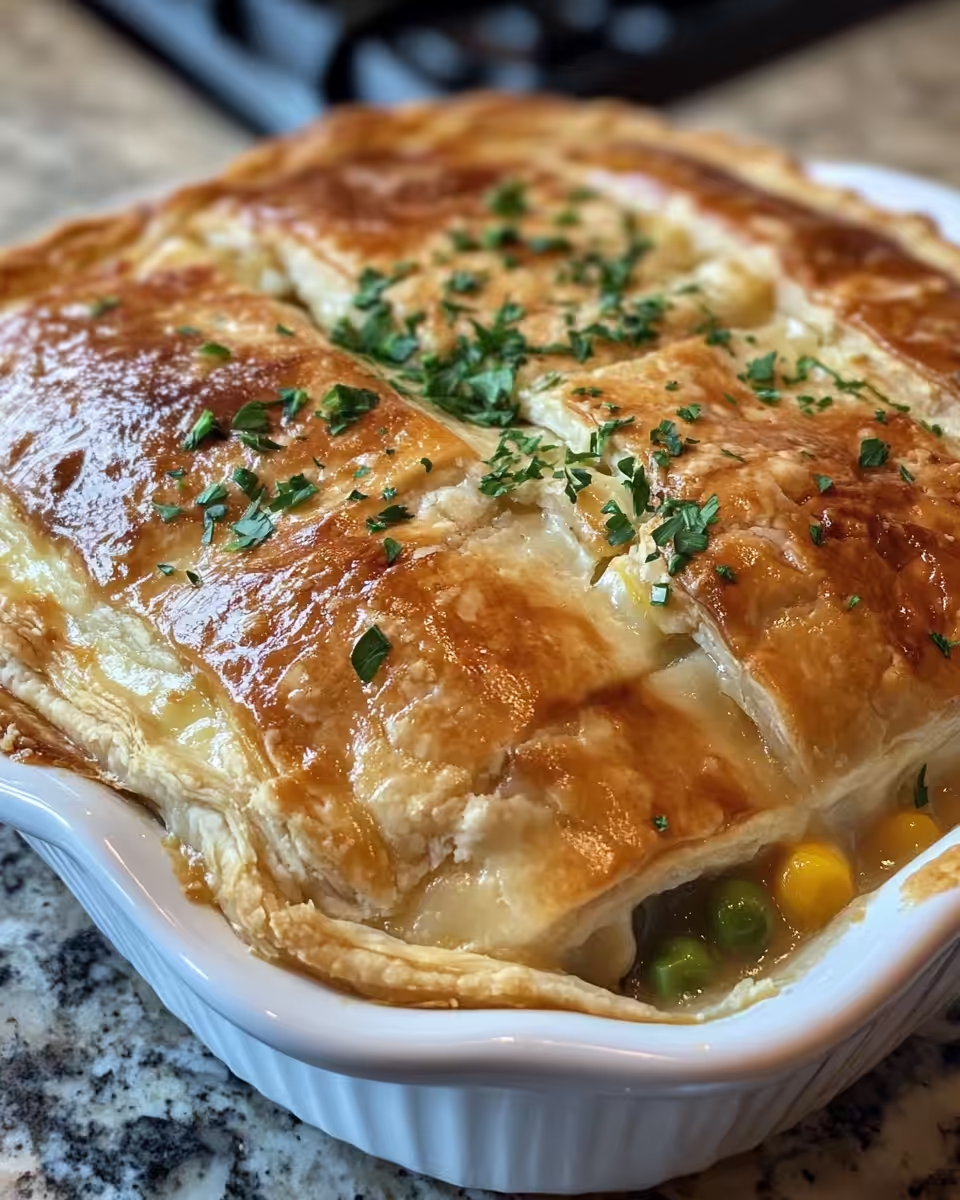
You’ll notice the crust’s flaky edges crumble in your mouth just right. It’s warm, golden, and smells dang good. You catch a whiff of buttery pastry mixed with herbs.
The creamy filling hugs your tongue with tender chicken chunks and veggies that still got a little snap. You sense the thyme dancing gently, pulling all the flavors together.
Each spoonful feels like a cozy hug from that pot pie grandma might’ve made. It’s rich but not heavy, comforting just right after a long day.
Yeah this chicken pot pie? It’s one of those meals where you pause, savor slow, and maybe go back for seconds. No regrets there.
How to Store This for Later
- Leftovers in the fridge go in an airtight container. They’ll keep good for about 3-4 days. Reheat in the microwave or oven until warm all the way through.
- If you wanna freeze for longer, slice the cooled pie first. Wrap slices individually in plastic wrap then foil. They last about 2 months in the freezer.
- To reheat frozen slices, thaw overnight in the fridge then warm up in the oven to keep that crust crisp.
- If you’ve got a whole pie leftover, cover tightly with foil and freeze as is. When thawed, bake it at 350 degrees Fahrenheit till bubbly and heated through.
Your Most Asked Questions Answered
- Can I use fresh chicken instead of cooked? Yeah you can but gotta cook it first. Pressure cook raw chicken separately or roast it before shredding.
- What if I don’t have puff pastry? Pie crust from the store works fine too. Just bake until golden and flaky.
- Why do I need to cut slits in the crust? Those slits let steam escape during baking, so no soggy crust or overflowing filling.
- Can I add other veggies? Totally. Mushrooms, corn, or green beans fit right in. Just adjust cooking times a little.
- How do I do natural release with this recipe? Actually, most filling’s done in skillet but if you’re pressure cooking chicken first, you’ll wait till float valve drops, then do a slow release.
- Can I make it dairy free? You sure can. Swap milk for coconut milk or almond milk and use dairy-free butter or oil.
A Pretty Classic Chicken Pot Pie
Equipment
- 1 Mixing bowl Large
Ingredients
Main ingredients
- 2 tablespoons Butter melted
- 1 small Onion diced
- 2 cloves Garlic minced
- 2 Carrots diced
- 2 stalks Celery diced
- ⅓ cup All-purpose flour
- 2 cups Chicken broth
- 1 cup Milk
- 2 cups Cooked chicken shredded
- 1 cup Frozen peas
- ½ teaspoon Salt
- ¼ teaspoon Black pepper
- ½ teaspoon Dried thyme
- 1 sheet Puff pastry or pie crust
- 1 Egg beaten
Instructions
Instructions
- Preheat your oven to 400 degrees Fahrenheit.
- In a large skillet, melt butter over medium heat. Add onion, garlic, carrots, and celery. Sauté for about 5 minutes until soft.
- Sprinkle in flour and stir continuously for 1 to 2 minutes to eliminate raw flour taste.
- Slowly whisk in chicken broth and milk, stirring until the mixture thickens, about 5 minutes.
- Mix in shredded chicken, peas, salt, pepper, and thyme. Cook for 2 more minutes and remove from heat.
- Pour mixture into pie or baking dish. Spread evenly.
- Place puff pastry or pie crust on top, trim edges, and crimp to seal. Brush with beaten egg and cut slits for steam to escape.
- Bake for 25-30 minutes until crust is golden and filling is bubbly.
- Let pie cool slightly before serving.


Leave a Reply