
The pot lid rattles and you know dinner is almost ready. You get that little thrill from hearing the valve hiss as pressure builds inside. The float valve pops up, telling you everything's sealed tight and cooking good. It�27s kinda like your kitchen putting on a show just before the tasty curtain opens.
Inside the pot, the chicken�27s gonna get tender real fast. You feel that flavor working its way deep inside as the pressure cooker does its thing. The sound of the steam escaping means all that juicy goodness is trapped where it belongs. Kinda like the secret sauce of great meals.
You can almost smell the crispy coating coming alive just after the slow release. The sealing ring holds everything inside, so no flavor escapes early, making every bite pop with Thai-inspired yum. You spot the aroma creeping out and your mouth's watering already. Dang, dinner�27s looking dang good tonight!
The Truth About Fast Tender Results
- Pressure build inside your cooker speeds up tenderizing chicken thighs super fast.
- The sealing ring keeps moisture locked in so meat stays juicy not dry.
- Valve hissing means the cooker is working right, making flavors meld deep inside.
- Float valve popping up shows safe sealing and proper pressure is met.
- Slow release lets chicken relax so it stays moist without getting rubbery.
- Using a pressure cooker cuts your cook time without losing that crispy finish.
Everything You Need Lined Up
- 4 boneless, skinless chicken thighs �26ndash; the star of your dish.
- 1 cup buttermilk �26ndash; to make that chicken tender and tangy.
- 1 tablespoon fish sauce �26ndash; packs a punch with authentic Thai flavor.
- 1 tablespoon soy sauce �26ndash; adds that salty umami vibe.
- 1 teaspoon ground white pepper �26ndash; subtle heat that punches through.
- 1 cup all-purpose flour paired with ½ cup cornstarch �26ndash; to get that crispy crust.
- 1 teaspoon baking powder �26ndash; gives the coating a nice light crunch.
- Spices like garlic powder, paprika, and a dash of cayenne pepper �26ndash; all working together to bring the taste alive.
- Vegetable oil for frying plus brioche buns, shredded cabbage, mayo, Thai sweet chili sauce, lime juice, and fresh cilantro �26ndash; for finishing that perfect sandwich.
Walking Through Every Single Move
First, mix your buttermilk, fish sauce, soy sauce, and white pepper in a bowl. You�27re creating that marinade that�27s gonna soak right into the chicken thighs. Toss them in and cover the bowl, then put it in the fridge for at least an hour, or overnight if you got time. It�27s all about letting those flavors really sink in.
Next, grab another bowl and stir the flour, cornstarch, baking powder, garlic powder, paprika, and cayenne pepper together. This flour mix is gonna give your fried chicken that irresistible crunch. When your chicken�27s done marinating, take it out and dredge it in the flour blend, pressing it on so it sticks tight.
Heat your vegetable oil in a deep pan to about 350�B0F. This temperature is what you want for frying just right. Fry the chicken thighs in batches, don�27t crowd the pan or the coating won�27t stay crispy. You�27re looking at 6 to 8 minutes per batch till they�27re golden brown and cooked through.
Drain the fried chicken on paper towels, no one likes soggy oil sitting around. Now, mix mayo, Thai sweet chili sauce, and lime juice to make your spicy-sweet sandwich sauce. Toast your brioche buns lightly, then spread this sauce all over.
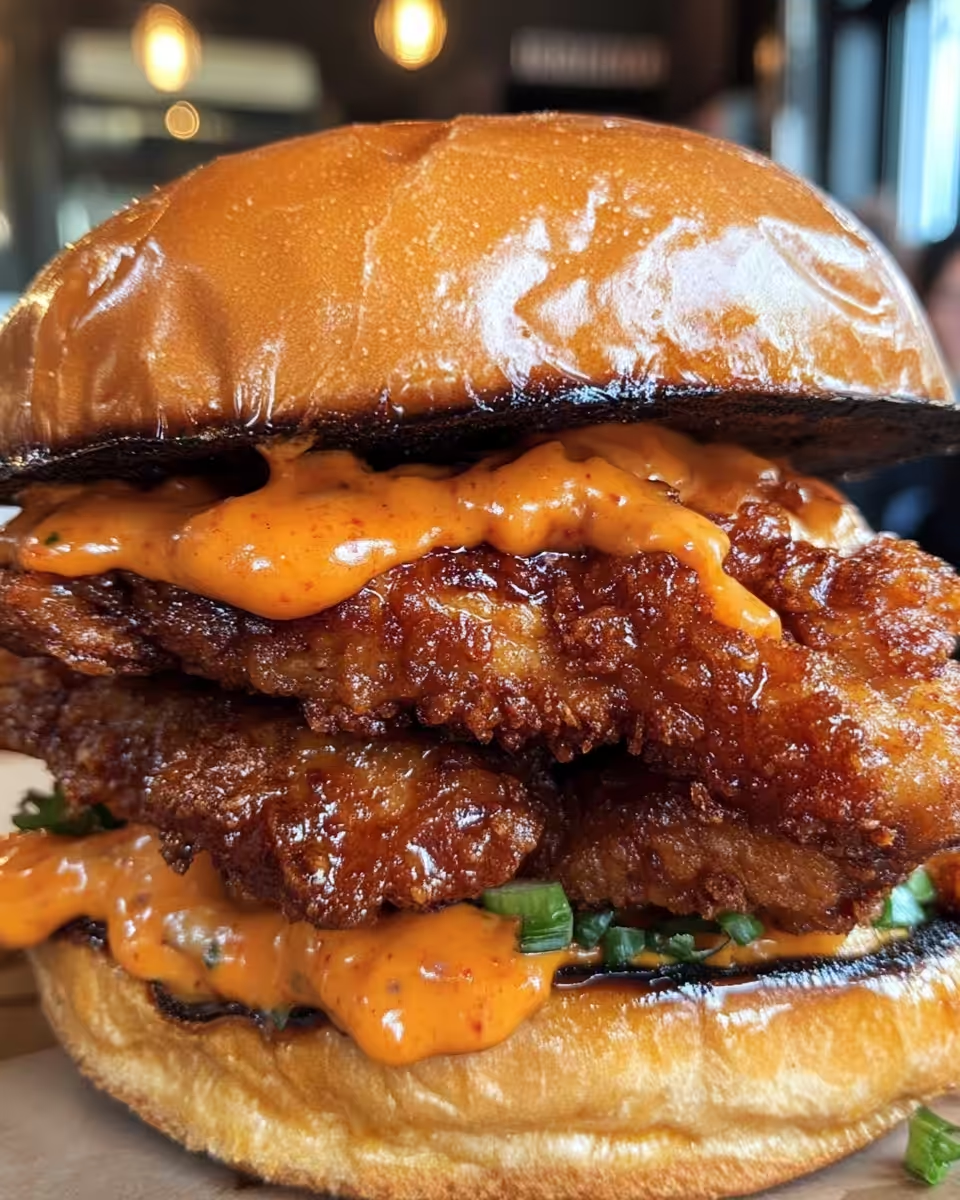
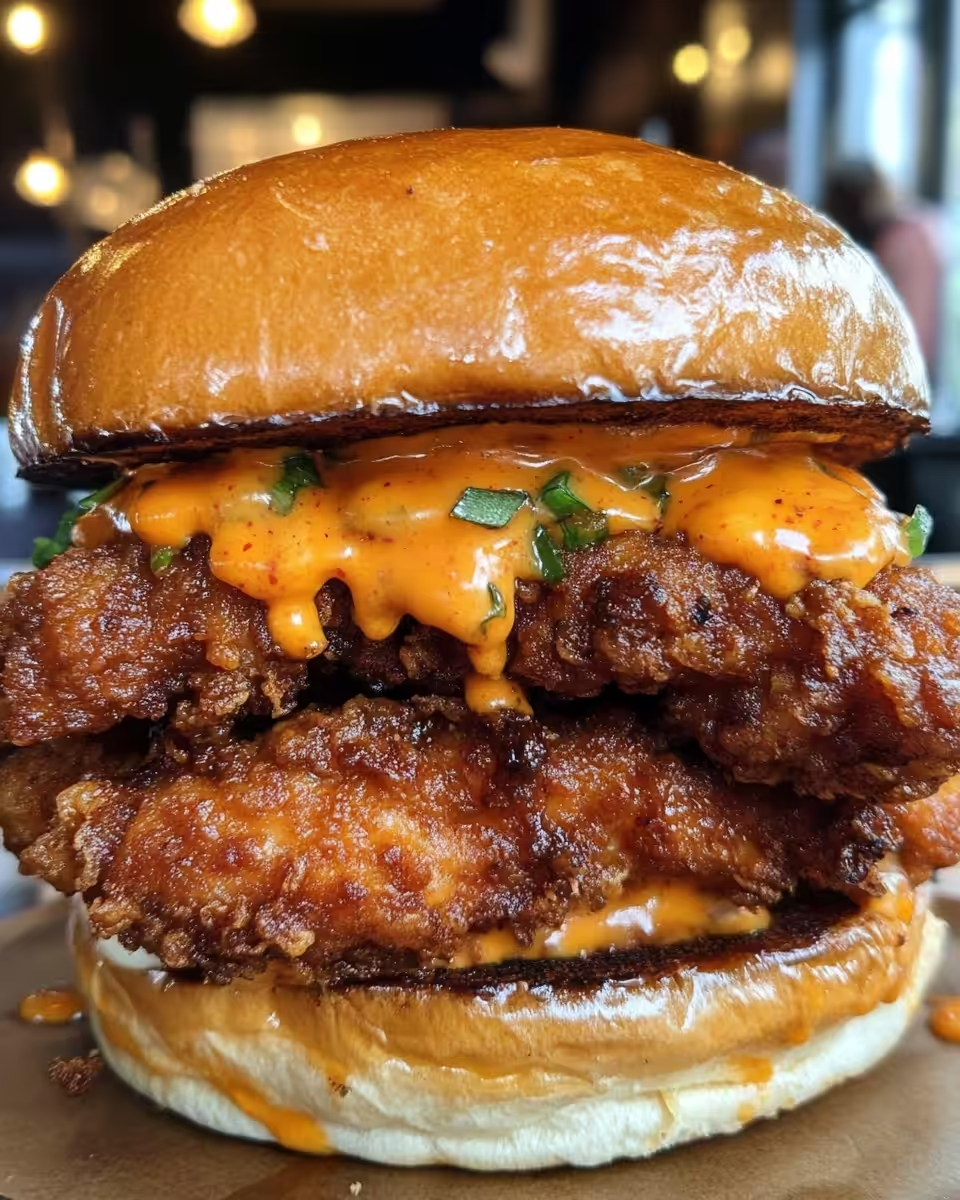
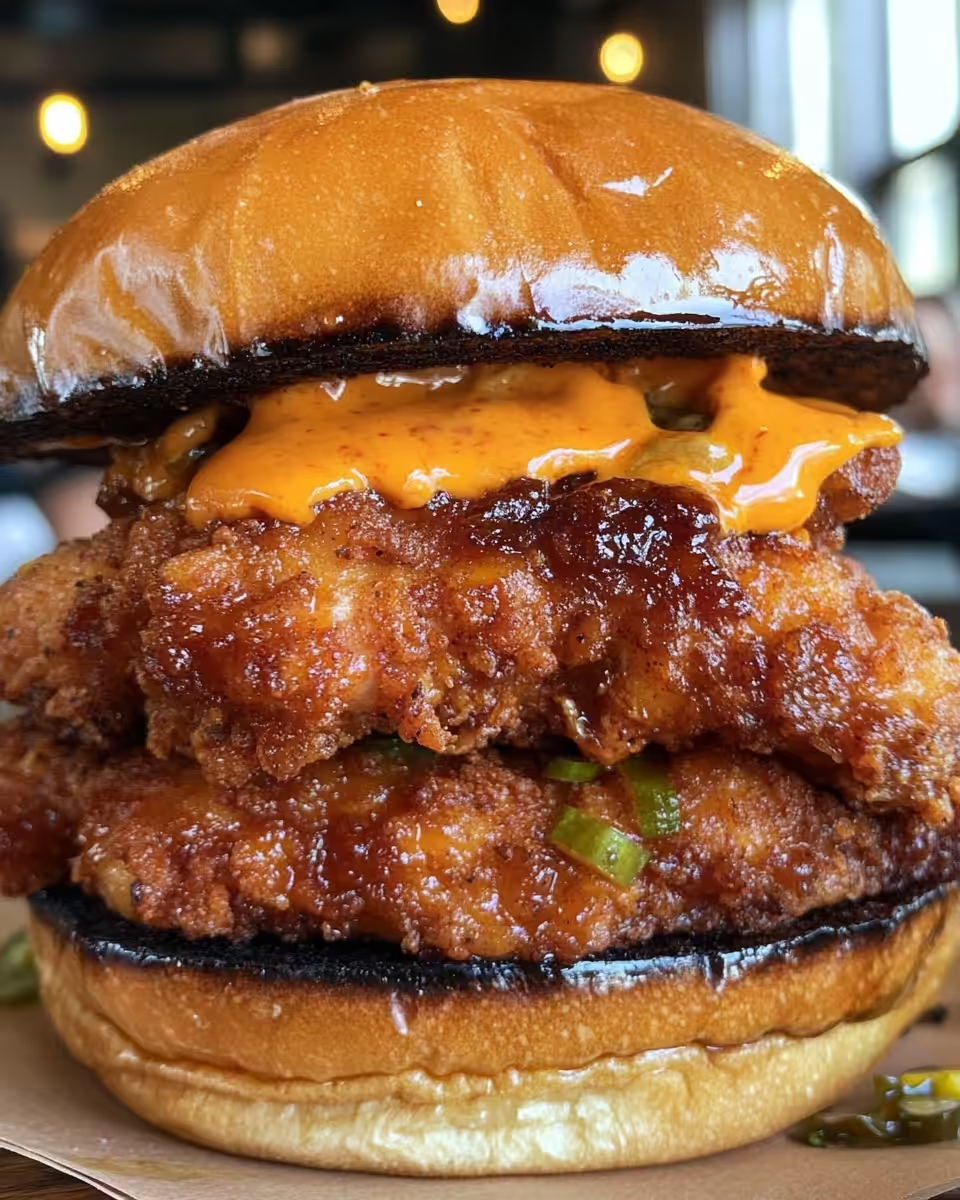
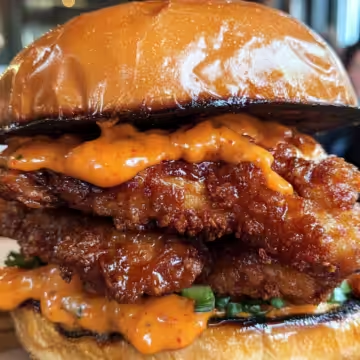
Time to build your sandwich. Lay the fried chicken on the bun, top with shredded cabbage for crunch, then fresh cilantro leaves to get that fresh pop. Put the bun top on and bam, you got yourself a dang good Thai style fried chicken sandwich.
Serve this right away while it�27s hot and crunchy. You feel good about how fast and tasty this meal comes together with the pressure cooker doing its thing behind the scenes.
Smart Shortcuts for Busy Days
- Marinate your chicken the night before to save time after work.
- Mix your flour coating in bulk and store it, so it�27s ready whenever chicken�27s coming out.
- Use pre-shredded cabbage so you don�27t gotta chop every time.
- Make your chili-lime mayo sauce ahead and refrigerate it for a quick spread anytime.
The Flavor Experience Waiting for You
With every bite, you notice the crispy crust crackles just right while the meat inside melts tender and juicy. The blend of garlic, paprika, and cayenne hits first, warming your taste buds gently. Then the fish sauce and soy sauce sneak in, adding that deep, savory kick you only get from good Thai food.
The chili-lime mayo brings a creamy zing that ties it all together. You get that perfect balance of heat, sweetness, and tang, with fresh crunch from cabbage and pops of herb freshness from cilantro. It�27s like a flavor party in your mouth that keeps you coming back for more.
You recall the quick pressure cooker work behind the scenes is the real secret to getting this level of tender but still crispy fried chicken that you just can�27t beat with regular cooking. Every single part of the flavor hits just right, making dinner feel like a fun celebration of taste.
You can also chop leftover chicken and toss it over a salad or mix it into fried rice for a new meal that uses what you got without any hassle.
Making It Last All Week Long
If you got leftovers, here�27s the lowdown on keeping that fried chicken tasty for a few days. First, cool them completely to avoid soggy spots. Wrap each piece in paper towels and then store in an airtight container in the fridge.
When you wanna reheat, a quick flash under the broiler or in a hot pan works better than microwave for crispy skin. Don�27t cover it tight during reheating or it gets steam soft.
For freezing, wrap chicken pieces well in foil or freezer bags. Thaw overnight in the fridge before reheating to keep them juicy. Sauces and buns are best kept separate before storing so they stay fresh longer.
Everything Else You Wondered About
- Can I use bone-in chicken thighs? Yeah, but cooking times might need bumping up a bit and pressure times adjusted.
- What if I don�27t have fish sauce? You can swap with extra soy sauce but it won�27t have the same umami kick.
- Can I skip the slow release? Slow release is best for juicy tender chicken but quick release can be done if you�27re short on time, just watch for moisture loss.
- Is this safe in any pressure cooker? Make sure your pressure cooker has a float valve and reliable sealing ring for best results.
- Can I double the recipe? Yeah, just make sure your pot isn�27t too crowded so chicken cooks evenly and coating stays crunchy.
- How crispy will it be after pressure cooking? The pressure cooker tenderizes first but you get crispy texture with the quick fry after. The best of both worlds!
Thai Diner's Fried Chicken Sequel, Reviewed!
Equipment
- 1 Mixing bowl Large
- 1 Deep frying pan For frying chicken
Ingredients
Main Ingredients
- 4 boneless, skinless chicken thighs
- 1 cup buttermilk
- 1 tablespoon fish sauce
- 1 tablespoon soy sauce
- 1 teaspoon ground white pepper
- 1 cup all-purpose flour
- ½ cup cornstarch
- 1 teaspoon baking powder
- garlic powder, paprika, cayenne pepper a dash of each
- vegetable oil for frying
- brioche buns
- shredded cabbage
- mayo
- Thai sweet chili sauce
- lime juice
- fresh cilantro for garnish
Instructions
Instructions
- Combine buttermilk, fish sauce, soy sauce, and white pepper in a bowl; marinate chicken for at least 1 hour or overnight.
- Mix flour, cornstarch, baking powder, garlic powder, paprika, and cayenne in a separate bowl to prepare coating.
- Dredge marinated chicken in the flour mixture, pressing to adhere.
- Heat vegetable oil in a deep pan to 350°F; fry chicken in batches for 6-8 minutes until golden and cooked through.
- Drain chicken on paper towels.
- Mix mayo, Thai sweet chili sauce, and lime juice to make sandwich sauce.
- Toast brioche buns lightly, spread sauce, then layer fried chicken, shredded cabbage, and cilantro.
- Top with remaining bun and serve immediately while hot and crispy.


Leave a Reply