
You catch the smell through the steam vent and suddenly you are starving. It’s that kinda garlic punch that sneaks up on you even before you open your pressure cooker lid. You spot the steam curling out, the float valve dancing just right, and your mouth starts watering without any warning.
Your kitchen fills with this warm, cozy scent while the valve hiss sings softly, telling you the chicken inside is getting that tender pull you love. It’s like the smell’s wrapping around you, calling you to come take a bite. You feel that excitement build because dang this is gonna be good.
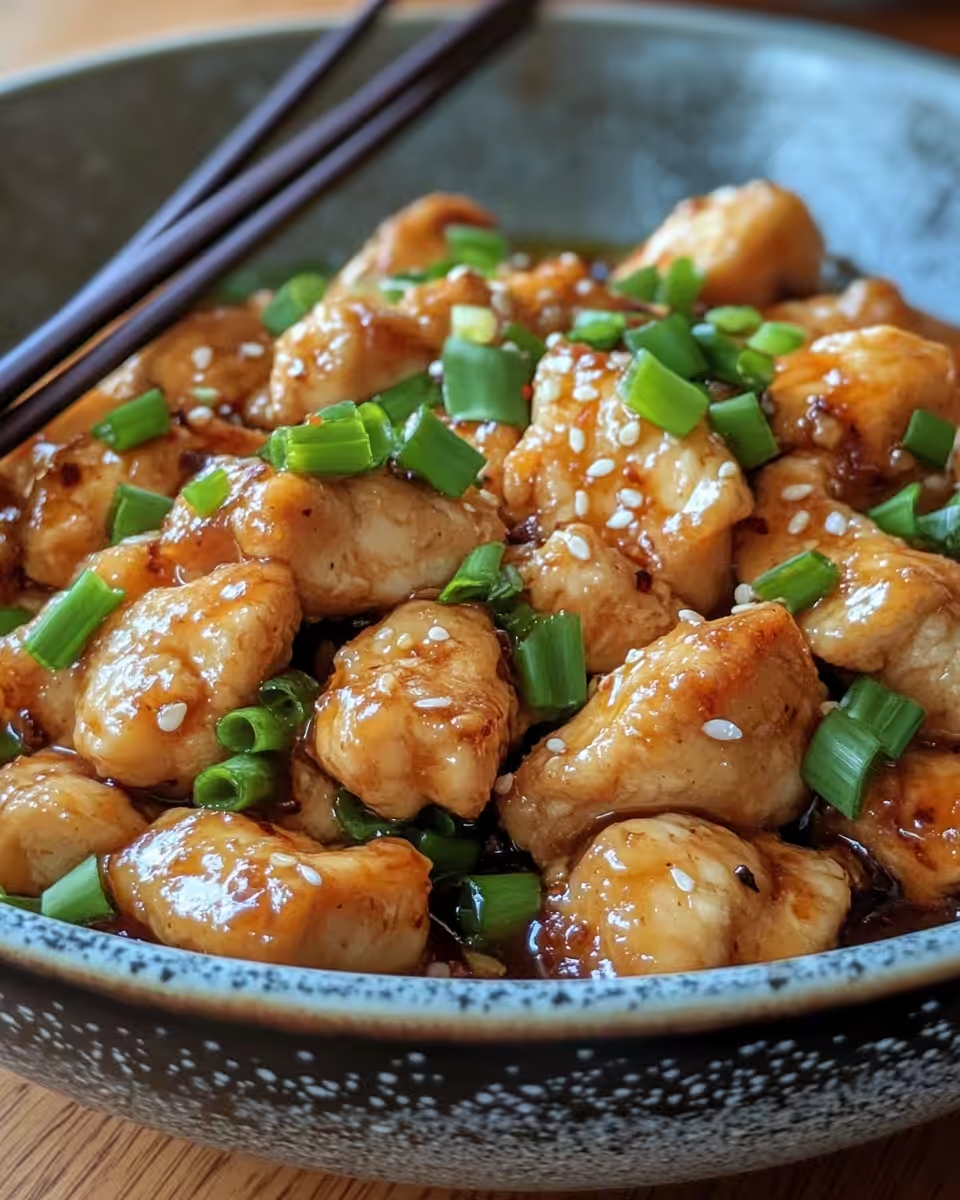
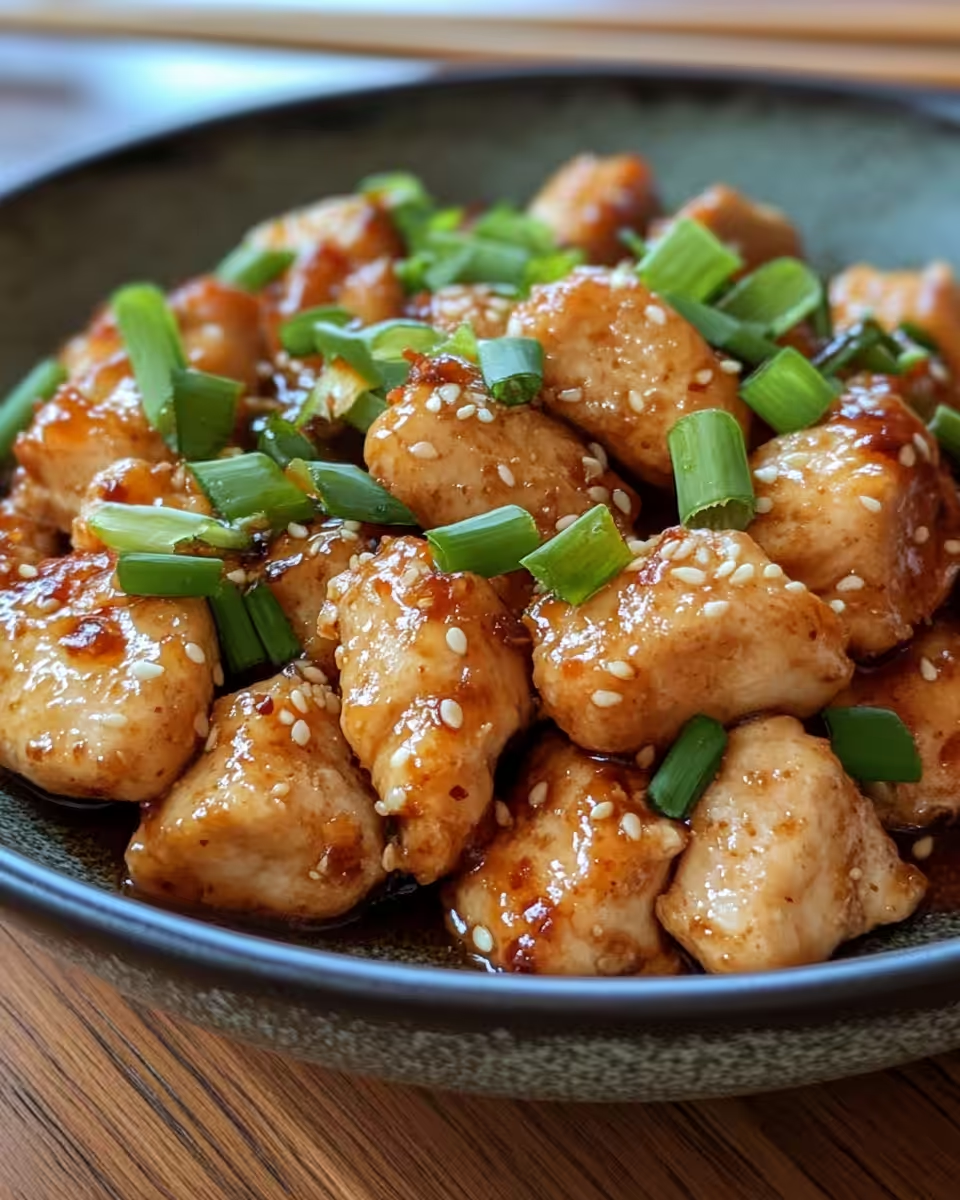
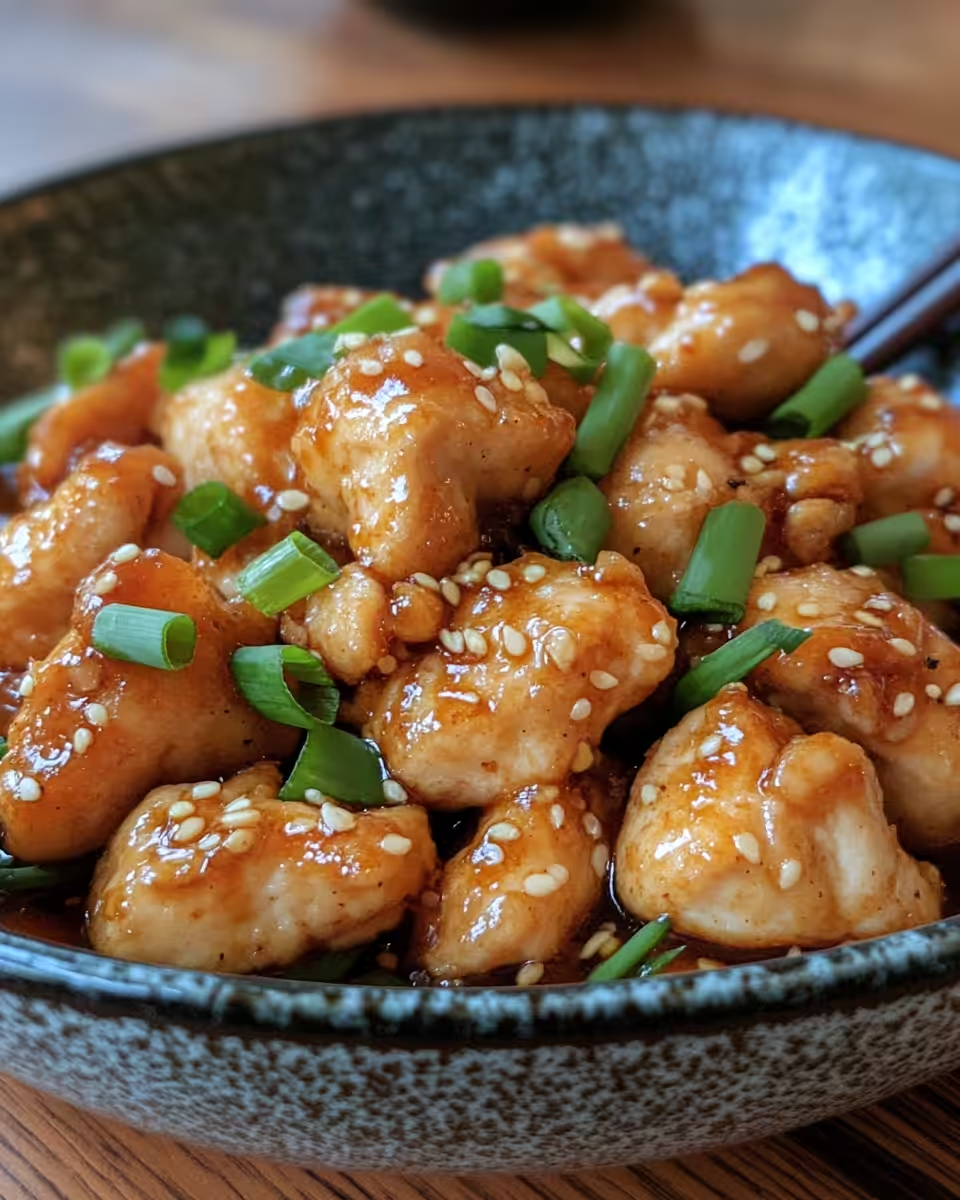
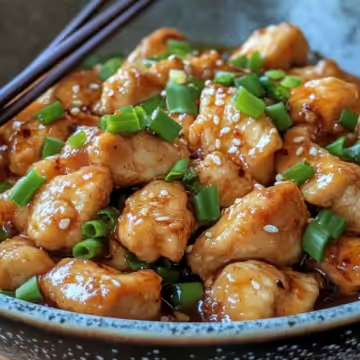
When you finally lift the lid after the natural release, you see the chicken drenched in that shiny, garlic-loaded sauce. The sauce clings to each piece just right, and you know you're moments away from enjoying a meal that’s full of flavor and cooked just perfectly. Y’all ready for this?
The Real Reasons You Will Love This Method
- Pressure cooking locks in juices, so your chicken stays super tender and moist.
- It concentrates the garlic sauce flavors real good, making every bite richly tasty.
- The float valve and steam cues let you know exactly when it’s done without guesswork.
- You save time with quick cooking and natural release lets the flavors settle perfectly.
- No standing over the stove forever; just set it and go get stuff done while it cooks.
Everything You Need Lined Up
- 10 oz. chicken breast, thinly sliced – this cooks fast and soaks up sauce well.
- A pinch of salt to make the chicken taste just right.
- 1 teaspoon cornstarch – gives the chicken a nice tender texture.
- 1 teaspoon oil – helps everything brown just enough.
- 1 tablespoon light soy sauce for that salty umami kick.
- 1 tablespoon rice vinegar adds a tangy brightness to the sauce.
- 1 tablespoon Shaoxing wine – optional but brings a great depth of flavor.
- 1 tablespoon sugar balances the garlic’s punch with a little sweetness.
- ¾ cup chicken broth to keep the sauce saucy and flavorful.
- 2 tablespoons oil, 12 dried red chilies, 1 teaspoon minced ginger, and 3 cloves minced garlic for that classic heat and scent.
Also, you gotta grab a few veggies: thinly sliced winter bamboo shoots, julienned wood-ear mushrooms, and red bell pepper add crunch and color. Don't forget ¼ teaspoon more salt, chili oil if you like some extra heat, 2 tablespoons cornstarch mixed with water for thickening, and a sliced scallion to sprinkle on top.
The Exact Process From Start to Finish
- In a bowl, toss your sliced chicken with that pinch of salt, 1 teaspoon cornstarch, and 1 teaspoon oil. Mix it up and let it marinate for about 10 minutes so it sucks up all that flavor.
- Next, mix light soy sauce, rice vinegar, Shaoxing wine, sugar, and chicken broth in another bowl. This is your sauce base, waiting to bring everything together.
- Heat 2 tablespoons of oil in your pressure cooker on saute mode over medium-high heat.
- Dump in the marinated chicken and stir-fry until it loses all pink and gets mostly cooked through, roughly 3-4 minutes. You looking for that tender pull texture starting to show.
- Pour in your sauce mixture and give it a quick stir to combine everything real nice.
- Seal the lid and watch the float valve pop up and steam hiss out as it pressurizes. Set to cook on high pressure for about 6 minutes.
- When cooking finishes, let it do a natural release for 10 minutes, then carefully quick release any remaining steam. This keeps the chicken tender and sauce thickened just right.
- Open lid, add in your veggies and chili oil if you want some punch. Stir in the cornstarch slurry to thicken the sauce. Cook with lid off on saute for a couple more minutes until veggies soften slightly. Finish with sliced scallions on top and serve hot.
Time Savers That Actually Work
- Buy pre-sliced chicken breast – it shaves off that prep time for sure.
- Use jarred minced garlic and ginger instead of fresh if you’re in a rush.
- Prepare the sauce while the chicken marinates to speed stuff up.
- Use the saute mode on your pressure cooker to do all the browning so you don’t need extra pans.
- Keep chopped veggies ready in fridge whenever you know you wanna whip this up fast.
That First Bite Moment
When that first bite hits your tongue, you notice the garlic bursting out with just the right heat from those dried red chilies. It’s sharp but balanced by the sweet and tangy sauce clinging to every piece.
The chicken is tender from pressure cooking, almost melting in your mouth with little effort. You feel the texture hold just enough bite to be satisfying without being tough or dry.
The veggies sneak in some crunch and their fresh flavors offer a nice contrast to the rich sauce coating everything. You savor how all the tastes come together.
By the time you’re done, you’re pretty sure this is gonna be a go-to dish, one you’ll wanna share with anyone craving something fast and full of flavor.
Keeping Leftovers Fresh and Ready
To keep leftovers tasting great, store them in an airtight container in the fridge. They’ll stay good for about 3 days so you can enjoy quick meals later.
If you wanna save some for later than that, portion and freeze them in freezer-safe containers. When ready to eat, thaw overnight in the fridge, then reheat gently on a stove or microwave until warm.
For easy reheating, add a splash of water or broth to loosen the sauce. Heat it slow so chicken stays tender and the sauce doesn’t dry out.
The FAQ Section You Actually Need
- Q: Can I use chicken thighs instead of breasts? Yes, chicken thighs work great and stay juicy too. You might wanna reduce pressure cooking time by a minute or two since they can cook faster.
- Q: What if I don’t have Shaoxing wine? No worries, just skip it or use a bit of dry sherry or extra rice vinegar as a substitute.
- Q: How spicy is this dish? It’s got a nice medium kick from dried red chilies and optional chili oil. You can adjust by adding or removing chilies.
- Q: Can I make this vegetarian? You can swap chicken with tofu or seitan, just be sure to press tofu well and cut into firm cubes. Adjust broth and seasonings as needed.
- Q: Does the pressure cooker flavor differ much from stovetop? The pressure cooker really amps up flavor faster and keeps chicken tender way better. Plus, you don’t gotta babysit it.
- Q: What’s natural release and why do I do it? Natural release means letting pressure come down on its own instead of quick releasing. It lets the meat rest and sauce thicken without overcooking.
Chicken with Garlic Sauce in Your Pressure Cooker
Equipment
- 1 Pressure cooker
Ingredients
For the chicken
- 10 oz chicken breast thinly sliced
- 1 pinch salt
- 1 teaspoon cornstarch
- 1 teaspoon oil
For the sauce
- 1 tablespoon light soy sauce
- 1 tablespoon rice vinegar
- 1 tablespoon Shaoxing wine optional
- 1 tablespoon sugar
- ¾ cup chicken broth
Additional ingredients
- 2 tablespoons oil
- 12 dried red chilies
- 1 teaspoon minced ginger
- 3 cloves garlic minced
- 1 small winter bamboo shoot thinly sliced and julienned
- 1 cup reconstituted wood-ear mushrooms julienned
- ½ red bell pepper thinly sliced
- ¼ teaspoon salt
- 2 teaspoons chili oil optional
- 2 tablespoons cornstarch mixed with 2 tablespoons water
- 1 scallion sliced
Instructions
Instructions
- In a bowl, toss your sliced chicken with salt, 1 teaspoon cornstarch, and 1 teaspoon oil. Let it marinate for 10 minutes.
- Mix soy sauce, vinegar, Shaoxing wine, sugar, and chicken broth in a bowl to form your sauce base.
- Heat 2 tablespoon oil in pressure cooker on saute mode over medium-high heat.
- Add the chicken and stir-fry until it's no longer pink, about 3–4 minutes.
- Pour in the sauce mixture and stir well. Seal the lid and pressure cook on high for 6 minutes.
- Allow natural release for 10 minutes, then quick release remaining pressure.
- Add veggies and chili oil. Stir in cornstarch slurry to thicken. Cook on saute for a few minutes, finish with scallions. Serve hot.


Leave a Reply