
That first hiss from the cooker tells you something good is happening. You recall that kinda excited feeling as your kitchen fills with the promise of warm comfort food. It’s like your best quiet friend speaking in gentle steams and hisses, telling you patience is gonna pay off.
Watching the pressure build inside your cooker, you start to notice how it’s gonna turn simple potatoes into something real special. The slow release at the end is kinda like letting the dish finish itself quietly, no rushed business.
By the time you get to that natural release, you’re already imagining the tender pull of each pierogi wrapped with that smooth, creamy potato filling. It’s the kinda dish that makes you wanna hug your soul.
Why Your Cooker Beats Every Other Pot
- Pressure builds quick, so your pierogi filling gets tender fast without drying out.
- The sealed environment locks in broth depth and flavor better than open pots.
- You get consistent heat all around, no hot spots messing with your dough.
- Slow release helps keep your pierogi tender without bursting from sudden pressure loss.
- Less water needed for boiling saves you space on your stove and less cleanup.
- It’s safer than boiling in big pots with less chance of spilling hot water.
- Quick cooking means you’re eatin sooner without sacrificing texture or taste.
Everything You Need Lined Up
You gotta start with these nine ingredients, all ready before you fire up your cooker. It makes the whole thing smoother when everything’s kinda waiting patiently.
- ½ cup sour cream, room temp
- ⅔ cup milk, room temp
- 1 egg (50 g, beaten and room temp)
- ⅛ teaspoon kosher salt
- 2 ½ cups gluten free flour blend (like Better Than Cup4Cup), plus more for kneading
- 1 teaspoon xanthan gum (unless your blend already has some)
- 1 pound potatoes (about 8 small red skin or 1 large potato)
- 1 small onion, peeled and diced
- 2 tablespoons clarified butter or ghee (can swap olive oil here)
Don’t forget a little extra salt and pepper for taste, plus a pinch of love.
How It All Comes Together Step by Step
First, peel and chop your potatoes. You drop them in salted water and let them boil till fork tender, about 15 minutes. This sets you up for that creamy filling�.
While potatoes cook, heat ghee or clarified butter over medium heat. You add diced onion, sautéing until it turns golden and translucent, which takes about 5 to 7 minutes. This gives your pierogi that tasty sweet note.
Drain your cooked potatoes, then put them back in the pot and mash them up together with sour cream and the sautéed onions. Season with salt here. Let it cool so it won’t mess up your dough later.
In a big bowl, mix the sour cream, milk, beaten egg, and kosher salt together till it’s smooth. Then sprinkle in the gluten free flour blend with xanthan gum if your blend needs it. Stir this up until a dough starts to form.
Turn your dough out to a floured surface and knead lightly till it feels smooth and kinda springy. Cover it up and let it rest for 15 minutes. This step is super key for pliable dough.
Roll your dough out thin, about ⅛ inch thick. Use a biscuit cutter or a glass to cut 3-inch rounds. Then scoop 1 to 2 teaspoons of your potato filling right into the center of each round.
Fold each round over and press the edges to seal. You can use a fork to crimp them if you want that classic look. Then you’re ready to cook those little pockets of goodness.
Valve Hacks You Need to Know
To get your pierogi cooked just right, try these shortcuts with your pressure cooker’s valve. They’ll save you some worry.
- Start with a natural release for 5 minutes after cooking to keep pierogi tender and intact.
- If you gotta speed things up, switch to a slow release but watch close to stop early to avoid exploding dough.
- Some folks add a little broth to the cooker to make that broth depth pop and keep pierogi moist.
- Remember to keep your valve clean so pressure builds right and cooking is even.
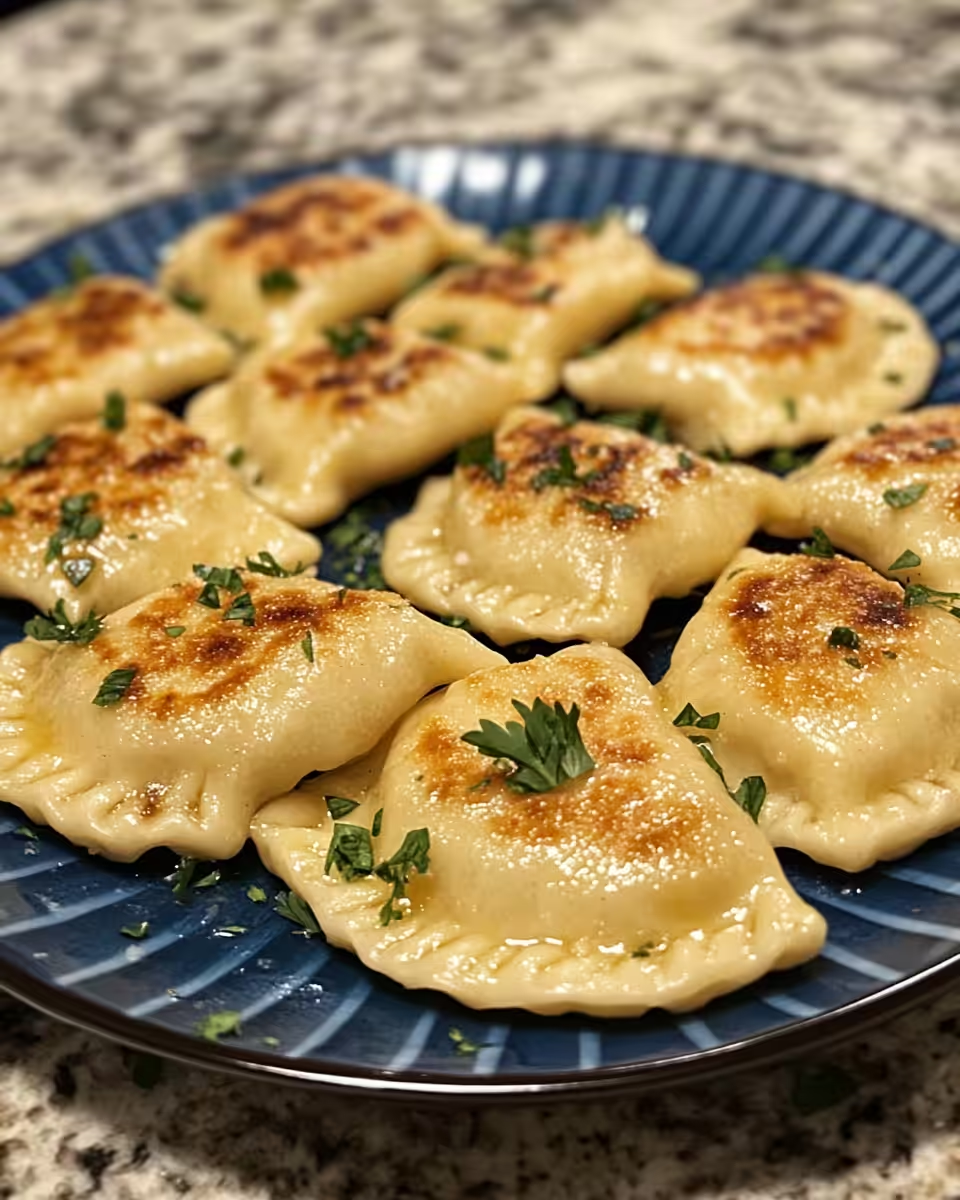
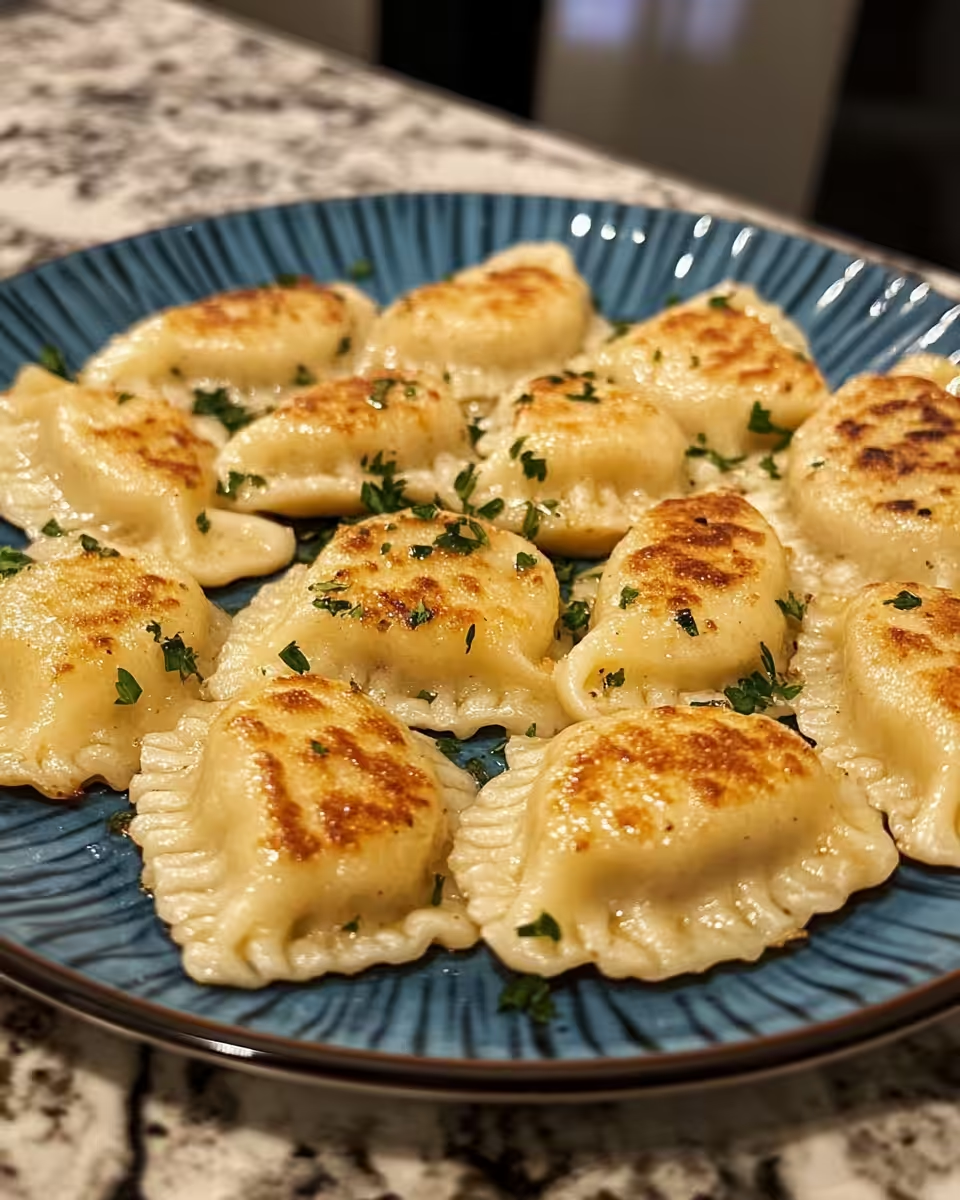
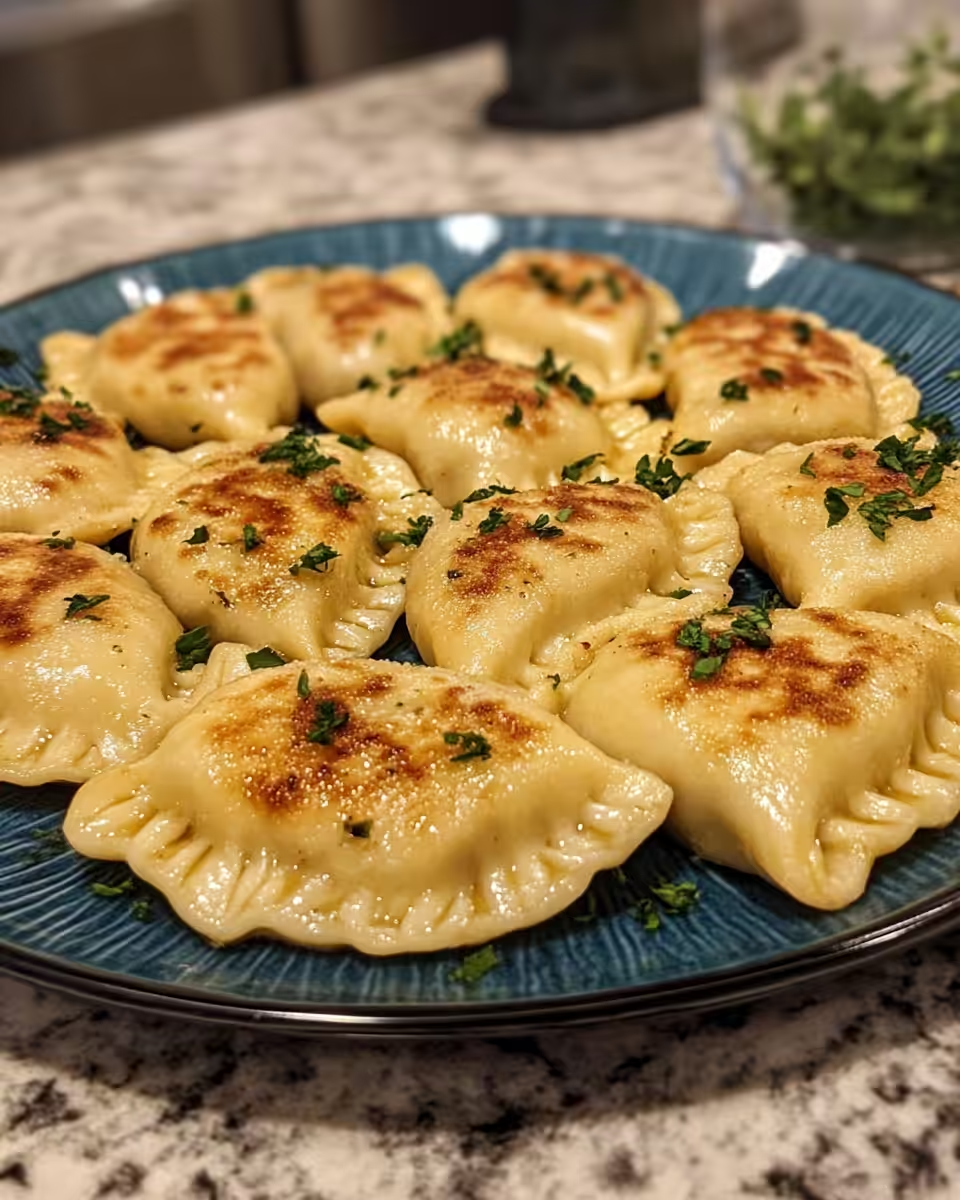
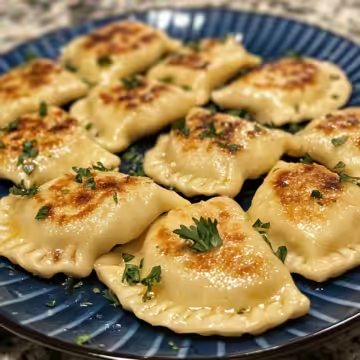
When You Finally Get to Eat
You notice the soft, tender pull of each pierogi the minute you bite in. The gluten free dough wraps around a creamy, savory potato filling that holds its own without falling apart.
That onion adds a subtle sweet crunch that compliments the smooth richness from sour cream and cheese. It’s kinda like a cozy hug in food form.
Serving warm with an extra dollop of sour cream or a drizzle of ghee takes it over the top. You’ll feel that comfort in every bite, like eatin on a colder day but inside your warm kitchen.
This dish kinda reminds you why you love cooking with a pressure cooker — fast, easy, and just bursting with the kinda depth you don’t get anywhere else.
Smart Storage That Actually Works
If you got leftovers, no worries cause these freeze and store real good.
- Refrigerate cooked pierogi in an airtight container for up to 3 days, just reheat by pan frying or soft boil before serving.
- Freeze uncooked pierogi on a baking sheet lined with parchment first, then transfer to a freezer bag for long term storage.
- When freezing cooked pierogi, flash freeze first so they don’t stick together, then pack well wrapped.
- Use slow release when reheating frozen pierogi in the pressure cooker to keep that tender pull intact.
This kinda storage plan saves you hassle and keeps your pierogi tasting fresh when you need 'em later.
What People Always Ask Me
Can I use a different gluten free flour blend? Totally, just be mindful of your blend’s xanthan gum content. Add some if it’s missing for that good dough elasticity.
Do I need to peel the potatoes? It’s best to peel them for smooth filling. The skin can be a little tough inside your tender pierogi.
How do I know when pierogi are done cooking? When they float to the top during boiling, it means they’re cooked through and ready to eat.
Can I prepare pierogi ahead of time? Yup! Make 'em and freeze uncooked for later or even fully cook then store.
Is xanthan gum absolutely needed? Only if your gluten free flour blend does not have it already. It helps with dough stretch and texture.
What’s the best way to reheat pierogi? Gentle pan frying or soft boiling works best. If using your cooker, use slow release to keep 'em tender without bursting.
Gluten Free Potato Pierogi Pressure Cooker Recipe
Equipment
- 1 Mixing bowl Large
Ingredients
Main ingredients
- 0.5 cup sour cream room temperature
- 0.66 cup milk room temperature
- 1 egg beaten, room temperature
- 0.125 teaspoon kosher salt
- 2.5 cups gluten free flour blend plus more for kneading
- 1 teaspoon xanthan gum omit if blend contains it
- 1 pound potatoes 8 small red or 1 large
- 1 onion small, peeled and diced
- 2 tablespoons clarified butter or ghee can substitute olive oil
- 0.5 cup sour cream room temperature
- 0.5 cup shredded semi-hard cheese Monterey jack and cheddar
- kosher salt to taste
- black pepper to taste
- 1 egg beaten, for sealing
Instructions
Instructions
- Peel and chop potatoes. Boil in salted water until fork tender, about 15 minutes.
- While potatoes cook, sauté diced onion in ghee over medium heat until golden and translucent (5–7 minutes).
- Drain potatoes and mash them with sour cream and sautéed onions. Season with salt. Let cool.
- In a bowl, mix sour cream, milk, egg, and salt until smooth. Add flour and xanthan gum gradually. Stir to form dough.
- Knead dough on floured surface until smooth and a little springy. Let rest covered for 15 minutes.
- Roll dough ⅛ inch thick. Cut 3-inch rounds. Fill each round with 1–2 teaspoons of potato filling.
- Fold, seal edges by pinching or with a fork.
- Boil pierogi in salted water in batches until they float (about 3 minutes). Drain and dry on paper towel.
- Sauté pierogi in ghee until browned, about 2 minutes per side. Serve warm.
- Optional: Serve with extra ghee or sour cream for more richness.


Leave a Reply