
Steam curls up from the valve and your stomach starts talking back. You notice that cozy warm smell kinda wraps around the kitchen. It feels like somethin' yummy is about to happen real soon.

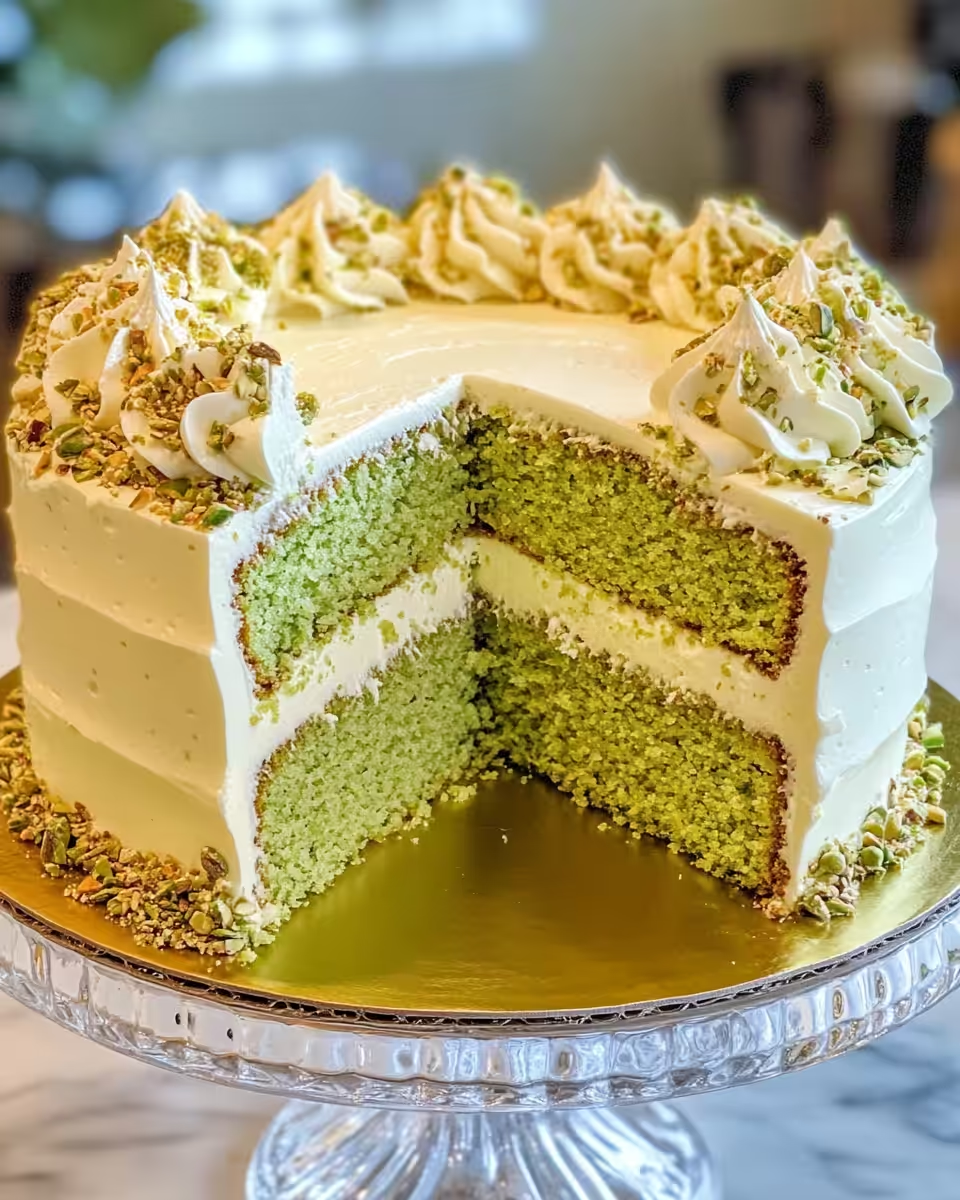
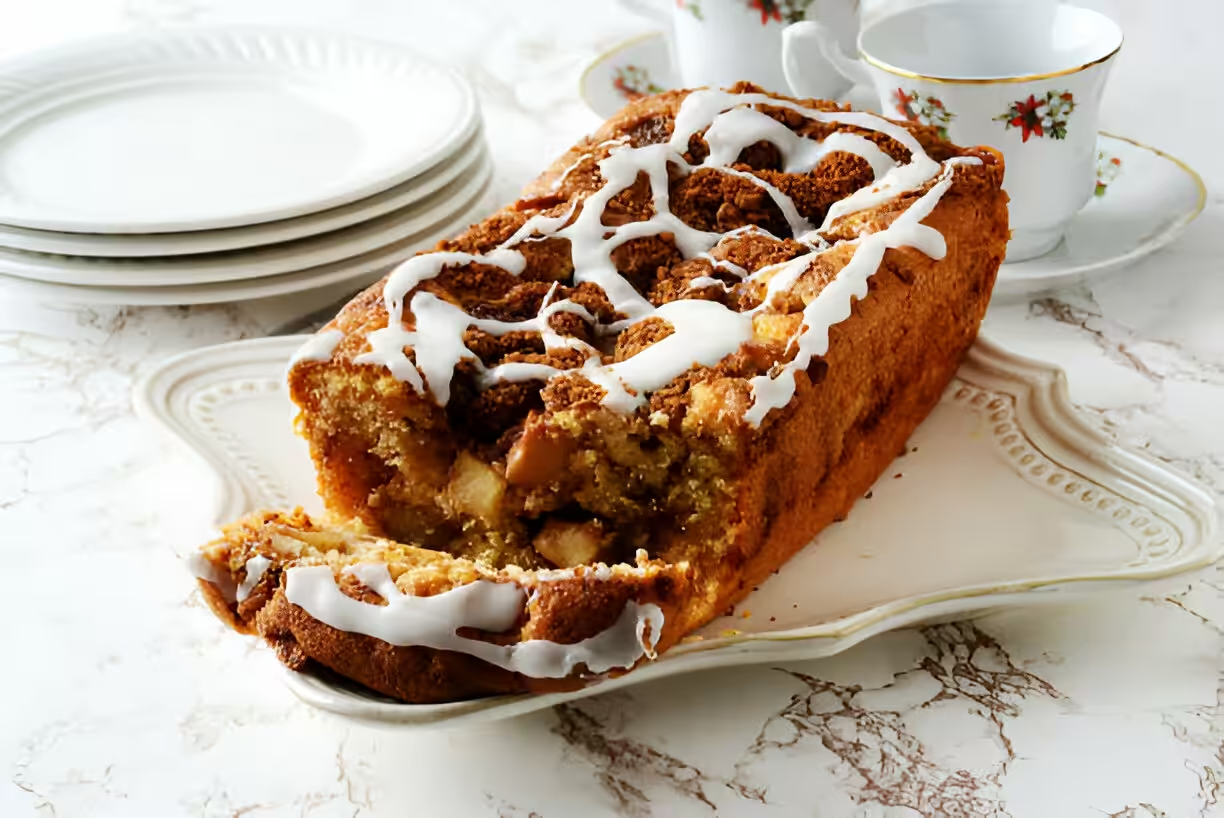
When you open the lid, you see the pistachio cake waiting, all soft and moist, just like you hoped. That sealing ring on your pressure cooker worked its charm, holding in all that sweet broth depth and warmth. It’s kinda like the cake soaked up extra love while it cooked.
You recall how the quick release kept things from overcooking and helped keep the crumb light and fluffy. It’s so much different than just baking in the oven. You get this tender bite with that nice pistachio crunch everywhere.
The Real Reasons You Will Love This Method
- Pressure cooker bakes the cake faster but still with a soft crumb.
- You get moistness that just doesn’t happen in a dry oven.
- No worrying about the oven temp going wonky, sealing ring helps keep pressure steady.
- Quick release means you control how lightly cooked you want it.
- It’s kinda foolproof, even if you’re new at baking pistachio cake.
- Less heat in the kitchen means it’s way comfier on hot days.
All the Pieces for This Meal
Here’s what you gotta have lined up before you start the pistachio cake. You’ll want 2 cups of unsalted pistachios, shell-free and ready to go. Don’t forget 2 and ⅓ cups cake flour, spooned and leveled so it’s just right.
Add in 2 teaspoons of baking powder and a quick ½ teaspoon baking soda to help it rise nice. Salt’s gotta be there too with 1 teaspoon to balance out the sweetness. You’re also gonna need ¾ cup of unsalted butter softened up to room temp, and 1 and ¾ cups of granulated sugar to get that sweet vibe.
Egg whites play their part; you’ll need 5 large ones at room temperature. Sour cream and whole milk, each about half a cup and a cup respectively, both at room temp to keep things smooth. Then there’s the flavor boosters: 2 teaspoons vanilla extract plus 1 teaspoon almond extract.
If you want, add a tiny drop green food coloring for that pistachio look. For the frosting, get 16 ounces cream cheese, full-fat and softened, ½ cup unsalted butter softened, 4 cups confectioners’ sugar, 1 and ½ teaspoons vanilla extract, and a pinch of salt. Garnishes like berries or leftover pistachios make it pretty too.
Walking Through Every Single Move
First things first you preheat the oven to 350°F. Grease three 8-inch pancake round cake pans and line each with parchment paper. Grease the paper too so nothing sticks.
Next you add those pistachios to your food processor and pulse them until they’re finely ground but not pasty. You gotta watch it so it doesn’t turn into a nut butter. In a medium bowl mix the ground pistachios with cake flour, baking powder, soda, and salt.
In a bigger bowl with your mixer, beat the butter and sugar on high till fluffy and creamy. This should take about 2 minutes. Then add egg whites one at a time, mixing well after each.
Stir in sour cream and vanilla extracts, blending smooth. Turn mixer low and add the dry ingredients in three parts, mixing just enough to combine each time. Overmixing messes up the texture.
Divide your batter evenly in the pans and smooth the tops. Bake for 28 to 32 minutes until a toothpick comes out clean. Let cakes cool for 10 minutes in the pans, then move to a wire rack to cool fully before frosting.
Once cool you mix your cream cheese, butter, sugar, vanilla, and salt for the frosting till silky-good. Spread it on thick and add berries or pistachios if you’re feeling fancy.
Smart Shortcuts for Busy Days
When you’re tight on time but still want that pistachio cake fix, a couple shortcuts help big time. Use pre-ground pistachios if you can find ‘em—it cuts down food processor work.
You can also whip egg whites the night before and keep ‘em covered in the fridge. Just stir gently before adding to batter. Lastly, grab pre-made cream cheese frosting from the store and jazz it up with a bit of almond extract and crushed pistachios.
These tricks don’t steal the taste but save you a good chunk of time. You’ll be surprised how dang easy it all comes together when you gotta hustle.
Your First Taste After the Wait
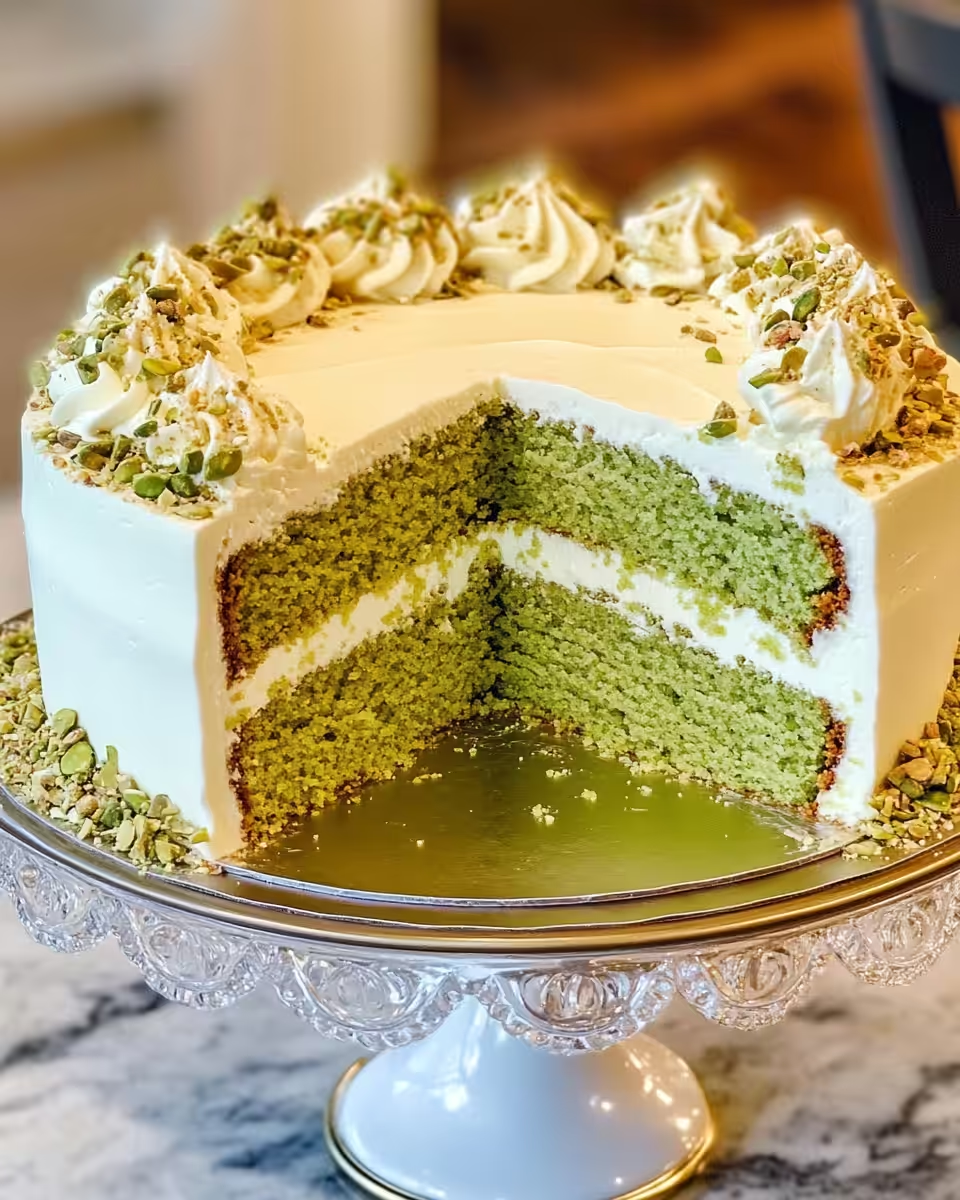
The first bite sinks in soft, almost melting against your tongue. It’s got that creamy pistachio flavor that just feels like a hug.
The crumb is light and kinda fluffy but still moist, not dry at all. Teeth get a joyful surprise from crunchy bits of pistachios inside.
The frosting is smooth with a little tang from the cream cheese balancing the sweetness so it’s never too much. Vanilla and almond notes linger just right.
All together it’s dang satisfying, perfect for a quiet coffee break or sharing with friends on a slow afternoon. You remember this cake and how it made you feel good inside.
Your Leftover Strategy Guide
When you got extra cake, don’t let it go to waste. Wrap it well with plastic wrap or place in an airtight container. In the fridge it lasts about 4 days good.
If you want to keep it longer, wrap tightly in foil and freeze. It should hold up in the freezer for up to 3 months. Thaw in the fridge overnight for best results.
When serving again, bring slices to room temp so they’re soft and creamy. Microwaving 10 seconds helps if you’re impatient.
You can also turn leftover cake into mini trifle cups by crumbling it with berries and cream. It’s a fun twist and nobody will know it’s leftovers.
The FAQ Section You Actually Need
- Can I use whole eggs instead of just egg whites? You can but using only egg whites keeps the cake lighter and fluffier. Whole eggs add more moisture but also weight.
- What’s the best way to prevent nut paste? Pulse the pistachios carefully, short bursts only. Stop as soon as the nuts are finely ground but still powdery.
- Can I skip the sour cream? Sour cream adds moisture and tang. If you skip it, try using yogurt or buttermilk instead to keep the texture nice.
- How important is the sealing ring? The sealing ring really keeps pressure consistent which means even cooking and moist cake. Don’t forget to check it’s seated right before starting.
- What’s the difference between quick release and natural release? Quick release lets steam out fast so you avoid overcooking. Natural release lets pressure drop slowly for denser results. For cake you want quick release mostly.
- Can I add other nuts or flavors? Sure you can! Almonds, walnuts, or hazelnuts work great. Just swap pistachios and maybe add a dash of your fav extract.
Pressure Cooker Pistachio Cake
Equipment
- 1 Food Processor
- 1 Mixer stand or hand
- 3 8-inch cake pans greased and lined
Ingredients
Cake Batter
- 2 cups unsalted pistachios shelled
- 2 ⅓ cups cake flour spooned and leveled
- 2 teaspoons baking powder
- ½ teaspoon baking soda
- 1 teaspoon salt
- ¾ cup unsalted butter softened
- 1 ¾ cups granulated sugar
- 5 egg whites large, room temp
- ½ cup sour cream room temp
- 1 cup whole milk room temp
- 2 teaspoons vanilla extract
- 1 teaspoon almond extract
- 1 drop green food coloring optional
Frosting
- 16 ounces cream cheese softened, full-fat
- ½ cup unsalted butter softened
- 4 cups confectioners’ sugar
- 1 ½ teaspoons vanilla extract
- 1 pinch salt
- berries or leftover pistachios for garnish
Instructions
Instructions
- Preheat oven to 350°F. Grease and line three 8-inch cake pans with parchment paper.
- Pulse pistachios in food processor until finely ground. Combine with cake flour, baking powder, soda, and salt.
- In large bowl, beat butter and sugar on high for 2 minutes until fluffy. Add egg whites one by one, mixing well each time.
- Stir in sour cream and extracts. Mix dry ingredients in three parts with mixer on low.
- Divide batter into pans, smooth tops. Bake 28–32 min until tester comes out clean. Cool ten minutes in pans, then on wire rack.
- Make frosting: beat cream cheese, butter, sugar, vanilla, and salt until smooth.
- Frost cooled cake with frosting. Decorate with berries or crushed pistachios as desired.
- Store leftovers in airtight container. Can freeze up to 3 months. Thaw overnight and bring to room temp before serving.
Leave a Reply