
That first hiss from the cooker tells you something good is happening. You know that sound, right? That little valve hiss when the pressure starts building up inside. It kinda signals you're on the way to a delicious meal without all the fuss of standing over the stove.�It 3 real comforting, like your kitchen 2s about to get filled up with some really good smells. You start to sense the flavors melding while you get time to chill or prep other stuff. Makes you appreciate the sealing ring working hard to keep everything tight and locked in that pressure cooker.�When you get to the natural release, the anticipation starts creeping in. You spot the steam gently escaping, and then that tender pull of the chicken you just can 2t wait to taste. It 2s quick, easy, and the crispy texture surprises you every time even tho it 2s pressure cooked first. You 2re about to see why this method works real good for honey sesame chicken.
The Real Reasons You Will Love This Method
- You keep that juicy tender pull inside your chicken without drying it out.
- The pressure cooker speeds up the cooking time, so you spend less waiting.
- Using the natural release helps keep the meat super succulent and juicy.
- You get that crispy coating after frying, that pairs perfectly with the sticky honey sauce.
- The whole meal comes together fast with minimal cleanup, which is always a win.
Everything You Need Lined Up
- 1.5 pounds boneless skinless chicken breasts or tenderloins �- Cut into bite-sized pieces so every bite is perfect.
- Vegetable oil �- For frying to get that golden crisp outside.
- 2 eggs �- Whisked with a pinch of salt to help the cornstarch stick.
- ½ cup cornstarch �- Gives you that crispy coating you want on every piece.
- 1 teaspoon salt �- For seasoning the chicken and the cornstarch mix.
- Honey, soy sauce, ketchup, and brown sugar �- These create the sticky, sweet and tangy sauce you 2re gonna love.
- Rice vinegar and minced garlic �- Add a bright zing that balances the sweetness.
- Sesame oil, corn starch, red pepper flakes, sesame seeds, and green onions �- To finish the sauce, add thickness, and the perfect garnish.
How It All Comes Together Step by Step
- Cut your chicken �- Into bite-sized pieces so they cook evenly and get that nice crunch on every bite.
- Prep your dipping bowls �- Whisk the eggs and salt in one bowl, mix cornstarch and salt in another.
- Coat the chicken �- First dip pieces into egg, then dredge them through the cornstarch mix to cover completely.
- Fry your chicken �- Heat vegetable oil in your skillet or wok on medium-high. Fry in batches about 4-5 mins each until golden and cooked through. Drain on paper towels.
- Make your sauce �- In a saucepan over medium, stir honey, soy sauce, ketchup, brown sugar, rice vinegar, garlic, and sesame oil until smooth and warming up. Let it simmer for 3-4 mins, stirring so it thickens.
- Toss chicken in sauce �- Add the fried chicken pieces right into the pan and stir them around so every piece gets coated.
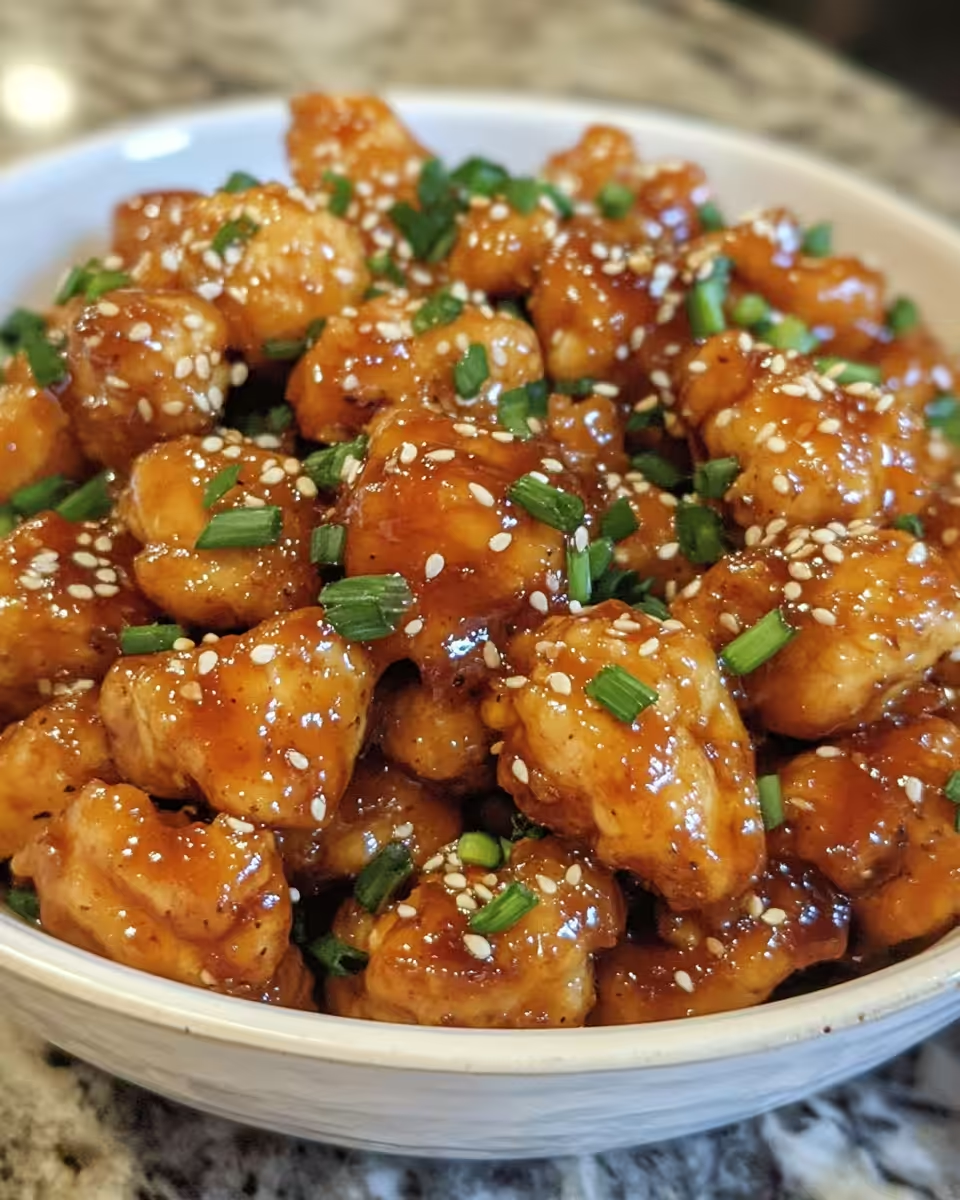
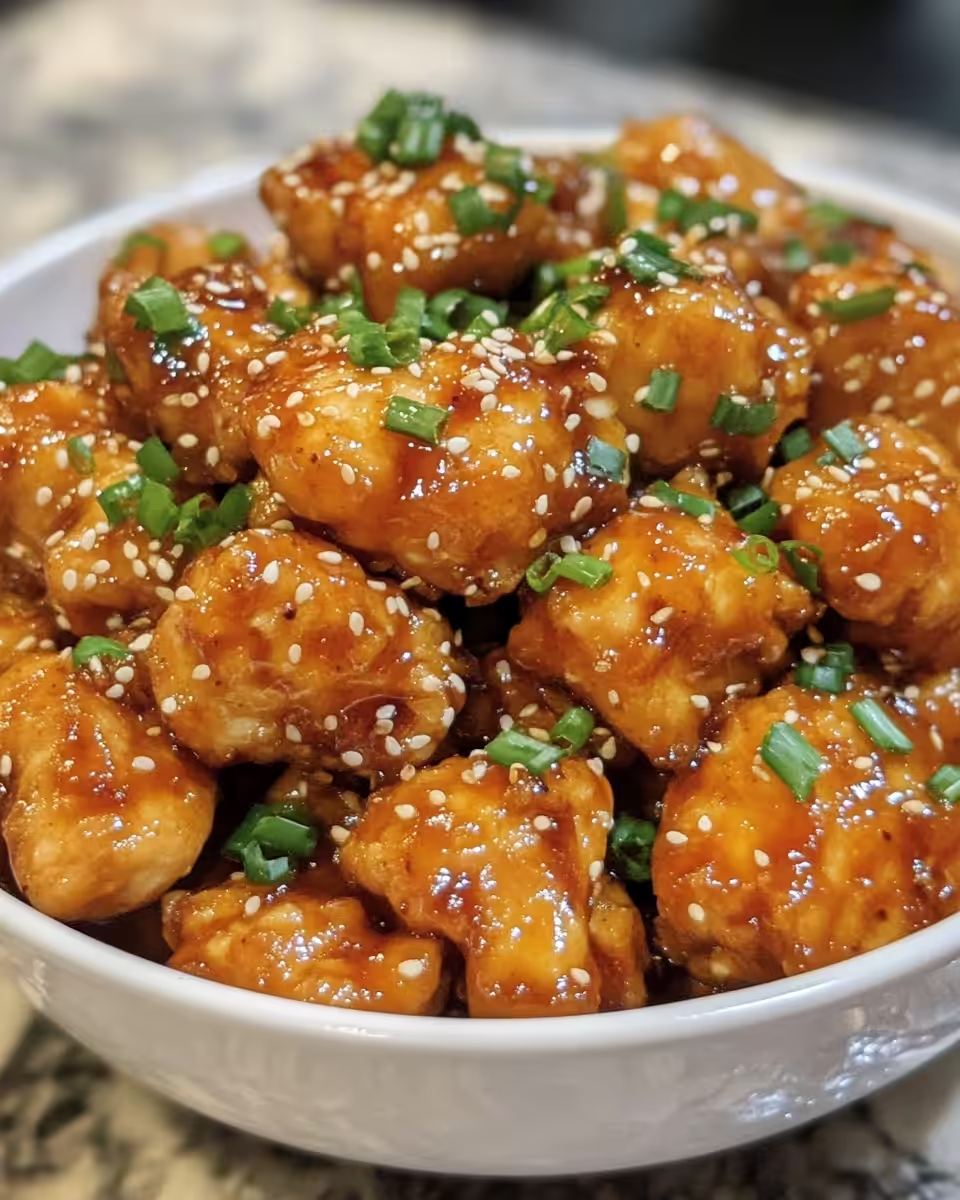
- Final touches �- Serve hot, sprinkle sesame seeds and diced green onions on top. Now you 2re ready to dig in.
Smart Shortcuts for Busy Days
- Prep chicken the night before �- Cut and store in the fridge, so when it 2s dinner time, you're halfway there.
- Use pre-minced garlic or garlic paste �- Saves chopping time but still packs that great flavor in your sauce.
- Multitask while chicken fries �- Mix up your sauce or chop green onions so you 2re not waiting around doing nothing.
That First Bite Moment
When you break into that first bite, you 2ll notice the crunch beneath your teeth, crisp and satisfying. Then the tender chicken inside hits your tongue with that perfect juicy pull only pressure cooking can bring. You taste that honey sweetness mixed with the salty soy, a hint of zing from the vinegar, and a little kick from the red pepper flakes.
It kinda hugs you with warmth, like the comfort food you didn 2t wanna wait long for. You spot the glossy sauce clinging to every piece, shiny and inviting, begging you to keep eating. That sesame seed crunch adds a nice nuttiness and the fresh green onions give a fresh snap so every bite 2s got layers of flavor.
You know you could sit here forever just enjoying it, no rush at all. It 2s a quick takeout fix you made yourself, and it feels even better when you know just how easy it was with your pressure cooker doing the heavy lifting.

How to Store This for Later
- Fridge: Let the chicken cool completely before storing in an airtight container. Keeps great for 3-4 days when refrigerated. Just reheat in your skillet or microwave.
- Freezer: You can freeze the cooked chicken pieces without the sauce first. Wrap well in foil or place in freezer bags. Thaw in the fridge overnight before reheating and tossing with fresh sauce.
- Separate sauce storage: Keep the honey sesame sauce in a separate container if you 2re freezing chicken. That way sauce stays fresh and you avoid sogginess when thawing.
Common Questions and Real Answers
- Can I use chicken thighs instead of breasts? Yes, you totally can. Thighs give a bit more juicy flavor but may need a little extra frying time.
- Why do I need to do a natural release? Natural release lets the chicken finish cooking gently and keeps it nice and juicy. Quick releases can make it tougher.
- How do I get that really crispy texture? The pressure cooker cooks chicken fast and keeps it tender, but frying after is what gives you that golden crisp outside.
- Can I make the sauce ahead of time? Absolutely. You can make and store the sauce in the fridge for a few days and just reheat when you 2re ready to toss your chicken.
- What 2s the best oil for frying? Vegetable oil or any neutral oil works best because it handles the heat and won 2t overpower your flavors.
- How spicy is this dish? It 2s pretty mild but gets a little kick from the red pepper flakes. You can always adjust the heat to your taste, or skip flakes if you want it totally mild.
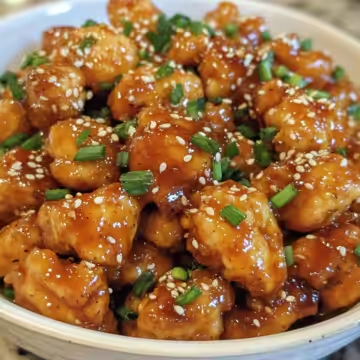
Crispy Honey Sesame Chicken (Easy Takeout Recipe)
Equipment
- 1 Mixing bowl for batter and coating
- 1 Skillet or wok for frying
- 1 Saucepan for sauce preparation
Ingredients
Main ingredients
- 1.5 pounds Boneless skinless chicken breasts or chicken breast tenderloins cut into bite-sized pieces
- Vegetable oil for frying
- 2 Eggs whisked with a pinch of salt
- ½ cup Cornstarch
- 1 teaspoon Salt
- ⅓ cup Honey
- ⅓ cup Lite soy sauce
- ⅓ cup Ketchup
- 3 tablespoons Brown sugar
- 2 tablespoons Rice vinegar
- 2 teaspoons Minced garlic
- 1 tablespoon Sesame oil
- 2 teaspoons Corn starch
- 1 pinch Red pepper flakes
- Sesame seeds for garnish
- Green onions diced, for garnish
Instructions
Instructions
- Cut your chicken into bite-sized pieces so they cook evenly and get that nice crunch on every bite.
- Prep your dipping bowls - whisk the eggs and salt in one bowl, mix cornstarch and salt in another.
- Coat the chicken - first dip pieces into egg, then dredge them through the cornstarch mix to cover completely.
- Fry your chicken - heat vegetable oil in your skillet or wok on medium-high. Fry in batches about 4-5 mins each until golden and cooked through. Drain on paper towels.
- Make your sauce - In a saucepan over medium, stir honey, soy sauce, ketchup, brown sugar, rice vinegar, garlic, and sesame oil until smooth and warming up. Let it simmer for 3-4 mins, stirring so it thickens.
- Toss chicken in sauce - add the fried chicken pieces to the pan and stir to coat each piece.
- Final touches - Serve hot, sprinkle sesame seeds and diced green onions on top.


Leave a Reply