
The pot lid rattles and you know dinner is almost ready. You catch the faint steam cues rising, that kinda soft hiss and pop that only a pressure cooker can give ya. It ratchets your excitement cause the kitchen starts smelling like something special’s happening.
You spot the sealing ring working hard, holding all that pressure inside while the float valve does its little dance, telling you everything’s locked in tight. That sound? It’s like a timer with attitude, and you just gotta listen for it.
While waiting, your mind drifts to the idea of tender pull chicken shining under a sticky orange glaze. You recall the last time you tried this outside the house and thought nah, you can do better at home with your own cooker. Tonight is gonna be a win, y’all.
Why Your Cooker Beats Every Other Pot
- Pressure cooker locks in steam cues, making chicken super tender real quick.
- Float valve gives you a clear sign on when to start the quick release, no guesswork.
- Sealing ring keeps all flavors deep inside, no smells escaping your kitchen.
- It shortens cooking times so you eat sooner without sacrificing taste.
- Multi-step cooking gets done in one pot, less mess to deal with.
- Perfect for coating sauces that thicken right inside without extra pans.
- Controls heat so your crispy chicken stays juicy, not dry or tough.
The Complete Shopping Rundown
You gotta have your basics ready to nail this recipe. Start with 250 grams of boneless chicken — thighs work best for juiciness but breast’s fine too. Grab a cup of corn flour, it's gonna give the chicken that crispy crunch you want.
Don't forget the egg, and a few tablespoons of water to help with the batter mix. You'll need half a teaspoon grated ginger and a teaspoon of grated garlic to punch up the flavor. Crushed chili flakes are optional but they add a nice kick.
Next on the list are garnishes like chopped spring onion and toasted sesame seeds — they give your dish that restaurant-style look and crunch. For frying, any neutral oil works fine like peanut or canola. You'll also need orange zest and 3 tablespoons fresh-squeezed orange juice for that bright citrus vibe.
Two tablespoons each of light soy sauce and brown sugar add your sweet-salty balance. Half a cup of chicken or vegetable stock keeps the sauce saucy. Corn starch for thickening, a splash of sesame oil, a teaspoon of garlic paste, some baking soda, and just a pinch of white pepper round out your spice rack here.
The Full Pressure Cooker Journey
First up, cut your boneless chicken into bite-sized pieces. Don’t rush, you want them kinda uniform so they cook evenly. Next, whisk your egg with 2 or 3 tablespoons of water in a bowl. Toss the chicken in there, making sure each piece gets coated.
Now dredge each chicken piece in corn flour until well coated. This step is key cause it’s the secret behind crispy texture after frying. Heat a tablespoon of vegetable oil in a deep pan over medium heat and fry the coated chicken in batches. Cook until golden brown and crispy, then drain on paper towels to keep it nice and light.
In a separate pan, heat just a little oil and sauté the grated ginger, garlic, and crushed chili flakes for about 2 minutes. Smell that? That’s your base flavor kicking into gear. Pour in your orange juice, soy sauce, brown sugar, stock, and orange zest. Bring it to a steady simmer.
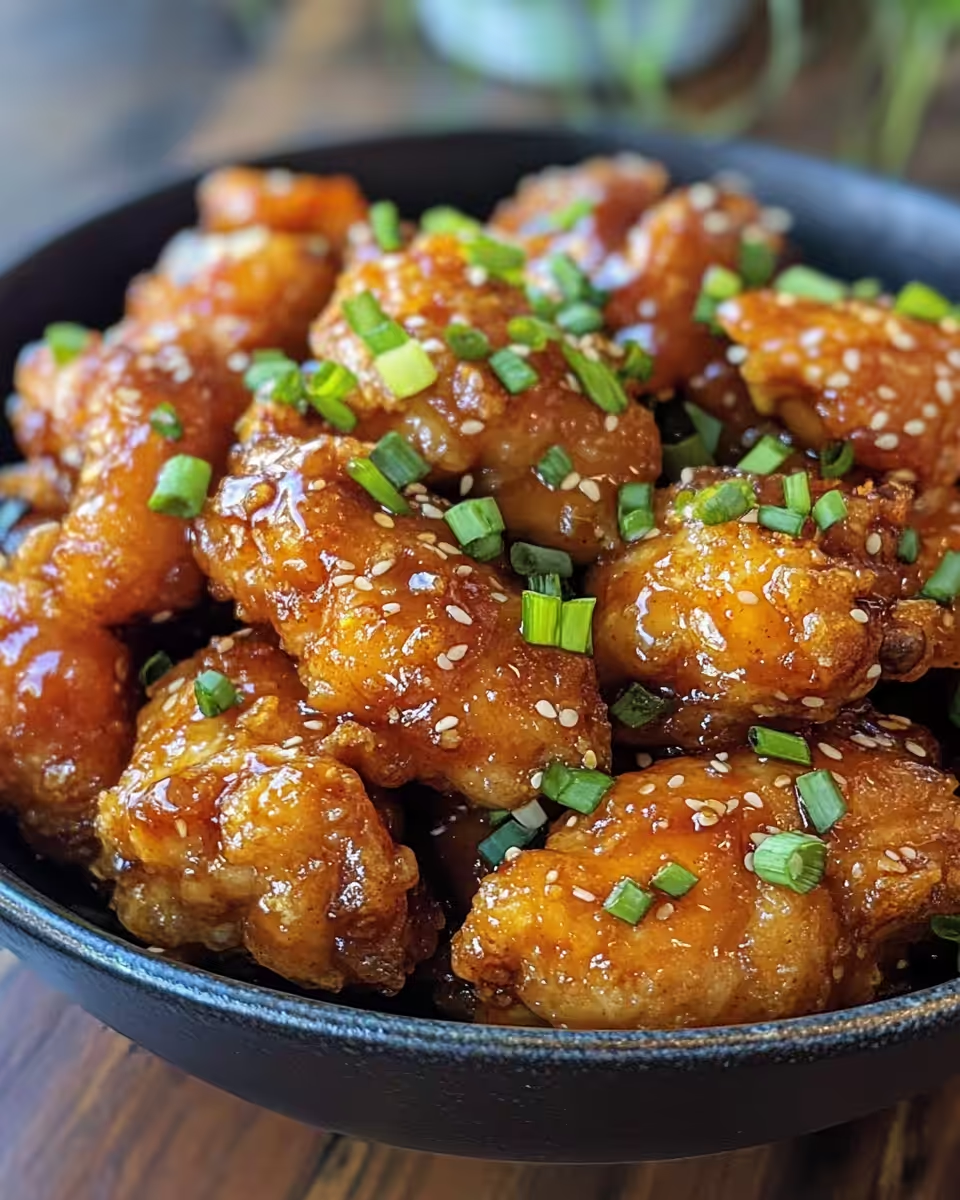
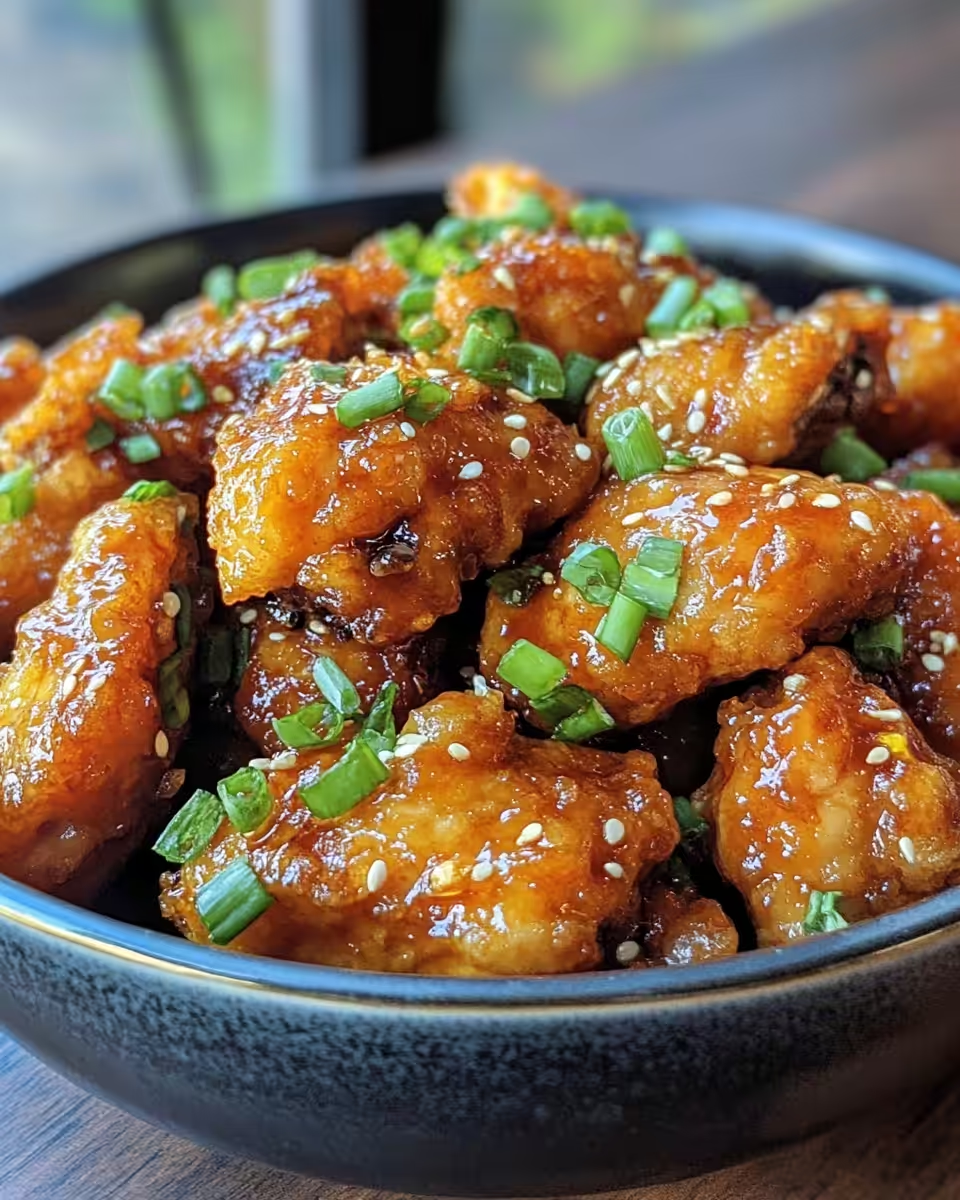
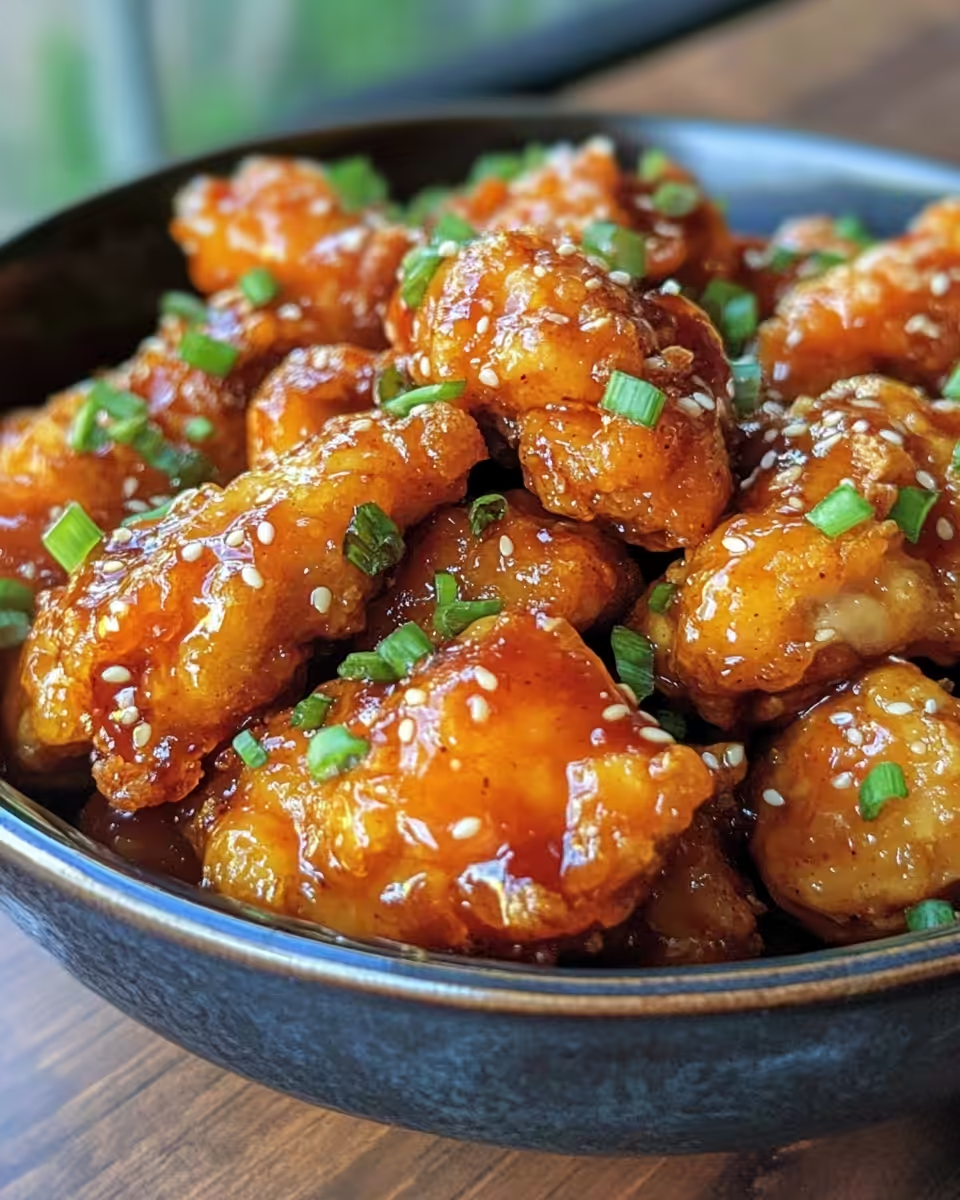
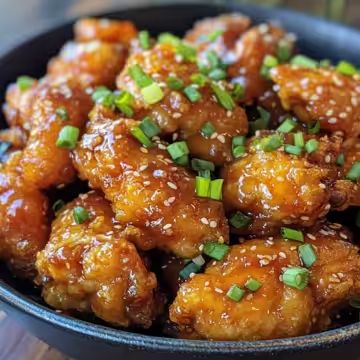
Once that’s happening, add your fried chicken pieces straight into the sauce. Toss everything nicely so your crispy chicken dresses up in that shiny orange glaze. Cook another 2 to 3 minutes, letting the sauce thicken so it clings to each bite perfectly.
Don’t forget to garnish with chopped spring onion and toasted sesame seeds just before plating. It’s a small touch but you’ll notice it lifts the whole dish. And when you pop that sealing ring off your pressure cooker, get ready y’all, dinner’s calling.
Quick Tricks That Save Your Time
- Prep chicken the night before and refrigerate to save time on cook day.
- Mix your wet ingredients in one bowl and dry in another, reduces mess.
- Use fresh orange juice instead of bottled for a brighter taste, but keep a backup bottle just in case.
- Employ the quick release method right after cooking to keep chicken crisp and not soggy.
- Do garnishing while the chicken cooks, multitasking is your kitchen friend.
Your First Taste After the Wait
You bite in and the first thing you sense is that perfect crispy shell giving way to tender juicy chicken inside. That contrast of texture always hits the spot.
The orange sauce is tangy-sweet with little bites of ginger and garlic sneaking through, it lingers just right without being too sharp. You notice it clingin’ to every piece like it was meant to be there forever.
That subtle heat from the chili flakes builds up just enough to keep things interesting but doesn't overpower. And the toasted sesame seeds and spring onion bring a nice fresh crunch and nutty vibe to finish.
Every bite feels like little happy fireworks in your mouth; kinda addictive and totally worth the wait. This is why you love cooking with your pressure cooker, y’all.
Keeping Leftovers Fresh and Ready
Got leftovers? Awesome cause this recipe shines the next day too. To keep it fresh, store chicken in an airtight container right after cooling down to avoid sogginess.
Pop it in the fridge where it keeps good for up to three days but honestly, usually gone before that. If you wanna stash for longer, freeze the chicken in freezer-safe bags with some sauce on the side.
When reheating, use your stove or microwave with a little sprinkle of water to bring back some moisture and avoid drying out. If you’re reheating on stove, toss gently to keep some crispness intact.
Label your containers with date so you don’t forget when you stored them. That way, your next quick meal lets you relax instead of stress about if it’s still good to eat.
Your Most Asked Questions Answered
- Can I use chicken breast instead of thighs? Yup, breast works but thighs stay juicier and are less likely to dry out under pressure.
- How do I get the chicken extra crispy? Coat it well with corn flour and don’t overcrowd the pan while frying so pieces crisp up evenly.
- What if I don’t have fresh orange juice? Bottled juice works in a pinch but fresh is gonna give you that brighter zing you wanna taste.
- Can this recipe be made entirely in the pressure cooker? You gotta fry the chicken on stove first for the best crispness, then toss in the cooked sauce in the pressure cooker if you want speed.
- How important is the sealing ring? Real important! It traps all steam cues so your chicken cooks tender without losing moisture or flavor.
- Should I use quick release or natural pressure release? Quick release is better here to stop cooking fast and keep your crispy texture from going mushy.
Crispy Orange Chicken in Your Pressure Cooker
Equipment
- 1 Mixing bowl Large
Ingredients
Main ingredients
- 250 g Boneless chicken thigh/breast
- 1 cup Corn flour starch
- 1 Egg
- 2-3 tablespoon Water
- ½ teaspoon Grated ginger
- 1 teaspoon Grated garlic
- ½ teaspoon Crushed chilli flakes optional
- Spring onion for garnish
- Toasted sesame seeds for garnish
- 1 tablespoon Vegetable oil plus more for frying
- 1 teaspoon Orange zest
- 3 tablespoon Fresh orange juice
- 2 tablespoon Light soy sauce
- 2 tablespoon Brown sugar
- ½ cup Chicken or vegetable stock
- 1 teaspoon Corn starch
- 1 tablespoon Light soy sauce for marinade
- 1 teaspoon Sesame oil for marinade
- 1 teaspoon Garlic paste for marinade
- ¼ teaspoon Baking soda for marinade
- ¼ teaspoon White pepper for marinade
- Oil for frying Peanut, Canola, Sunflower, or neutral oil
Instructions
Instructions
- Cut chicken into bite-sized pieces and marinate with soy sauce, sesame oil, garlic paste, baking soda, and white pepper. Set aside.
- Prepare orange sauce by mixing orange juice, soy sauce, brown sugar, stock, corn starch, and orange zest. Set aside.
- In a bowl, beat egg and mix with corn flour and water to make a thick batter.
- Coat marinated chicken in the batter evenly.
- Heat oil to 350°F and fry chicken in batches until golden brown and crispy. Drain on paper towels.
- In a separate pan, heat 1 tablespoon oil. Saute grated ginger, grated garlic, and chili flakes for 1–2 minutes.
- Pour in orange sauce and bring to simmer, stirring continuously to thicken.
- Add fried chicken pieces into the sauce and toss to coat evenly. Stir in orange zest.
- Cook another 2–3 minutes until sauce becomes glossy and clings to chicken.
- Garnish with chopped spring onion and toasted sesame seeds before serving.


Leave a Reply