
The pressure builds and you start counting down minutes until you eat. You set that timer and hear the valve hiss, like a little signal telling you something awesome is brewing inside. That smell hitting your nose through the kitchen cracks, it gets you every time.
It’s almost funny how waiting feels longer now cause you’re imagining that first bite. You spot the broth depth in your soup or the creamy thickness in your desserts, and your mouth waters just knowing what’s about to come. Every minute ticks slower, the anticipation sneaks in.
When the slow release finally happens, you’re in that zone of closing the lid and seeing if your dish made the tender pull test. Then you catch that first bite, and man it’s worth every single second of that wait. Your kitchen’s filled with flavors that only pressure cooking can bring out so fast and good.
What Makes Pressure Cooking Win Every Round
- Brings out deep flavors quicker than any other method.
- Makes tough cuts and beans tender with little hassle.
- You save crazy amounts of time without losing taste.
- Keeps the kitchen cooler since it’s all sealed up tight.
- Minimal cleanup cause you usually use just one pot.
- Really locks in moisture and nutrients for better bites.
- Versatile for anything from soups to sweets and more.
Your Simple Ingredient Checklist
- 1 cup unsalted butter softened (you want it just right)
- ¾ cup granulated sugar
- 2 tablespoons fresh lemon zest (grab that fresh stuff for zing)
- 2 cups all-purpose flour
- 2 tablespoons cornstarch (this keeps the cookie melt just right)
- ½ teaspoon salt (a pinch goes a long way)
- 1 ¾ cups powdered sugar (for that sweet glaze finish)
- 2 tablespoons fresh-squeezed lemon juice (not bottled, trust me)
- Optional lemon zest for garnish, if you wanna jazz 'em up
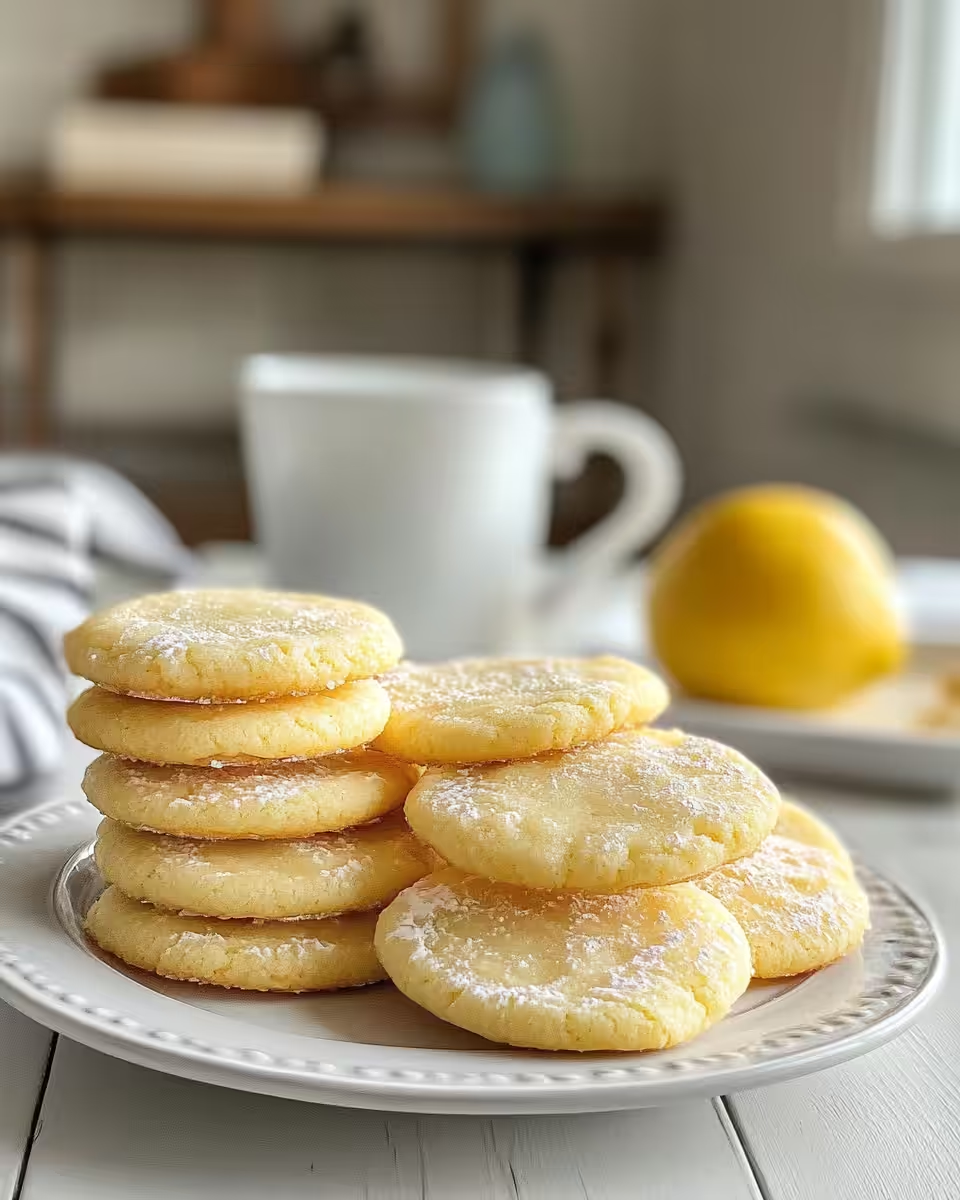
These ingredients come together real easy but give you all those bursts of flavor you want in a cookie. You’re gonna notice the lemon zest really brightens things up while cornstarch makes those cookies melt away in your mouth. The butter and sugar combo is classic but never gets old.
The Full Pressure Cooker Journey
Step 1: Preheat your oven and get those baking sheets ready with parchment paper. You’re setting the stage here for some lovely lemon cookies that bake just right.
Step 2: In a big bowl, cream the butter and sugar until it’s all light and fluffy. You’ll see it kinda change texture and get that perfect mix feel.
Step 3: Mix in your fresh lemon zest. Stir it in good so every bite has that fresh zing waiting for you.
Step 4: Whisk your flour, cornstarch, and salt in another bowl. Then slowly add that dry mix to your wet butter combo. Mix just till it’s all combined but don’t overdo it—you don’t want tough cookies.
Step 5: Roll that dough into 1-inch balls and place them spaced on your baking sheets. They need room to spread a bit while baking.
Step 6: Bake for 12-14 minutes till the bottoms turn lightly golden. Let ‘em cool for 5 minutes on the pan before moving to a wire rack. Then whip up your lemon glaze and dunk or drizzle those cookies. Sprinkle more zest on top if you want. Let the glaze set and you’re ready to taste.
Valve Hacks You Need to Know
- If you wanna speed up things, do a quick release after a short natural release. It saves a few minutes without risking undercooked food.
- Trap the steam with a towel under the lid if you want extra gentle cooking for delicate stuff. Tender pull guaranteed.
- Use the valve hiss as your unofficial timer start, so when it hisses you start counting down your cooking minutes.
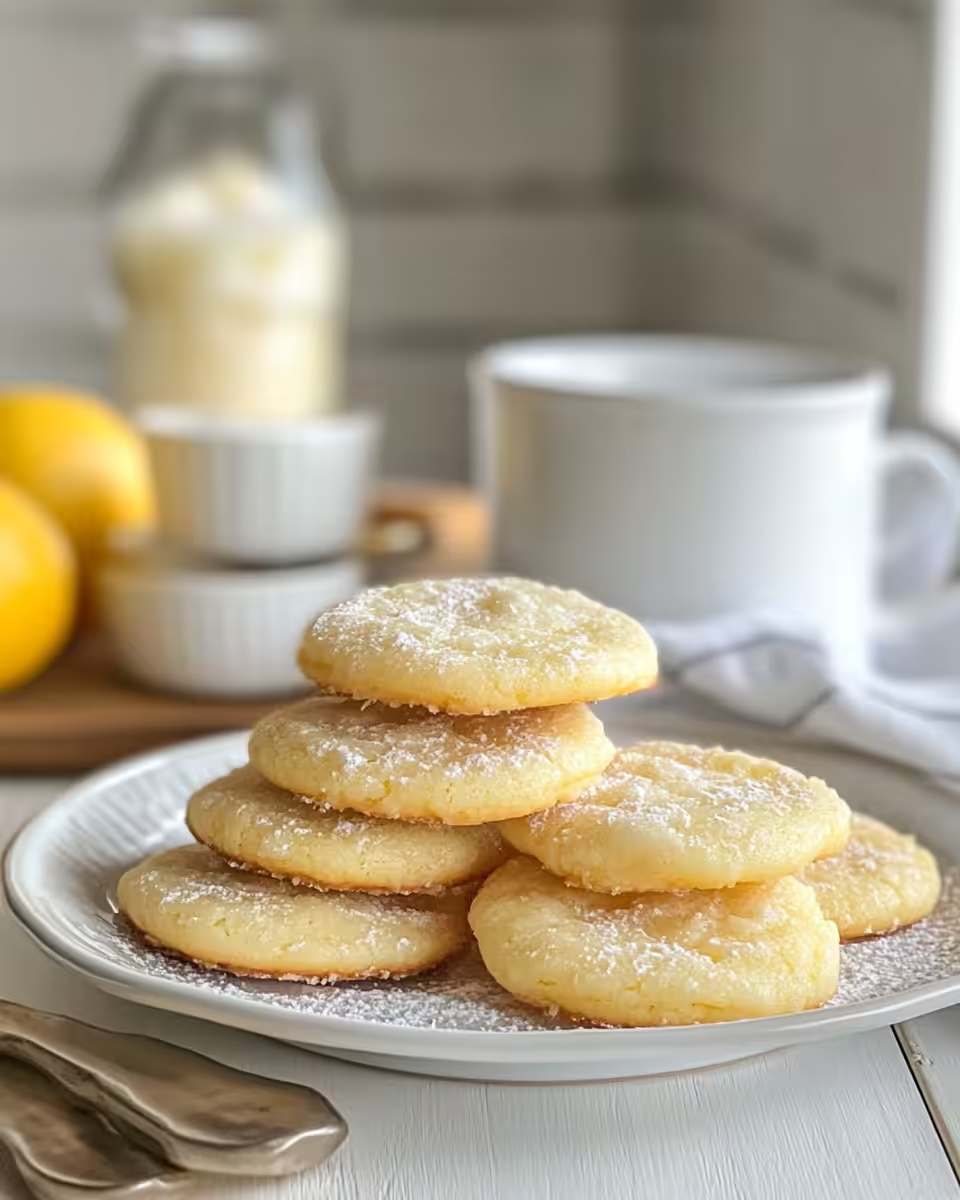
That First Bite Moment
You notice how the lemon flavor just pops when you bite down. It’s bright and fresh but mellow in that buttery dough way. Definitely one of those moments you gotta savor.
The texture’s spot on too, with a soft crumb that kinda melts before your tongue even tries to chew much. It’s almost like the cookie disappears but leaves the taste behind.
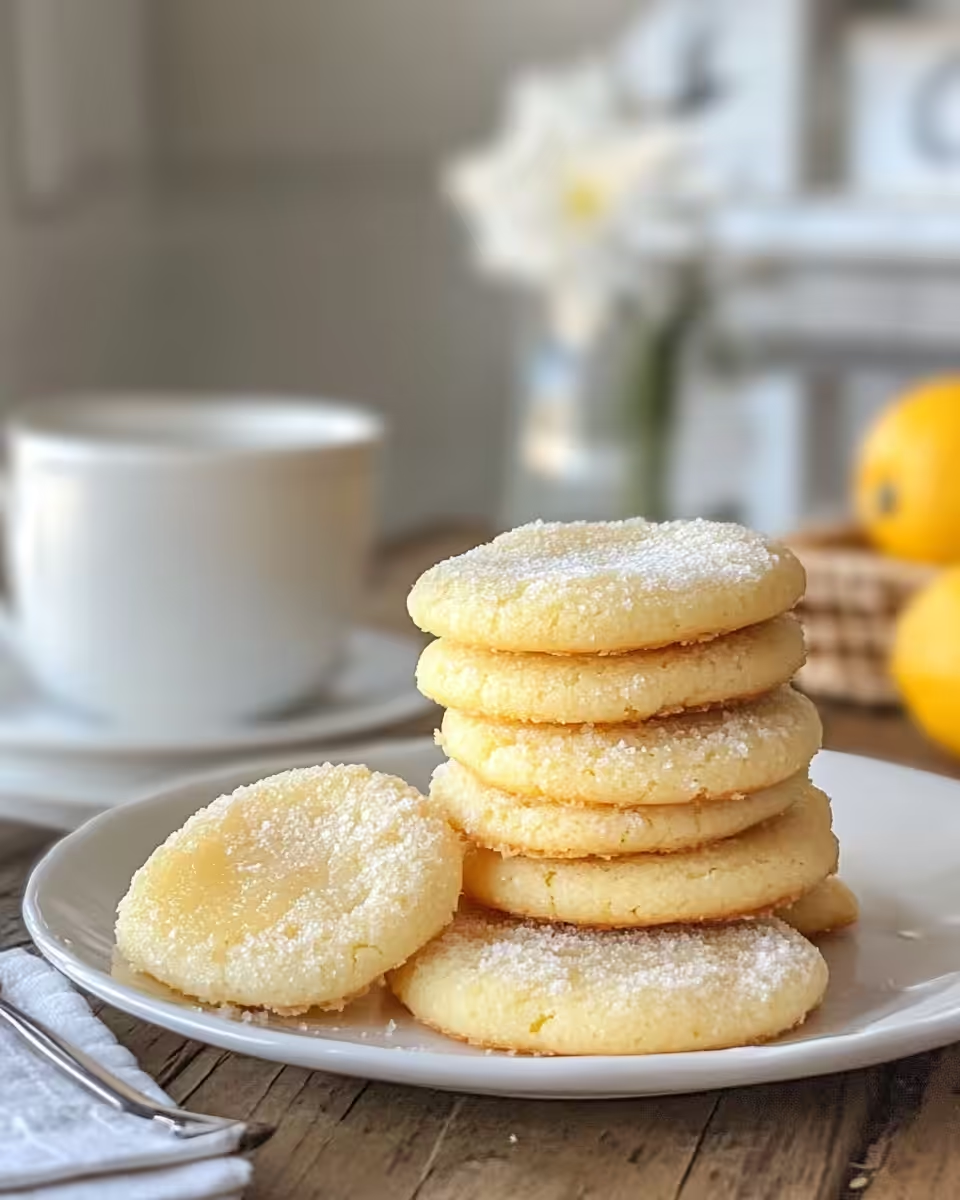
You catch the little zing from the zest on top, and the glaze adds that perfect sweet tang to finish each bite. It’s like a little party in your mouth every time.
Eating these makes you wanna grab seconds real quick. They’re easy to share but I get it if you just hoard them for yourself once you taste.
Your Leftover Strategy Guide
- Wrap cookies in parchment paper then an airtight container to keep their meltaway texture for up to a week.
- Freeze extras in a single layer on a tray first before bagging so they don’t stick together.
- Warm them up just a little in the oven or microwave to bring back that freshly baked feel.
Keeping it right means you get that same tender pull even days later. Just avoid stacking ‘em too tightly or the texture can go chewy instead of meltaway. The glaze holds up well but watch humidity cause it can get sticky.
Your Most Asked Questions Answered
Do I have to use fresh lemon zest and juice? For best flavor, yes. Fresh zest and juice give much brighter and fresher taste than bottled stuff.
Why cornstarch in cookies? It helps make the cookies tender and gives that melt-away feel you want instead of crumbly or tough.
Can I use a different flour? All-purpose works real good here. Other flours might change texture a lot.
What’s natural release and slow release? Natural release means you let pressure drop on its own. Slow release means you open the valve gently to let out steam gradually, which helps with delicate dishes.
Can I multitask while pressure cooking soups? Absolutely. Once the valve hiss starts and timer’s on, you can do other stuff without worry.
My cookies turned out flat or tough, what happened? Probably over-mixing or maybe the dough was too warm before baking. Chill dough a bit if needed and mix just enough.

Lemon Meltaway Cookies and More Pressure Cooker Stories
Equipment
- 1 Mixing bowl for combining ingredients
- 1 Baking sheet lined with parchment paper
Ingredients
Main Ingredients
- 1 cup unsalted butter softened
- ¾ cup granulated sugar
- 2 tablespoons fresh lemon zest
- 2 cups all-purpose flour
- 2 tablespoons cornstarch
- ½ teaspoon salt
- 1 ¾ cups powdered sugar for glaze
- 2 tablespoons fresh-squeezed lemon juice
- lemon zest optional garnish
Instructions
Instructions
- Preheat your oven and line baking sheets with parchment paper.
- Cream the butter and sugar until light and fluffy.
- Mix in the lemon zest until well combined.
- In a separate bowl, whisk together flour, cornstarch, and salt.
- Slowly add the dry ingredients to the wet mixture until just combined.
- Roll dough into 1-inch balls and place on prepared baking sheets.
- Bake at 350°F (175°C) for 12–14 minutes, until bottoms are lightly golden.
- Cool on baking sheet for 5 minutes then transfer to a wire rack.
- Whisk powdered sugar and lemon juice to make the glaze until thick but pourable.
- Drizzle or dunk cookies in glaze and optionally garnish with lemon zest. Let glaze set before serving.
Leave a Reply