
Steam curls up from the valve and your stomach starts talking back. You spot that telltale float valve rising, kinda like it’s signaling dinner’s about to be served. It’s a dang good feeling knowing you’re close to tasting something awesome.
The sealing ring does its thing, locking in all those flavors while the steam cues tell you it’s cooking just right. You feel that little anticipation, like your belly almost can’t wait anymore. Soon enough, you’ll get that tender pull on the chicken that’s so dang satisfying.
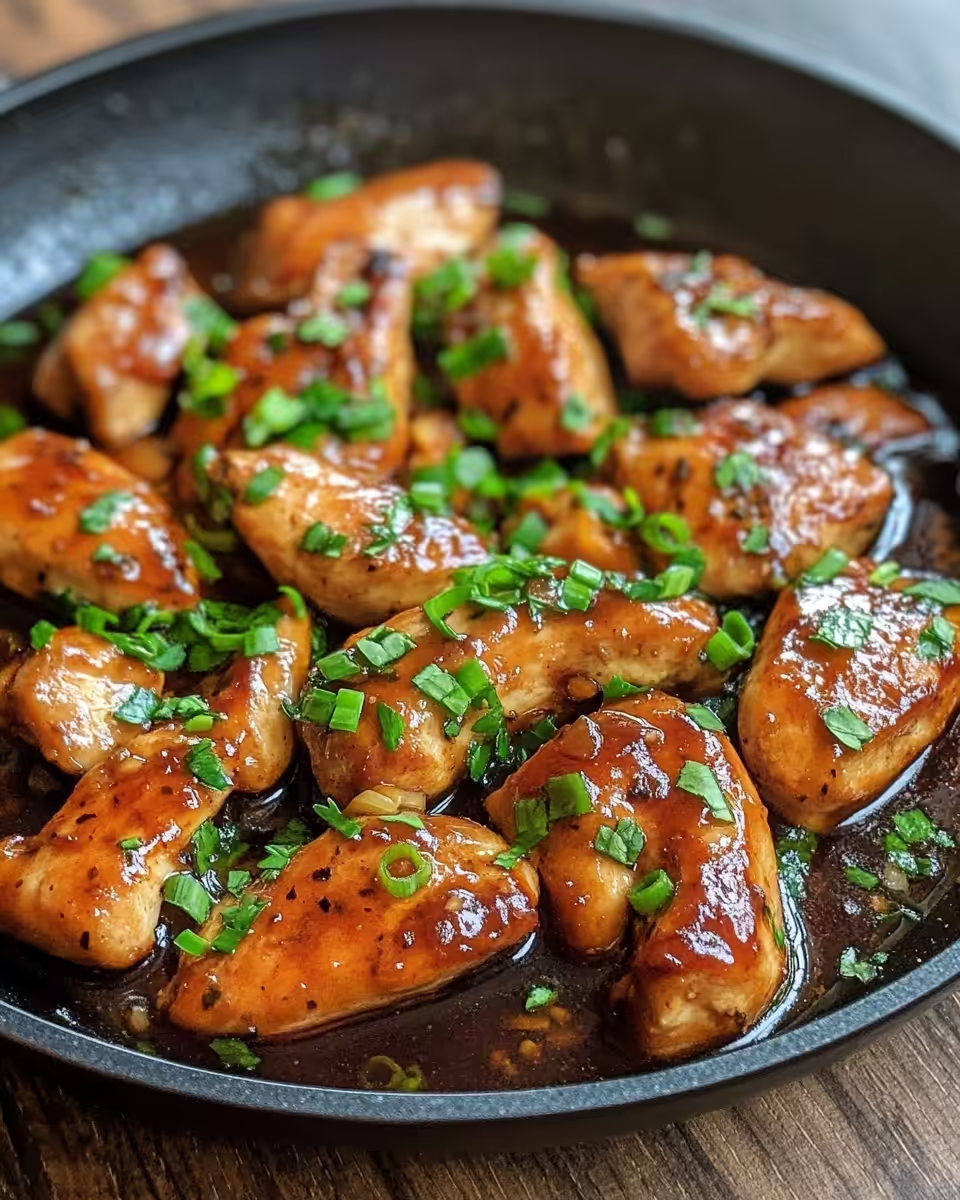
You catch the broth depth just right, soaking the chicken in those sweet and garlicky notes. The quick pressure makes the chicken juicy and soft, but firm enough to hold together. Y’all, this recipe really works real good for a fast meal with plenty of flavor packed in.
The Truth About Fast Tender Results
- Pressure cookers lock in steam and heat which breaks down chicken fibers fast.
- The float valve rising means your cooker reached full pressure and is working.
- The sealing ring keeps moisture sealed, making sure chicken stays juicy.
- Steam cues help you watch cooking stages without opening the lid.
- Short cook time means chicken stays tender not dry or rubbery.
- Broth depth ensures flavor soaks into every bite you take.
What Goes Into the Pot Today
- 500g or 1 lb chicken breast, boneless and skinless (2 pieces) - sliced horizontally for thinner cutlets.
- Salt and pepper to season both sides well for taste that pops.
- ¼ cup flour for a light dusting, helps with golden outside.
- 3 ½ tablespoon butter, unsalted (or 2 ½ tablespoon olive oil) for cooking and sauce richness.
- 2 garlic cloves minced fresh, cuz nothing beats that fresh garlic aroma.
- 1 ½ tablespoon apple cider vinegar or white vinegar for tangy punch.
- 1 tablespoon light soy sauce to bring savory depth.
- ⅓ cup honey or maple syrup for sweet balance that’s sticky and smooth.
The Full Pressure Cooker Journey
- Slice your chicken breasts horizontally to get 4 thinner cutlets. Pat dry with paper towels, season with salt and pepper on both sides.
- Dust each piece lightly with flour, shake off that excess so it ain't too thick.
- Heat 1 tablespoon butter in a skillet over medium-high heat. Cook each chicken piece for 2-3 minutes each side until golden and just cooked through. Set aside.
- Lower heat to medium. Add remaining butter to skillet, then garlic. Sauté for about 30 seconds until fragrant but not burnt.
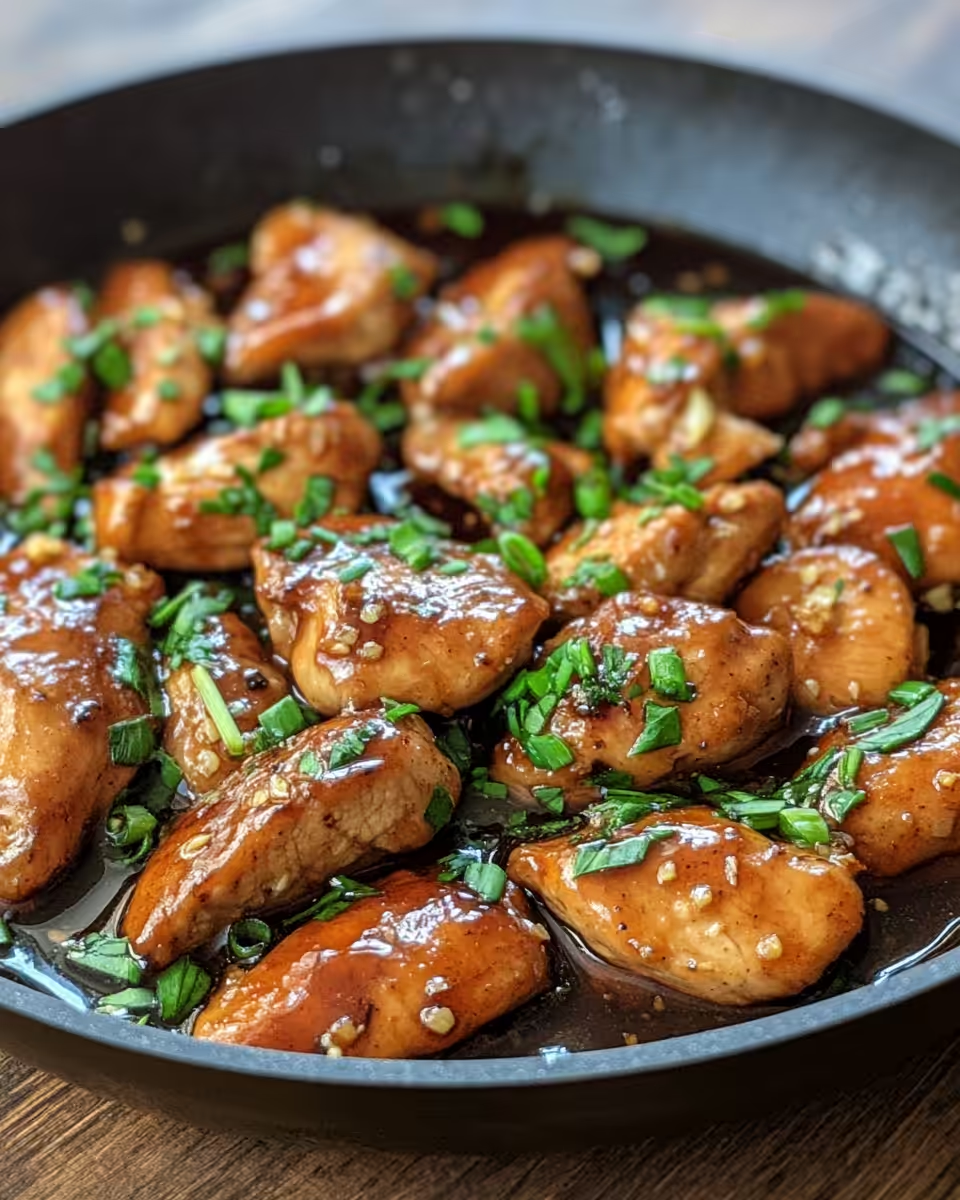
- Mix in vinegar, soy sauce, and honey, stir it all up then simmer for 2-3 minutes until sauce thickens slightly.
- Return chicken to skillet, coat with that sauce good. Simmer for 1 more minute to warm through and let flavors marry.
- You catch the steam cues around here tellin ya it’s almost done. Timing is dang important.
- Serve immediately, spooning sauce over the chicken for max taste and juicy bites.
Easy Tweaks That Make Life Simple
- Use pre-minced garlic if you’re in a real rush, it still works good.
- Skip flour dusting if you want lighter texture; just watch cooking time.
- Olive oil can replace butter for a bit healthier fat choice.
- Swap honey with maple syrup or agave for a different sweet twist.
- Cook chicken whole if you ain’t into cutting, just add a minute or two to cook time.
When You Finally Get to Eat
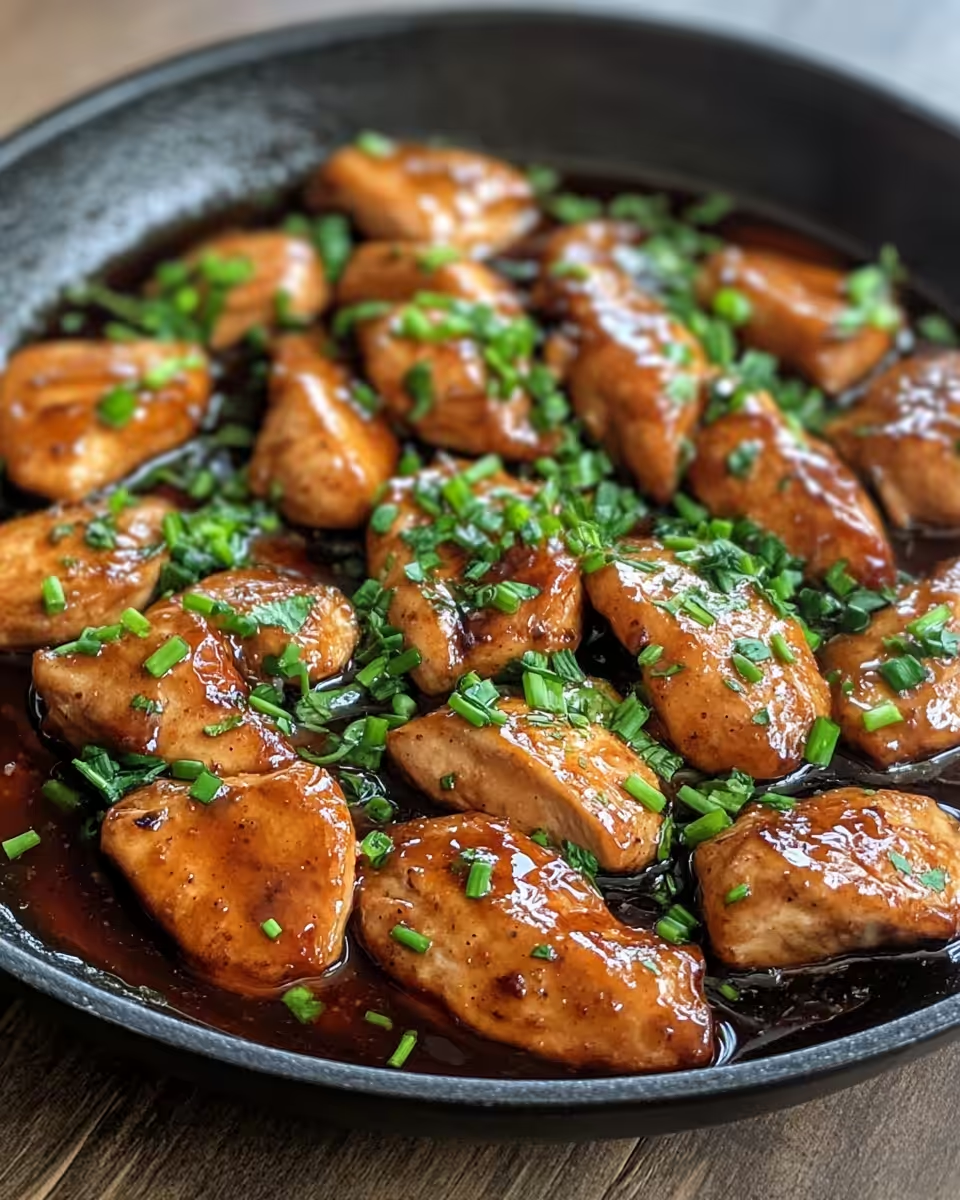
You notice the chicken is juicy and tender, breaking apart the way you want with a gentle tug. The sauce clings to every piece, glossy and sticky with a sweet garlicky kick.
The flavor dance hits you fast, vinegar tang smashing the honey sweetness just right. Garlic whispers in the background, making it all kinda comforting and familiar.
With each bite, you feel the balance of tender pull and sauce depth, dang it tastes like you spent way longer cooking than just minutes. You sit back, feeling happy you caught this recipe on the quick cooker train.
Smart Storage That Actually Works
- Cool leftovers to room temp before sealing in airtight containers to keep fresh longer.
- Refrigerate for up to 3 days; reheat gently so chicken stays tender and not rubbery.
- Freeze in single portions if you wanna save future meal time. Thaw overnight in fridge before reheating.
- Keep sauce separate if you’re picky about soggy chicken during storage, just drizzle before serving.
Your Most Asked Questions Answered
- Can I use frozen chicken breasts? Yep, just increase cook time a bit and make sure the float valve pops, indicating full pressure.
- What if I don’t have butter? Olive oil works great, just same amount and cook as usual.
- Can I make it spicier? Totally add red pepper flakes or hot sauce after cooking for a dang good kick.
- How thick should the chicken slices be? About half an inch thick works best for even cooking and tender pull.
- Is it okay to skip flour? Sure, it just won’t get that little crust but still tasty and tender.
- How to know when it’s done in the pressure cooker? When the float valve is up and steam cues show steady, plus timing about 10 minutes after coming to pressure.
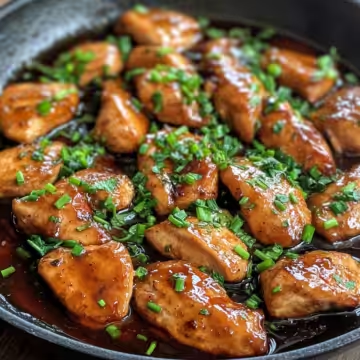
Honey Garlic Chicken Breast Nagi in Your Pressure Cooker
Equipment
- 1 Mixing bowl Large
Ingredients
Main ingredients
- 500 g Chicken breast boneless and skinless (2 pieces), sliced horizontally
- Salt and pepper to season both sides
- ¼ cup Flour for light dusting
- 3 ½ tablespoon Butter unsalted (or 2 ½ tablespoon olive oil)
- 2 cloves Garlic minced fresh
- 1 ½ tablespoon Apple cider vinegar or white vinegar
- 1 tablespoon Soy sauce light
- ⅓ cup Honey or maple syrup
Instructions
Instructions
- Slice your chicken breasts horizontally to get 4 thinner cutlets. Pat dry with paper towels, season with salt and pepper on both sides.
- Dust each piece lightly with flour, shake off the excess.
- Heat 1 tablespoon butter in a skillet over medium-high heat. Cook chicken 2-3 minutes per side until golden and cooked through. Set aside.
- Lower heat to medium. Add remaining butter, then garlic. Sauté about 30 seconds until fragrant.
- Mix in vinegar, soy sauce, and honey. Stir and simmer 2-3 minutes until slightly thickened.
- Return chicken to skillet and coat well. Simmer 1 more minute to warm through.
- Serve immediately with sauce over top.


Leave a Reply