
The pressure builds and you start counting down minutes until you eat. Your sealing ring is snug, the valve hiss just begins, and the float valve pops up like a sign that things are cooking right. You watch closely as the steam clouds, and the scent of garlic and spices sneaks out a little, teasing you more than you like. It’s kinda hard to believe this crazy fast pressure cooker is gonna deliver that smoky, grilled chicken flavor you’re craving.
It’s funny how much you miss the handheld grill when you make Thai chicken at home. But trust me, the pressure cooker’s got your back here. The marinade seeps deep under the skin quicker than it ever could with just slow cooking, and the whole bird comes out tender, juicy yet with this crispness that surprises you. You start hearing that valve hiss again, it’s like a countdown clock to yum. You gotta love that thrill.
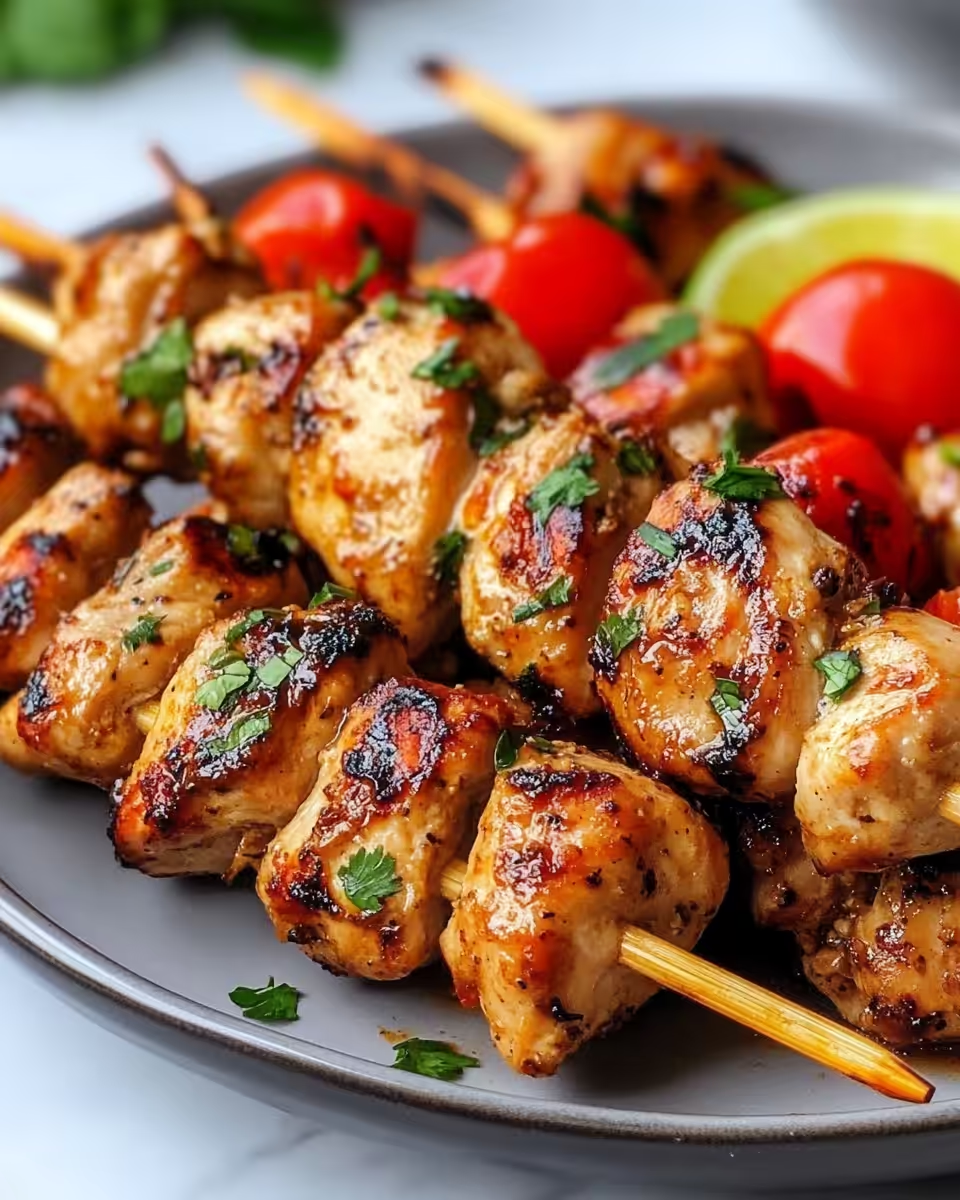
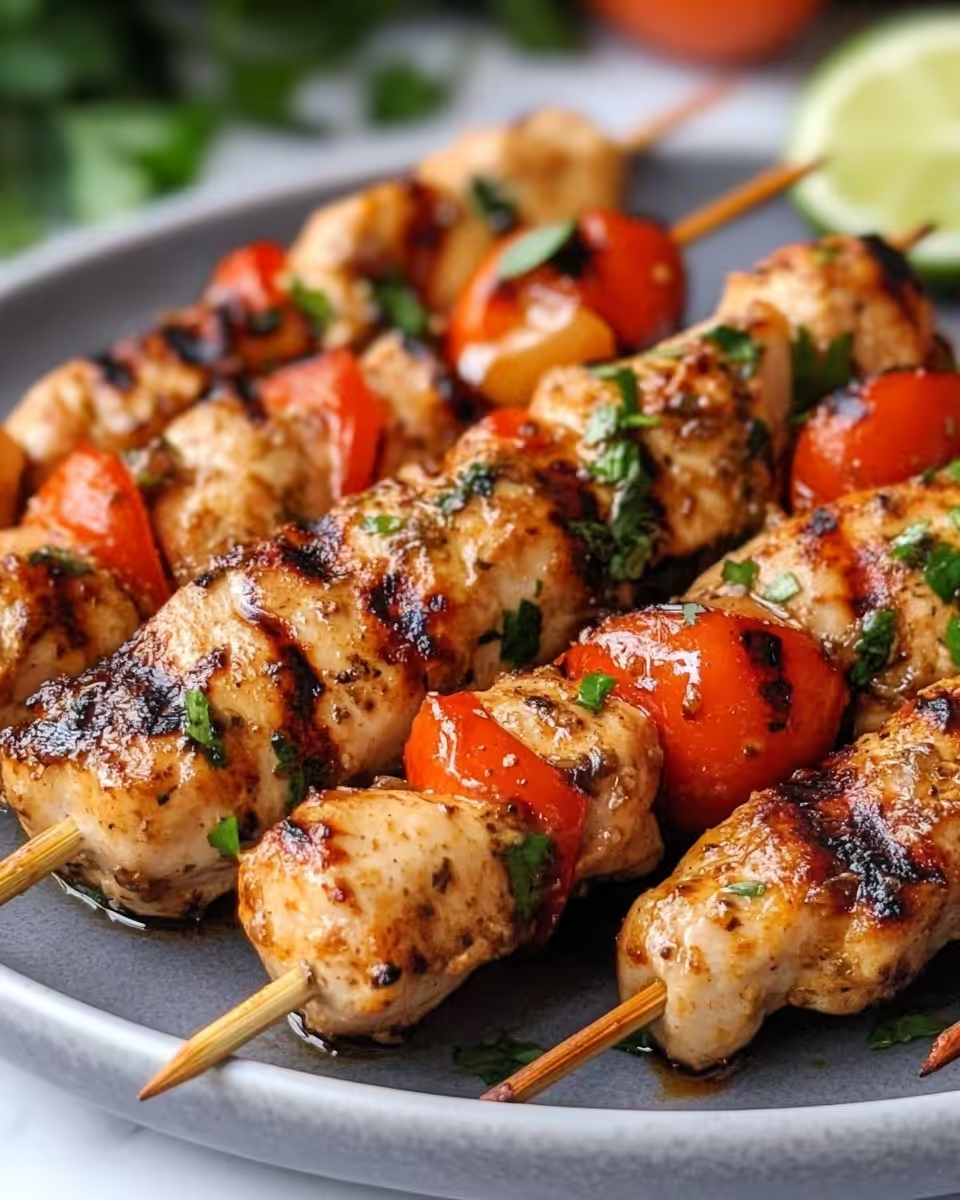
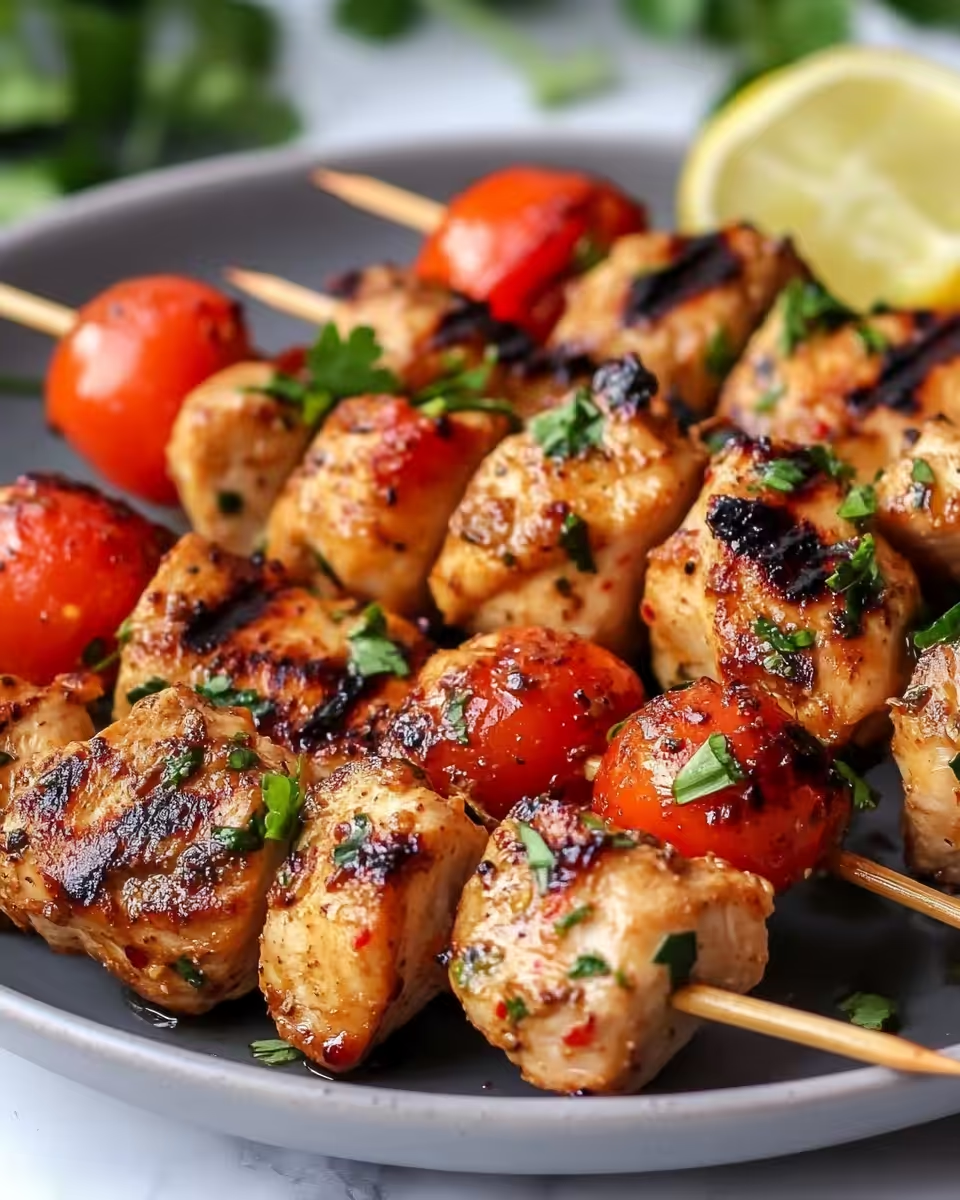
When the timer hits zero, you do the slow release, hearing the hiss calm down and the float valve drop slowly. The kitchen smell reminds you of street food days in Bangkok. The juicy, spatchcocked bird looks perfect, almost like it’d been on a grill for hours. Your mouth waters. You’re already recalling the sticky rice and dipping sauce you prepped. Y’all ready for dinner yet? 'Cause this here is gonna be worth the wait!
The Real Reasons You Will Love This Method
- You get that authentic Thai flavor with the garlic, cilantro roots, and spices all melded perfectly under pressure.
- Marinade penetrates faster so your chicken is tasty from skin to bone.
- The pressure cooker keeps the meat juicy and tender without drying out.
- No need to babysit the grill for half an hour, the pressure cooker does most of the work.
- Quick pressure build and easy slow release mean less standing around and more eating.
The Complete Shopping Rundown
Here’s the list you wanna hit up your market for. This ain’t just chicken and sauce, it’s a whole flavor vibe.
- 1 whole chicken (about 3.5 lbs), spatchcocked. If you don’t know spatchcock, it’s where you remove the backbone so it lays flat.
- 4 cloves garlic, minced. You gotta have fresh garlic here, no foolin’ around.
- 2 tablespoons cilantro roots or stems, finely chopped. Roots give that deep, earthy kick you don’t wanna miss.
- 1 tablespoon white peppercorns. This adds a warm peppery zing that plays with the garlic real good.
- 2 tablespoons fish sauce. It’s salty and rich and super Thai.
- 1 tablespoon light soy sauce. Adds that umami boost without overwhelming.
- 1 tablespoon oyster sauce for a mellow sweetness and depth.
- 1 tablespoon palm sugar or brown sugar. You need this to balance salty and spicy.
- 1 teaspoon ground coriander and ½ teaspoon ground turmeric. These spices bring earthiness and a tiny subtle bite.
These ingredients you spot at your local Asian market or bigger grocery stores. Got them ready, you’re on your way to cooking up some serious Thai street food vibes right in your cozy kitchen.
The Exact Process From Start to Finish
Step one, pound the garlic, cilantro roots, and white peppercorns in a mortar and pestle or spin it up in a food processor till it’s a rough paste. You want it coarse enough to still have texture, not a smooth puree.
Step two, mix that paste in a bowl with fish sauce, soy sauce, oyster sauce, sugar, vegetable oil, coriander, and turmeric. This marinade is what’s gonna make your chicken sing.
Step three, rub the marinade all over your spatchcocked chicken, making sure you get underneath the skin and inside any cavities. The flavors gotta sneak in deep. Then pop it in the fridge at least two hours, better overnight if you got time.
Step four, fire up your grill to medium heat. If you’re using charcoal, you wait till coals get covered in white ash. You want that good steady heat, not too fierce.
Step five, grill the chicken skin side down first. Flip it here and there to get that evenly golden crunch. The chicken will take about 30 minutes or until the thermometer hits 165°F.
Step six, when it’s done, let it rest for 5 to 10 minutes so the juices settle. Then carve it up, serve with sticky rice and your fave dipping sauce. Heck, this here is a complete plate of happiness.
Easy Tweaks That Make Life Simple
- If you’re pressed for time, marinade in the pressure cooker pot itself then start the recipe. Less washing means less fuss.
- Skip pounding if you want and just use ready-made Thai chili paste mixed with some garlic and pepper as a shortcut.
- For that grill flavor without a grill, finish the chicken totally in the pressure cooker and then broil it in your oven for 5–7 minutes until the skin crisps up nice.
These shortcuts keep your Thai grilled chicken adventure easy and still tasty. You gotta experiment and see what fits your kitchen groove.
That First Bite Moment
You pick up a juicy piece and the skin crackles under your teeth with that perfect mix of char and crisp. The smell of garlic and cilantro hits you right away, making your mouth water even more.
Inside, the meat is tender and full of those layers of flavor. The pepper and coriander dance on your tongue while the fish sauce adds that salty depth you can’t quite put in words, but you definitely feel it.
Every bite left you wanting a little more, with sticky rice to soak up the juices and a spicy dipping sauce that gives just the right kick. It’s the kinda meal that sticks with ya long after the plates are empty.
How to Store This for Later
- Fridge storage: Wrap your leftover chicken tightly and store it in the fridge. Should stay good for up to 3 days. Just reheat gently to keep moisture.
- Freezer option: Cut the chicken into portions and freeze in airtight containers. When you’re ready, thaw overnight in fridge and warm in your pressure cooker on slow release to keep it juicy.
- Make-ahead marinade chicken: You can prep the chicken with marinade, freeze it raw in zip bags. When you’re ready, thaw and finish cooking for that fresh flavor anytime.
Whatever way you store, you wanna keep that sealing ring and valve checked on your cooker so you don’t lose pressure or moisture during reheating. Y’all deserve that juicy bite even later on.
Common Questions and Real Answers
- Q: Can I use chicken parts instead of a whole bird?
A: Definitely, just adjust the cooking time. Thighs and drumsticks take less pressure build, so check early. - Q: Do I gotta grill outside?
A: Nope! You can finish in your oven's broiler if outdoor grilling is no-go. The pressure cooker cooks your chicken tender first. - Q: How do I know when the pressure cooker is ready?
A: Watch for the float valve to pop up and the valve hiss. That’s your sign the pressure build’s complete. - Q: Can I use dried cilantro instead of roots?
A: Roots or fresh stems really bring the flavor. Dried cilantro just won’t give that earthy brightness you want. - Q: What if I don’t have a mortar and pestle?
A: A small food processor or even mincing finely with a knife works fine. Just keep it a bit coarse for better texture. - Q: Is the slow release important?
A: Yeah, slow release keeps the chicken juicy by letting pressure drop gently. Quick releases can make the meat tough.
Authentic Thai Grilled Chicken Recipe (Gai Yang ไก่ย่าง)
Equipment
- 1 Mixing bowl for marinade
Ingredients
Main Ingredients
- 1 whole chicken about 3.5 lbs, spatchcocked
- 4 cloves garlic minced
- 2 tablespoons cilantro roots or stems finely chopped
- 1 tablespoon white peppercorns
- 2 tablespoons fish sauce
- 1 tablespoon light soy sauce
- 1 tablespoon oyster sauce
- 1 tablespoon palm sugar or brown sugar
- 1 teaspoon ground coriander
- 0.5 teaspoon ground turmeric
- 1 tablespoon vegetable oil for marinade
Instructions
Instructions
- Pound garlic, cilantro roots, and peppercorns into a coarse paste using a mortar and pestle or food processor.
- Mix the paste with fish sauce, soy sauce, oyster sauce, sugar, vegetable oil, coriander, and turmeric to create marinade.
- Rub marinade over spatchcocked chicken under skin and inside cavities. Marinate at least 2 hours or overnight.
- Grill chicken skin-side down on medium heat (or white ash charcoal). Flip occasionally until evenly golden.
- Cook for about 30 minutes or until chicken reaches internal temp of 165°F.
- Let rest 5–10 minutes. Carve and serve with sticky rice and dipping sauce.


Leave a Reply