
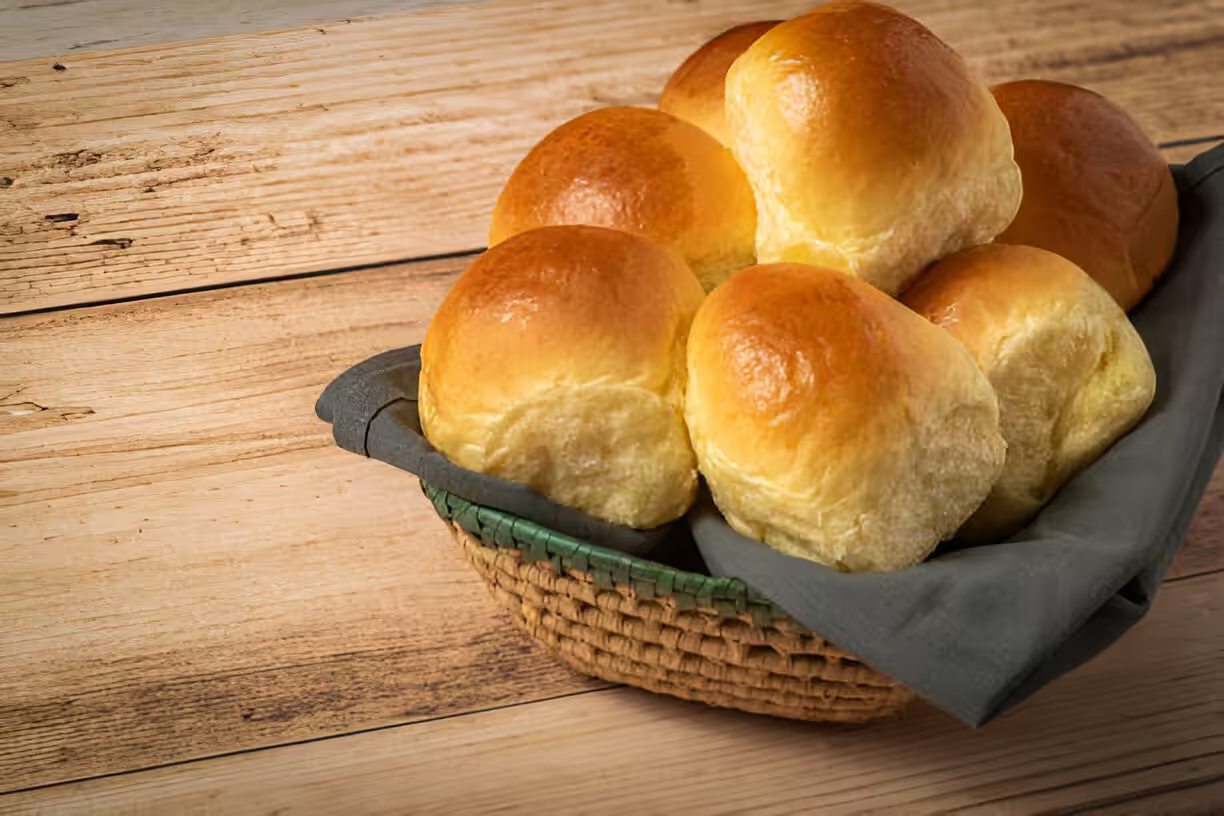
Smelling fresh baked rolls, you can almost feel the happy chatter before you even sit down. Aunt Shirley’s rolls got that magic where you take one bite and it’s like you’re wrapped in a cozy blanket. These soft, buttery balls of dough aren’t just bread—they’re a piece of our family story. Every time we eat them, we’re tasting years of Sunday dinners and holiday feasts all in one mouthful.
Baking bread has been bringing people together forever. When Aunt Shirley bakes, the warm smells drift through the house and somehow make everyone slow down and talk. Her rolls make any dinner a little more special, whether it’s a big holiday or just a Tuesday night with friends. Let’s dive into her famous recipe, share some tips so yours come out great, and look back at all the memories these rolls have given us.
The Legacy of Aunt Shirley
Aunt Shirley ain’t only our aunt—she’s like the queen of comfort and good eats. Her kitchen always smelled like butter and dough rising, and that was the best invitation you could get. She learned her roll method from grandma, and then she made it her own. Every batch felt like a big hug, cause she’d knead the dough while telling stories or cracking jokes.
We kids used to swarm around her table, hoping to help but really just wanting a taste. Mixing the flour and yeast was fun, even if we made a mess sometimes. When the dough grew big and puffy, we knew something awesome was coming. At Thanksgiving or just a lazy Sunday, those rolls showed us that family time mattered more than anything else.
The Importance of Homemade Rolls
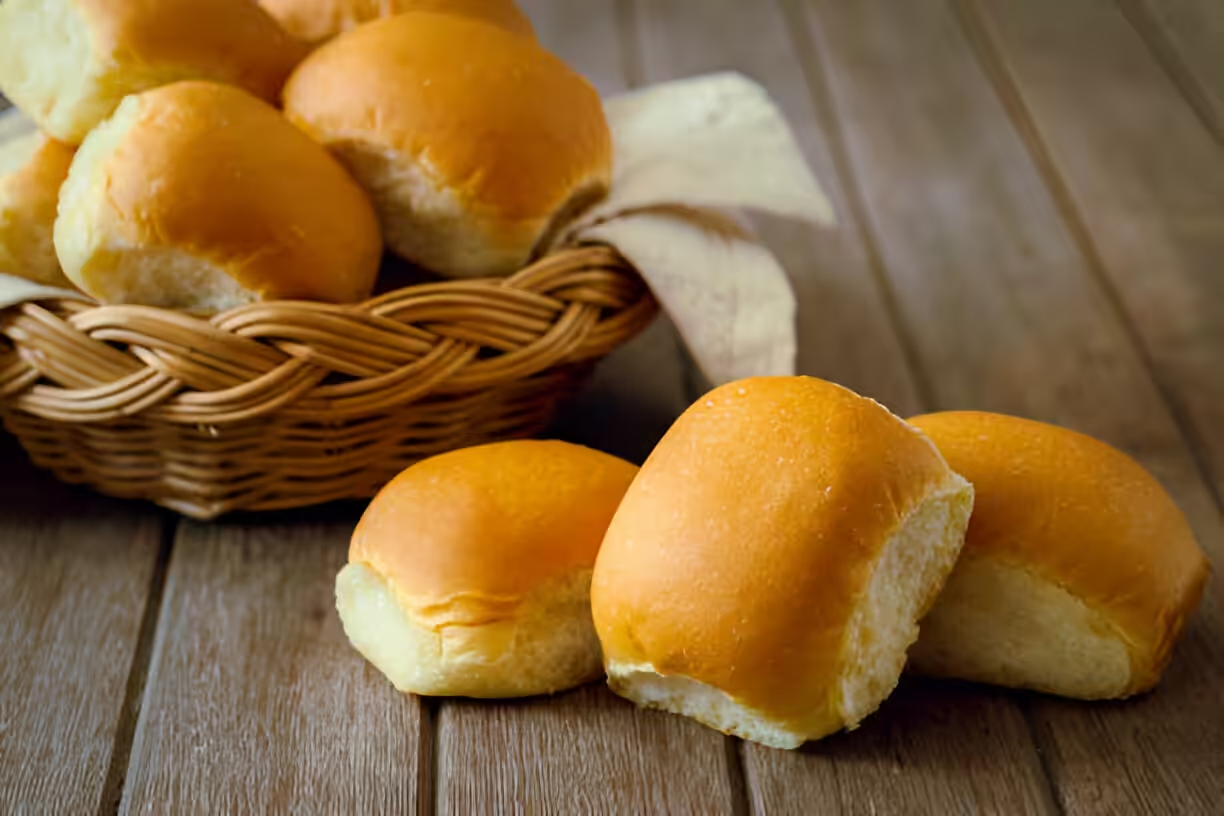
Homemade dinner rolls aren’t just food on a plate—they’re a link to where we come from. Across the world, people break bread together to share stories, laugh, or cry a bit. Aunt Shirley’s rolls do exactly that for us. You sit down, break one open, and suddenly nobody’s in a rush.
On big holidays, the rolls always vanish first. Their buttery taste makes everything else taste better, from roast turkey to mashed potatoes. Everyone grabs two or three, sometimes four, and that’s okay. Each roll’s like a little reminder that eating together helps us feel close.
Ingredients You Will Need
To make Aunt Shirley’s dinner rolls, you’ll need these things:
- Flour: All-purpose flour is best for fluffy rolls.
- Sugar: Just enough to give a hint of sweet.
- Yeast: Use active dry or instant so the rolls rise right.
- Milk: Whole milk adds creaminess.
- Butter: Unsalted so you can control the salt.
- Eggs: One egg helps bind the dough.
- Salt: Brings out the flavor.
Step-by-Step Directions
Preparing the Dough
First, measure everything careful. In a big bowl, mix 2 ½ cups of flour, 1 tablespoon sugar, 1 packet (2 ¼ tsp) yeast, and 1 teaspoon salt. Stir it up good. Heat 1 cup milk and ½ cup butter in a small pot on low. Don’t let it boil—just melt the butter.
Let it cool a bit, then pour it into the dry mix with 1 beaten egg. Stir till a sticky dough forms. If it’s too gooey, add flour a spoon at a time. Turn it on a floured surface and knead 5–7 minutes until it’s smooth.
Put the dough in a greased bowl, cover with a damp towel, and let it rise in a warm spot for about an hour, until it’s doubled. You can stick it in an oven warmed to 200°F and then turned off for a nice rise.
Shaping the Rolls
Punch the dough down gently to let air out. On a floured board, cut into 12 pieces. For regular rolls, roll each into a ball, tucking edges under. If you want cloverleaf rolls, cut each ball into three smaller pieces and place them in a muffin tin. You can also twist or braid them if you like.
Baking the Rolls
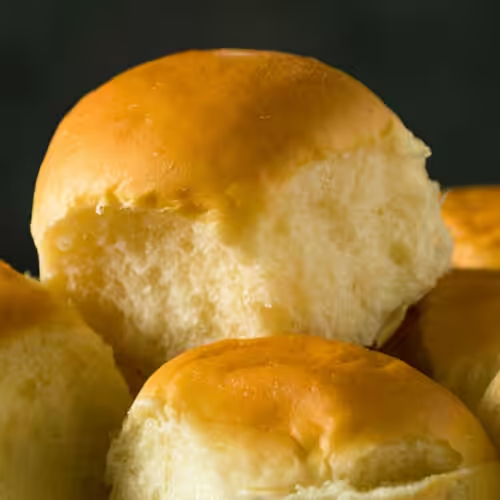
Heat the oven to 375°F (190°C). Let your shaped rolls rest under a towel for 30 minutes so they puff up again. Bake 15–20 minutes until golden. Tap a roll’s bottom—it should sound hollow. Right out of the oven, brush melted butter on top for extra yum. Cool a bit before you eat.
Tips for Perfect Dinner Rolls
Common Mistakes to Avoid
- Too much kneading: Stop when dough is smooth, or rolls get tough.
- Too little kneading: If you skip, they won’t rise right.
- Bad flour measuring: Spoon it in and level off with a knife.
Enhancements and Variations
Add herbs like rosemary or thyme for a savory flavor. Cheese fans can mix in cheddar or parmesan. For gluten-free, use almond flour or a gluten-free blend, but you might need to tweak the liquids.
Storing and Reheating Rolls
Leftovers go in an airtight container or plastic bag at room temp for up to 2 days. For longer, wrap each in plastic wrap, put in a freezer bag, and freeze up to 3 months.
To reheat frozen rolls, thaw in the fridge overnight. Warm in a 350°F oven for 10 minutes. Or microwave 10–15 seconds covered with a damp paper towel so they don’t dry out.
Serving Suggestions
Aunt Shirley’s rolls go great with roast chicken, beef stew, or creamy pasta. For holidays, fill them with cranberry sauce, or serve with dips at brunch. People will love tearing into them!
FAQs About Aunt Shirley's Famous Homemade Dinner Rolls
What can I use instead of milk?
You can swap almond or soy milk, or even water. Just use room temperature liquid so the yeast wakes up.
How long do I let dough rise?
Usually about an hour or until doubled. A warm, no-draft spot works best.
Can I make these ahead?
Yep. Make the dough, stick it in the fridge overnight, then shape and let rise before baking.
How do I freeze rolls?
Wrap each cooled roll in plastic wrap, put them in a freezer bag, label with the date, and freeze for up to three months.
Conclusion
Making Aunt Shirley’s rolls isn’t just baking—it’s making memories. Sharing these soft, buttery bites brings everyone closer and keeps our family traditions alive. So grab your apron, some flour, and let the good times rise!
Aunt Shirley's Famous Homemade Dinner Rolls
Equipment
- 1 large mixing bowl
- 1 measuring cups and spoons
- 1 wooden spoon or dough whisk
- 1 clean kitchen towel or plastic wrap
- 1 baking sheet
- 1 parchment paper (optional)
- 1 oven
Ingredients
- 4 cups all-purpose flour
- 1 cup milk
- ¼ cup granulated sugar
- ¼ cup unsalted butter, softened
- 1 packet active dry yeast (2 ¼ tsp)
- 2 large eggs
- 1 teaspoon salt
- ¼ cup warm water
Instructions
- In a small bowl, dissolve the active dry yeast in warm water and let it sit for about 5 minutes until frothy.
- In a large mixing bowl, combine the warm milk, sugar, and softened butter. Stir until the butter is mostly melted.
- Add the dissolved yeast mixture to the milk mixture. Mix well.
- Beat in the eggs one at a time, then add the salt. Stir until combined.
- Gradually add the flour, one cup at a time, mixing with a wooden spoon or dough whisk until a soft dough forms.
- Turn the dough out onto a floured surface and knead it for about 5-7 minutes until smooth and elastic.
- Place the dough in a greased bowl, cover it with a kitchen towel or plastic wrap, and let it rise in a warm place for about 1 hour or until it has doubled in size.
- Preheat the oven to 375°F (190°C).
- Once the dough has risen, punch it down and divide it into 12 equal pieces. Shape each piece into a ball and place them on a baking sheet lined with parchment paper or greased.
- Cover the rolls again and let them rise for another 30 minutes.
- Bake in the preheated oven for 15-20 minutes or until golden brown on top.
- Remove from the oven and brush with melted butter for extra flavor.
- Serve warm, or store in an airtight container for a couple of days.

Leave a Reply