
That first hiss from the cooker tells you something good is happening. You spot that little valve signing off, the steam sneaking out with a whistle that promises flavor. It’s like your kitchen’s telling you to get ready for something dang tasty.
As the sealing ring tightens and pressure builds inside, you sense the ingredients bonding into that tender pull you want. The smell creeps in, a spicy cheesy chicken combo that gets your mouth watering before you even sneak a peek. You just gotta trust that hiss, it means your meal's nearly ready.
While you wait, your thoughts race to the bun dough, soft and pillowy, coming alive with heat and pressure. You know the quick release will keep the dough perfect, no dry outs or flattening. That hiss ain’t just noise, it’s your dinner countdown ticking off every minute ’til you bite into those dynamite buns.
The Truth About Fast Tender Results
- Pressure cookers trap steam to cook chicken fast, keeping it juicy and tender.
- The sealing ring is key for building up pressure without leaks, so flavors meld better.
- Quick release stops cooking at just the right time, preventing overdone chicken.
- Natural release lets the pressure drop slowly for super tender textures in fillings like cream cheese chicken.
- High heat and sealed environment break down fibers fast, so you don’t wait hours for tender meat.
- The enclosed space also locks in spices, so every bite hits with bold flavor.
All the Pieces for This Meal
- 2 cups cooked shredded chicken – the base of your spicy cheesy filling
- 1 tablespoon olive oil – sets the pan for your veggies and spices
- 1 small onion, finely chopped – who doesn’t love that sweet savory base?
- 2 cloves garlic, minced – for that garlicky punch
- 1 tablespoon tomato paste – deepens the sauce’s flavor and color
- 2 tablespoon hot sauce (adjust to taste) – don’t be shy if you like heat
- ½ teaspoon smoked paprika and ½ teaspoon ground cumin – these spices bring a smoky warmth
- Salt and pepper to taste – gotta season just right, y’all
- ½ cup cream cheese and 1 cup shredded mozzarella – melty, creamy goodness
- 3 cups all-purpose flour, 1 tablespoon sugar, 2¼ teaspoon instant yeast, 1 teaspoon salt, ¾ cup warm milk, ¼ cup warm water, and 3 tablespoon softened butter for the dough
- 1 egg for egg wash – makes those buns glow golden
The Exact Process From Start to Finish
Start by heating olive oil in your pan over medium heat. Toss in the chopped onion and let it cook till it’s nice and translucent. That smell is the start of your dynamite flavor.
Next, stir in the minced garlic and cook for about a minute until it gets fragrant. Add tomato paste and hot sauce, then sprinkle in smoked paprika, cumin, salt, and pepper. Cook this mix for 2 to 3 minutes so the flavors meld together real good.
Throw in your shredded chicken and stir everything up so the sauce coats every bite. Let it cook for another 5 minutes, then pull the pan off the heat. Stir in cream cheese until it melts smooth and creamy inside the filling. Allow it to cool just a bit.
While waiting, preheat your oven to 180°C (350°F). Now, take your dough and divide it into equal parts. Flatten each piece, then spoon in some of that cheesy chicken filling right in the center. Pinch the edges up and pinch ’em tight to make buns sealed up seam-side down on a parchment-lined tray.
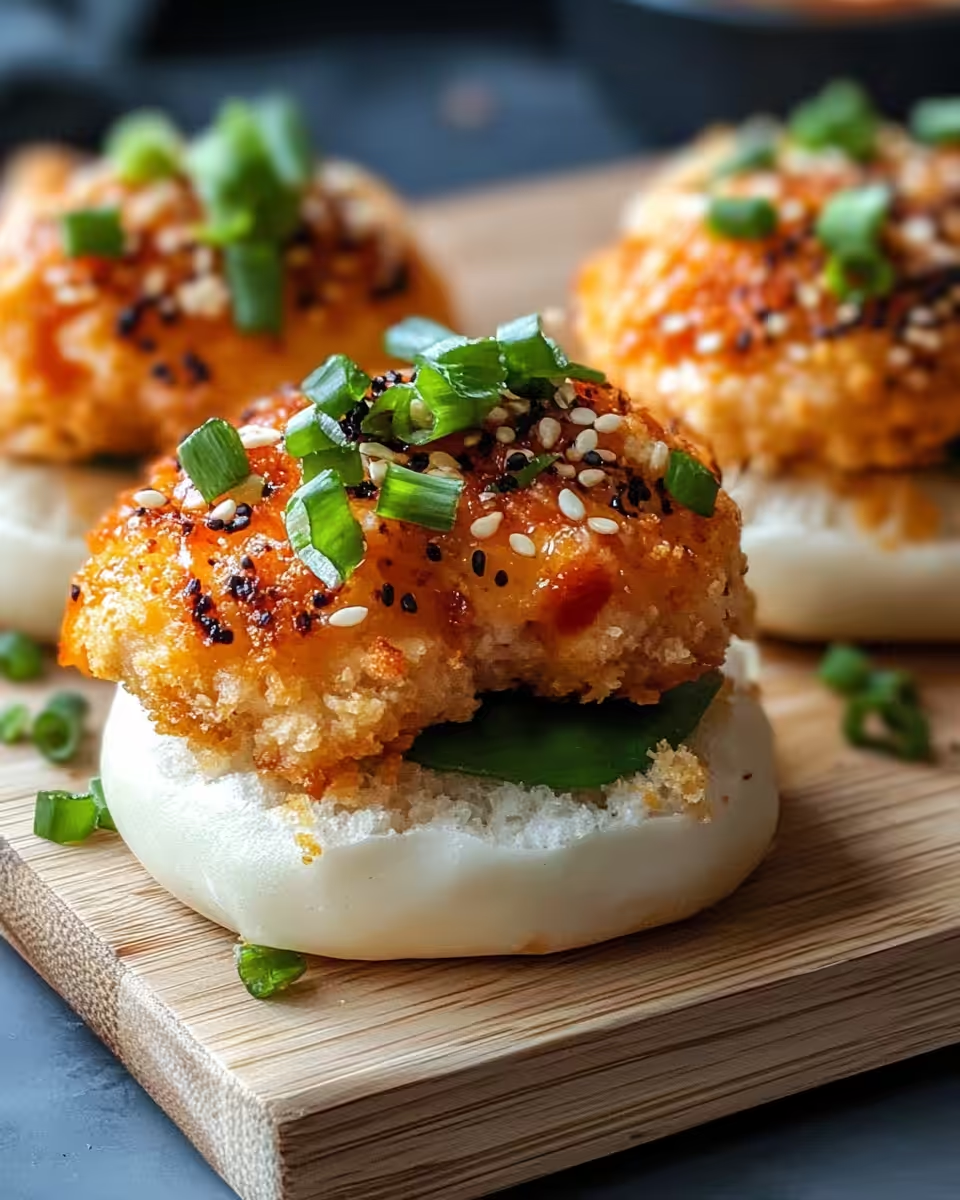
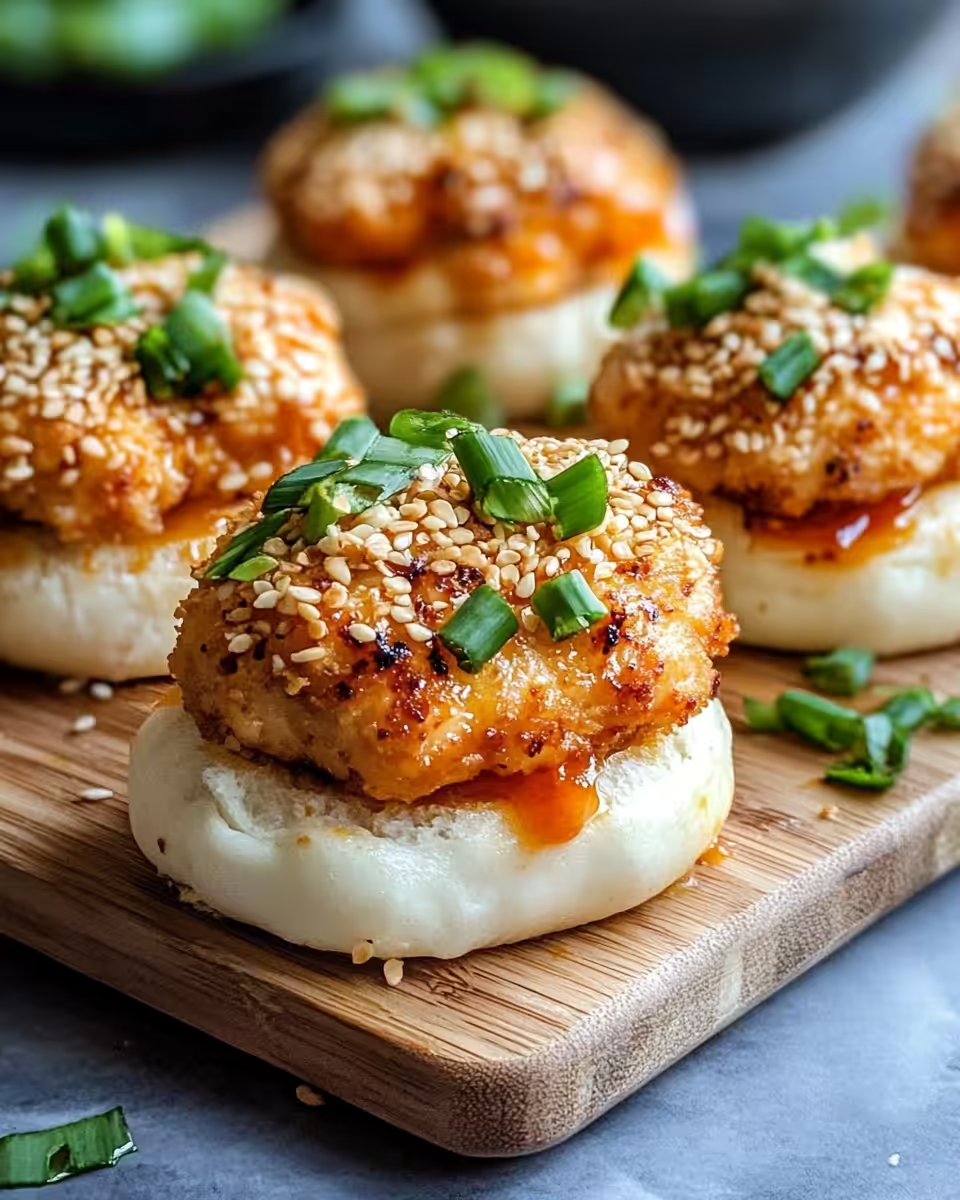
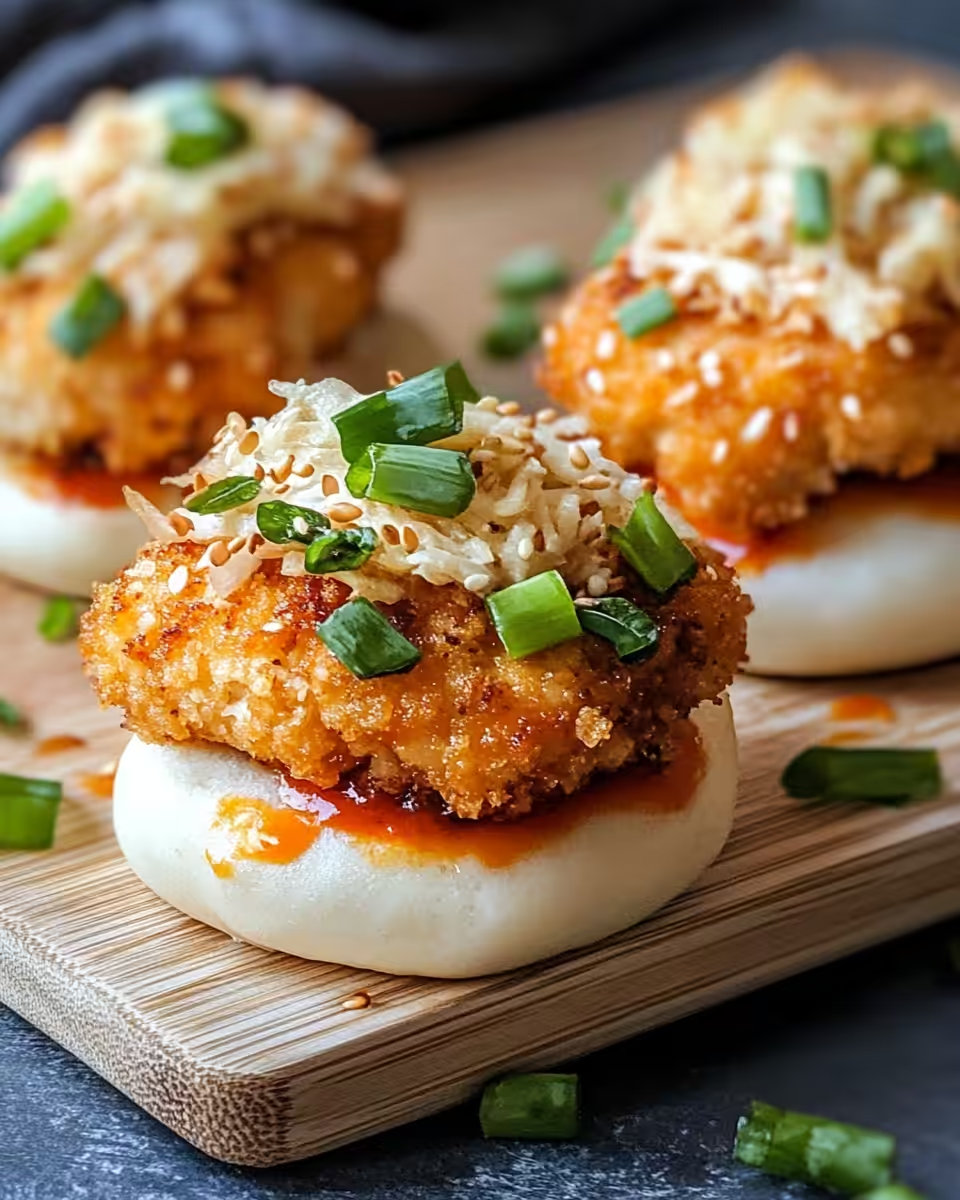
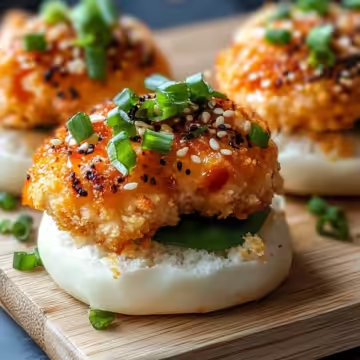
Brush the tops with your egg wash for that golden glow. Sprinkle some sesame seeds if you’re feelin’ fancy. Pop ’em in the oven and bake for about 20 to 25 minutes till they puff up and turn golden brown.
Let ’em cool a few to not burn your tongue, though it’s tempting. Serve warm and watch everyone dive in.
Time Savers That Actually Work
- Use pre-cooked shredded chicken from your fridge or leftovers to skip time.
- Mix your dough ingredients with a stand mixer or bread maker to speed it up.
- Make the chicken filling ahead and refrigerate so you just gotta fill and bake later.
- Use quick release on your pressure cooker to stop cooking exactly when perfect.
- Double up the batch and freeze some buns for a fast future snack or meal.
That First Bite Moment
You press your teeth into that warm, golden bun and hear a soft crunch from the egg-washed top. The texture’s just right, crisp outside and oh-so-soft inside. It kinda melts in your mouth.
Next, that cheesy spicy chicken hits your tongue with a creamy, smoky warmth that lingers. The heat from the hot sauce kicks in just enough, not too wild. You notice the little smoky paprika moments dancing alongside the melty mozzarella.
Each bite’s a perfect mix of rich sauce, tender chicken, and bread that tastes freshly baked. You’re hooked fast, and it’s dang hard to stop at just one.
Smart Storage That Actually Works
If you got leftovers, pop the buns in an airtight container and keep them in the fridge. They’ll stay soft for a few days, ready for your quick reheat fix.
Freeze some in a zip-lock bag, removing as much air as you can. When you want ’em, thaw overnight in the fridge or do a quick microwave zap with a tiny cup of water to keep ’em moist.
Reheat buns in a toaster oven or regular oven on low heat to bring back that crusty outside. Microwave’s fine too but might make ’em a bit chewy.
For longer storage, vacuum sealing’s a neat option if you got the setup. Keeps buns fresh and full of flavor for weeks.
Your Most Asked Questions Answered
- Can I use frozen chicken? Yeah, just thaw it first so the filling isn’t watery. That helps keep the texture spot on.
- What kind of hot sauce works best? I like a simple cayenne or sriracha, but any you dig works. Adjust heat to taste.
- Can I skip the cream cheese? You could, but it really amps up the creaminess and richness so I don’t recommend skipping it.
- Why does the dough need warm milk and water? Warm liquids help activate the yeast faster, which makes your dough rise nice and fluffy.
- How do I know when the chicken filling is done? Once it’s heated through and the cream cheese is melted and blended, it’s good to go. A quick taste should tell ya.
- Is it okay to use quick release instead of natural release? For this recipe, quick release works best to keep the chicken tender without overcooking. Natural release might make the dough soggy.
Step-by-Step Cheesy Dynamite Chicken Buns Recipe Everyone Will Love
Equipment
- 1 Mixing bowl Large
Ingredients
Ingredients
- 2 cups Cooked shredded chicken the base of your spicy cheesy filling
- 1 tablespoon Olive oil sets the pan for your veggies and spices
- 1 small Onion finely chopped
- 2 cloves Garlic minced
- 1 tablespoon Tomato paste
- 2 tablespoon Hot sauce adjust to taste
- 0.5 teaspoon Smoked paprika
- 0.5 teaspoon Ground cumin
- Salt and pepper to taste
- 0.5 cup Cream cheese
- 1 cup Shredded mozzarella
- 3 cups All-purpose flour for the dough
- 1 tablespoon Sugar for the dough
- 2.25 teaspoon Instant yeast for the dough
- 1 teaspoon Salt for the dough
- 0.75 cup Warm milk for the dough
- 0.25 cup Warm water for the dough
- 3 tablespoon Softened butter for the dough
- 1 Egg for egg wash
Instructions
Instructions
- Heat olive oil in a pan over medium heat. Add chopped onion and cook until translucent.
- Add minced garlic and cook for about 1 minute until fragrant.
- Stir in tomato paste, hot sauce, smoked paprika, cumin, salt, and pepper. Cook for 2–3 minutes.
- Add shredded chicken and mix well. Cook for another 5 minutes until heated through.
- Remove from heat and stir in cream cheese until melted and the filling is creamy. Let cool slightly.
- Preheat oven to 180°C (350°F). Divide dough into equal parts and flatten each piece.
- Place a spoonful of filling in the center, pinch edges together, and place seam-side down on tray.
- Brush tops with egg wash. Optionally sprinkle sesame seeds on top.
- Bake for 20–25 minutes until puffed and golden brown.
- Let buns cool for a few minutes before serving.
Leave a Reply