
The pressure builds and you start counting down minutes until you eat. You can almost smell the cocoa mixing with sugar in the air. That nose twitch, the little dance you do, watching the timer tick down on your pressure cooker, it's a kinda irresistible excitement. Every minute feels like forever, but you keep reminding yourself patience is part of the deal here.
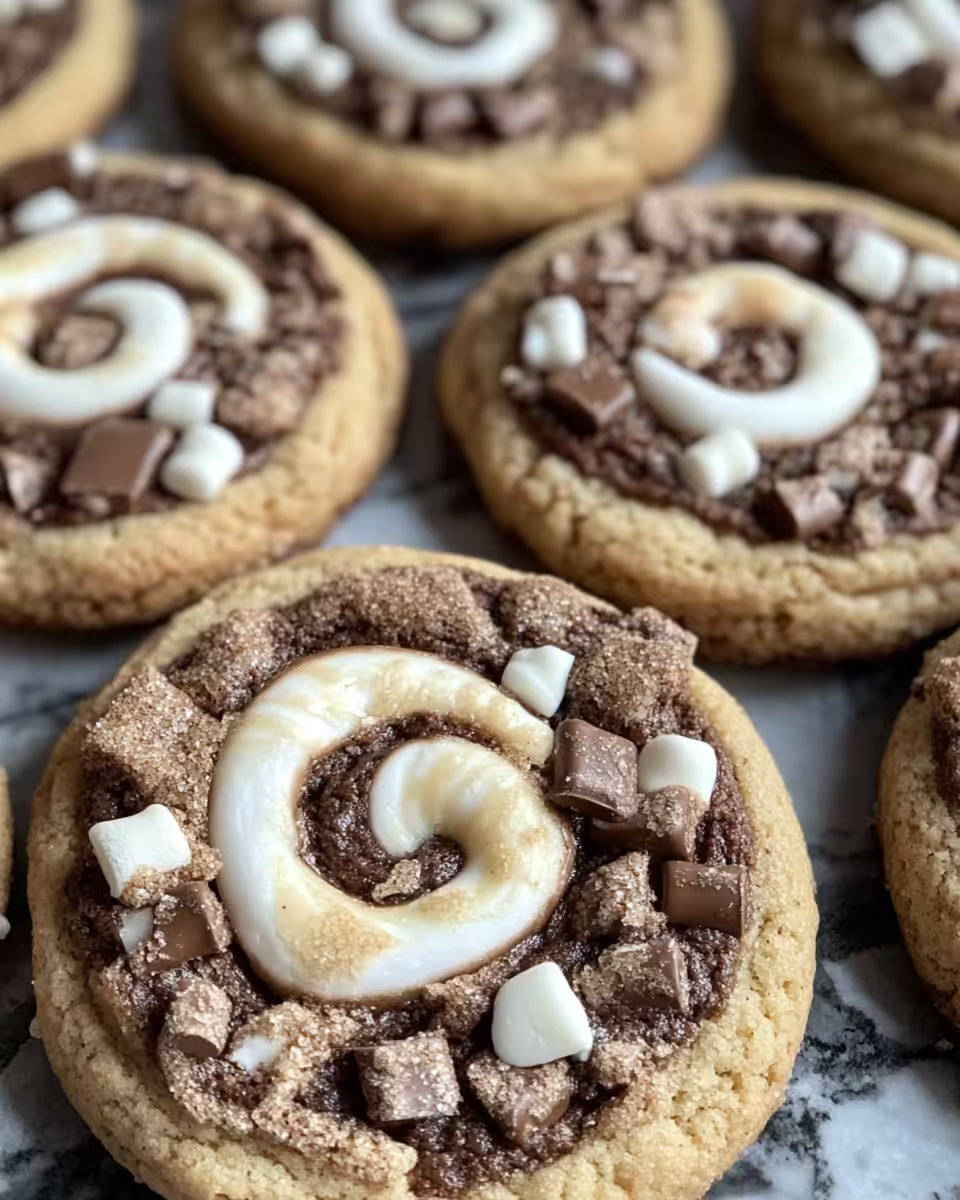
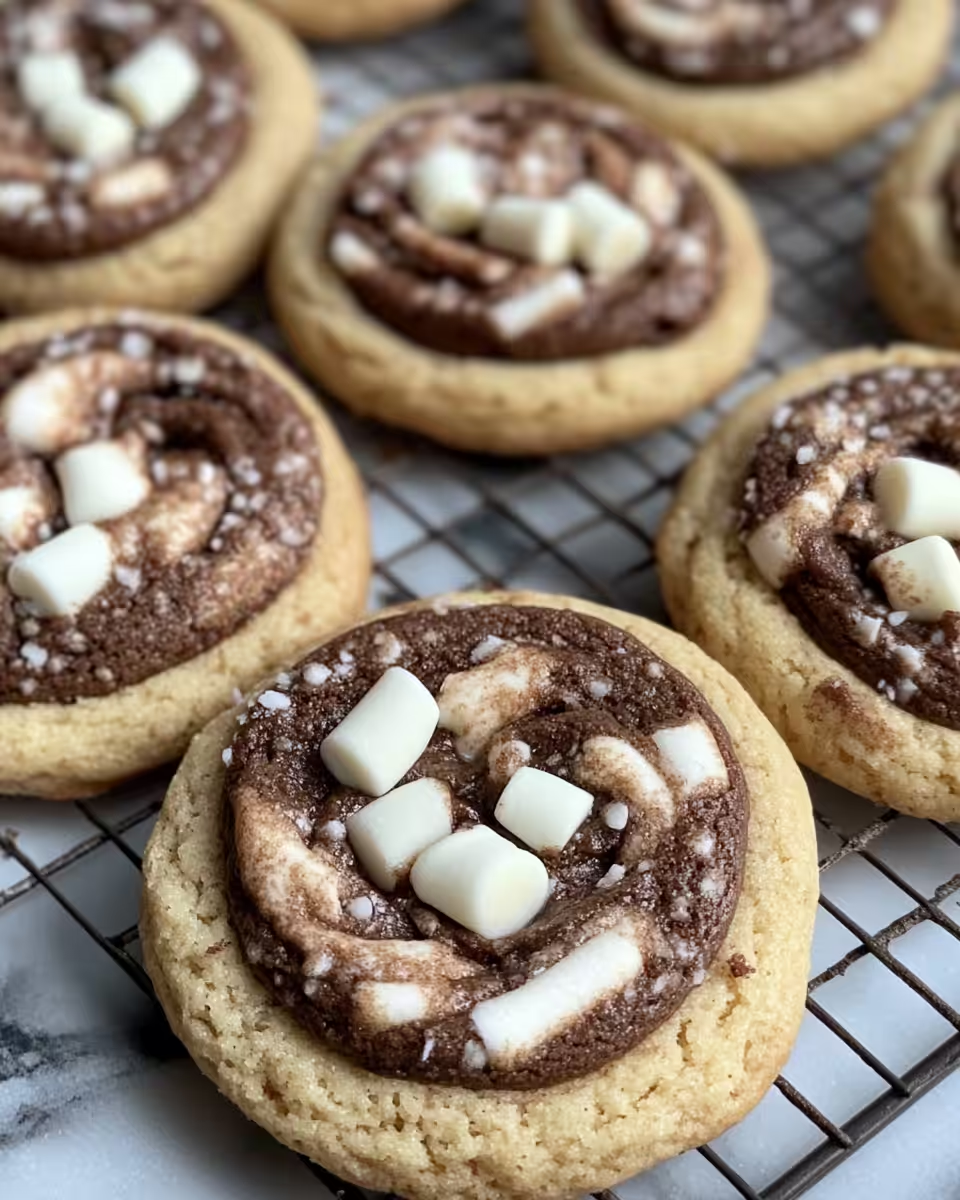
You remember that first tender pull of the cookie, how it’s soft but just holds together real good. The marshmallow fluff swirls peek through like little clouds, making you grin before even taking a bite. It’s the kinda cookie you wanna eat warm, right off the rack, not waiting too long cause that melty marshmallow starts to harden.
And while that pressure cooker is doing its thing, you sense the simplicity behind this whole recipe. It ain’t complicated, but it’s got all the cozy vibes you're after. You catch yourself thinking that this method brings out flavors kinda differently than baking in the oven. It’s like the pressure cooker gives your cookies a little extra something you don’t get the usual way.
The Real Reasons You Will Love This Method
- It’s way quicker than using the oven, so you get your cookie fix faster.
- You don’t need to heat up your whole kitchen, which is perfect when it’s hot out.
- The pressure cooker makes the marshmallow soft and gooey instead of dry.
- You get cookies with a tender pull that’s hard to get with usual baking.
- Cleaning up is simpler since you mainly use one pot with less mess.
The Complete Shopping Rundown
- ½ cup unsalted butter, room temp for that creamy base
- ⅓ cup light brown sugar, packed to keep it moist
- ⅓ cup granulated sugar for sweetness and crunch
- 1 large egg, room temperature for better mixing
- 1 ⅓ cups all-purpose flour, the cookie’s foundation
- ½ teaspoon espresso powder to bring out chocolate flavor
- ⅓ cup Dutch processed cocoa powder, rich and smooth
- ½ teaspoon baking soda to help with a nice rise
- 1 teaspoon vanilla extract, can’t forget that aroma
- ½ teaspoon salt to balance all the sweetness
- 1 cup chocolate chips for those melty chocolate chunks
- ½ cup marshmallow fluff for the chewy, gooey swirl you love
Every single one of these ingredients works together to bring out a cookie that’s soft but still kinda substantial. The espresso powder is soooo subtle but it does wonders boosting the chocolate. Don’t skip that marshmallow fluff- it’s the star that makes this cookie stand apart from ordinary chocolate ones.
Your Complete Cooking Timeline
- Step 1: First, preheat your pressure cooker if it has that option or start by greasing the pot so the cookies don’t stick. You gotta kinda adapt this step depending on your model.
- Step 2: In a large bowl, cream your butter, light brown sugar, and granulated sugar until the mixture looks light and fluffy. It’s key for that soft texture.
- Step 3: Beat in your egg and vanilla until everything’s well combined and smooth like a creamy dream.
- Step 4: In a separate bowl, mix flour, cocoa powder, espresso powder, baking soda, and salt together. Whisk well so it’s all evenly distributed.
- Step 5: Gradually add the dry mix into the wet mix, stirring just until combined. Overmixing will make the cookies tough, so keep it gentle.
- Step 6: Carefully fold in the marshmallow fluff pieces so they create little swirls and pockets of gooeyness.
- Step 7: Scoop out tablespoon-sized dough balls and place them spaced out on a silicone mat or parchment paper inside the pressure cooker pot. Close the lid, make sure the sealing ring is in place, and cook using quick release at about 10-12 minutes. Then let your cookies rest for a natural release time of 5 minutes.
Once the timer goes off, you do a slow release to keep the cookies from breaking apart from a sudden drop in pressure. That tender pull is everything here. You gotta wait a bit after opening before tasting cause they’re hot and marshmallow is melty stuff.
Valve Hacks You Need to Know
- Always check your sealing ring before cooking because if it’s not placed right, the pressure won’t build correctly.
- Use quick release for quick cleanups but if you want cookies less crumbly, go for slow release sometimes.
- When adding marshmallow fluff, don’t mix it too much or it just melts away instead of creating swirls.
- If cookies stick, a little parchment paper or silicone mat makes life easier inside the pot.
- Remember to arrange dough balls with some space so they don’t stick together once puffed up.
What It Tastes Like Fresh From the Pot
When you first bite into these cookies straight from the pot, you feel that soft melt-in-your-mouth chocolatey goodness. The cocoa powder and espresso notes come through with this deep, cozy hug in every bite.
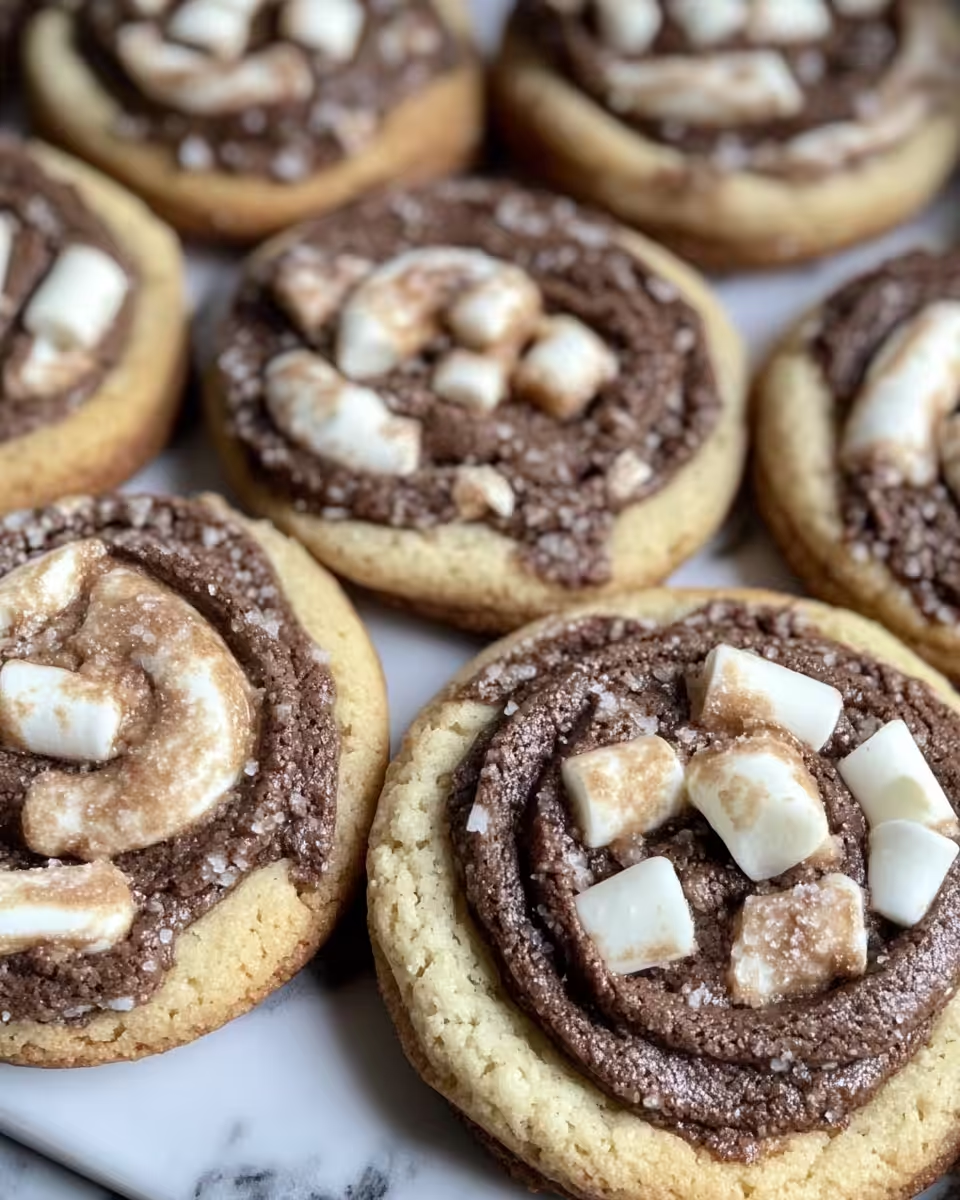
The marshmallow fluff pockets are like little clouds of sweetness that stretch and pull in the best way. You gotta be careful cause the melty marshmallow can be almost sticky but dang, that’s the fun part.
The edges hold a slight chew with chocolate chips scattered around, giving you bursts of extra chocolate without overwhelming the gooey center. This balance creates a rich yet tender cookie all at once.
Eating it warm makes you think you can't wait to bake these again 'cause nothing feels as comforting as chocolate plus marshmallow after a long day. You’ll catch yourself licking your fingers more often than not.
Keeping Leftovers Fresh and Ready
- In an Airtight Container - Store leftover cookies in an airtight container at room temp. This keeps them soft for a day or two and preserves the marshmallow’s gooey texture.
- Refrigeration - If you won’t eat them soon, popping the cookies in the fridge extends freshness for up to a week. Just let them come to room temp before eating for best texture.
- Freezing - To keep cookies longer, freeze them in a sealed freezer-safe bag or container. When ready, thaw them out on the counter or warm gently with a quick release in your pressure cooker if you’re feeling fancy.
One trick is layering parchment paper between cookies when storing so they don’t stick together if they got marshmallow spots. Also, you might wanna skip stacking ‘em too high for easier grab-and-go munching.
What People Always Ask Me
- Can I use regular marshmallows instead of marshmallow fluff? Yeah, but fluff melts better in this recipe to keep those swirl pockets intact.
- Does the espresso powder make the cookies taste like coffee? Not really, it just brings out the chocolate more deeply without a strong coffee flavor.
- Is it safe to bake cookies in a pressure cooker? Totally safe as long as you follow the guidelines for your model and use proper settings like quick release and watch the sealing ring.
- Can I make these gluten-free? Absolutely, just swap in gluten-free all-purpose flour and keep the rest the same.
- What’s the difference between quick release and natural release? Quick release lets out steam fast, so food cools quicker. Natural release means you wait for pressure to go down gradually which is better for tender textures like these cookies.
- How do I stop cookies from sticking to the pot? Lining with parchment or silicone mats, plus greasing lightly, helps keep the cookies sliding right off.
Chocolate Marshmallow Cookies Pressure Cooker Recipe
Equipment
- 1 Pressure cooker
Ingredients
Main Ingredients
- ½ cup unsalted butter room temp for that creamy base
- ⅓ cup light brown sugar packed to keep it moist
- ⅓ cup granulated sugar for sweetness and crunch
- 1 large egg room temperature for better mixing
- 1 ⅓ cups all-purpose flour the cookie’s foundation
- ½ teaspoon espresso powder to bring out chocolate flavor
- ⅓ cup Dutch processed cocoa powder rich and smooth
- ½ teaspoon baking soda to help with a nice rise
- 1 teaspoon vanilla extract can’t forget that aroma
- ½ teaspoon salt to balance all the sweetness
- 1 cup chocolate chips for those melty chocolate chunks
- ½ cup marshmallow fluff for the chewy, gooey swirl you love
Instructions
Instructions
- Preheat your pressure cooker or grease the pot to prevent sticking.
- Cream butter, light brown sugar, and granulated sugar until light and fluffy.
- Beat in egg and vanilla until smooth and well combined.
- In separate bowl, whisk together flour, cocoa powder, espresso powder, baking soda, and salt.
- Gradually add dry ingredients to wet, mixing until just combined.
- Gently fold in the marshmallow fluff to create swirl pockets.
- Form tablespoon-sized dough balls and space them out inside the pressure cooker pot lined with parchment or silicone mat.
- Close lid and cook using quick release setting for 10–12 minutes. Let rest for 5 minutes natural release.
- Perform slow release to prevent cookie breakage, then let cool slightly before serving.
Leave a Reply