
That first hiss from the cooker tells you something good is happening. You sense the pressure building up and a valve hiss that kinda gets your heart racing because you know your cheesecake is on its way to being real creamy and perfect. The aroma starts creeping up, a bit of chocolate mixing with that bright zest of orange, teasing your nose.
When you spot the sealing ring doing its job, you just relax a little, trusting the pressure cooker to handle all the tricky bits. The steam cues popping here and there remind you the cooker is working hard, creating a cozy steam bath for your dessert. It’s a dang good feeling knowing you’re about to enjoy that rich, silky cheesecake much faster than you ever expected.
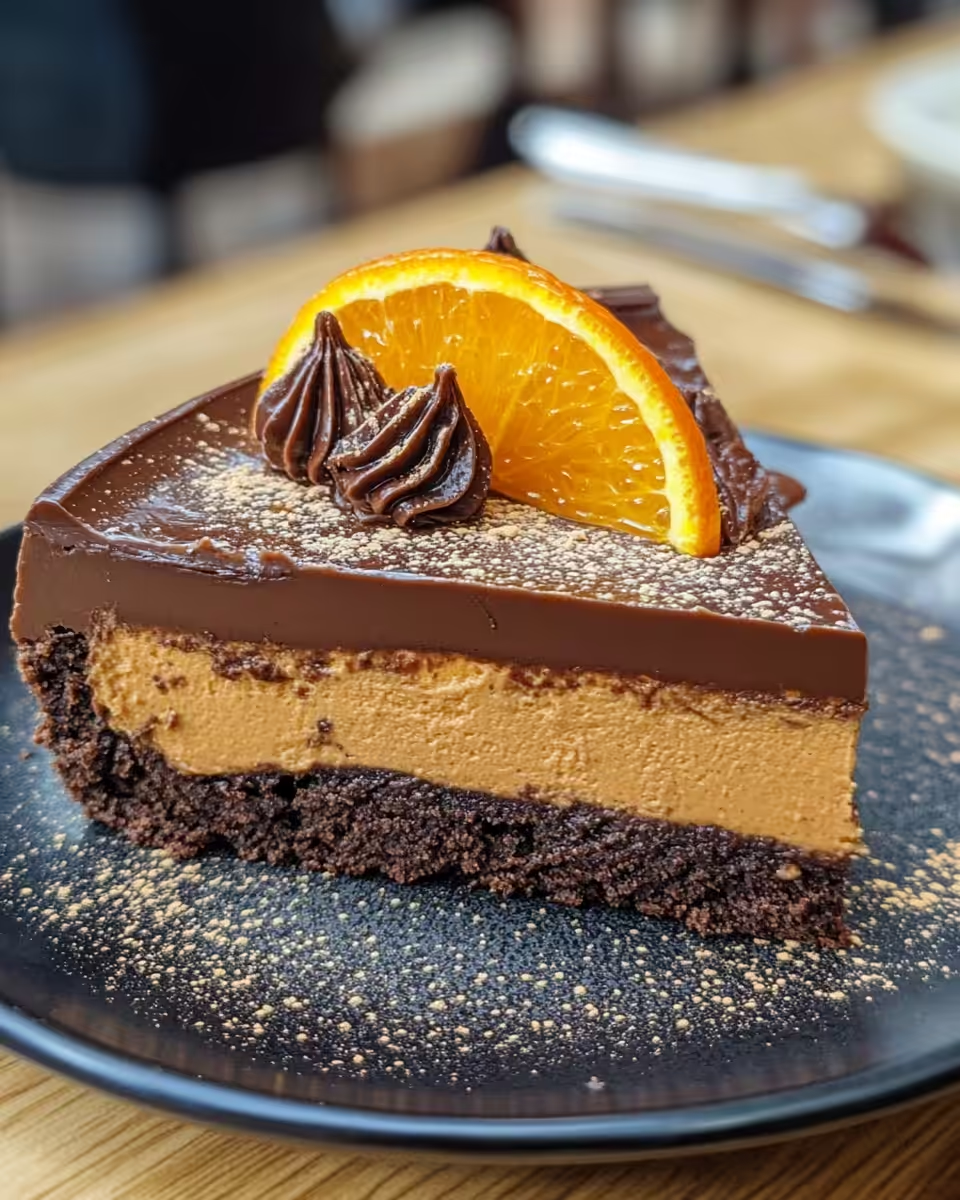
You catch yourself thinking about that snug crust made from chocolate graham crackers, all buttery and crisp, waiting to greet the creamy filling. This recipe kinda flips the usual bake-and-wait routine on its head. Trust me, you’re gonna love how the textures and flavors come together when you use your pressure cooker just right.
What Makes Pressure Cooking Win Every Round
- You get quick cooking without waiting hours for a slow bake.
- The pressure traps steam to bake the cheesecake gently and evenly.
- Broth depth helps keep things moist, so no dry edges in sight.
- Less heat means less worry about burning your crust or cracking your filling.
- Natural release lets the cheesecake finish its set without sudden temp shocks.
- The sealed environment means every flavor stays locked in and pops more.
Everything You Need Lined Up
- 10 oz chocolate graham crackers, crushed fine
- ½ cup unsalted butter, melted to keep moisture
- ¼ cup granulated sugar to sweeten the crust
- 3 8-oz bricks of cream cheese, softened for easy mixing
- 1 cup dark brown sugar adding depth and rich sweetness
- 1 cup whole milk ricotta cheese, brings light creaminess
- ⅓ cup dark cocoa powder (or regular cocoa powder if you prefer)
- ½ teaspoon espresso powder - kinda optional but amps up chocolate
- ½ cup heavy whipping cream for that lush texture
- ⅓ cup semi sweet chocolate chips and zest from one whole orange to brighten everything up
- Plus 3 large eggs to hold it all together and make it smooth
The Exact Process From Start to Finish
First things first you gotta get your oven preheated to 325°F (163°C) even if you’re finishing your cheesecake in the pressure cooker later. Grease a 9-inch springform pan and slap a parchment paper on the bottom so it won’t stick.
Next, mix those chocolate graham cracker crumbs with melted butter and granulated sugar till it looks like thick wet sand. Press that mix down firmly into the bottom of your pan. Put it in the oven for 10 minutes just till the crust feels set and smells buttery.
Meanwhile, as the crust cools slightly take a large bowl and beat the softened cream cheese with dark brown sugar till it’s smooth and dreamy. This step gotta be thorough to avoid lumps.
Now add in your ricotta, cocoa powder, and that espresso powder if you’re using it. Beat again until everything blends into one silky batter. Then slowly drizzle the heavy whipping cream while mixing so it gets fluffy and smooth, almost like mousse.
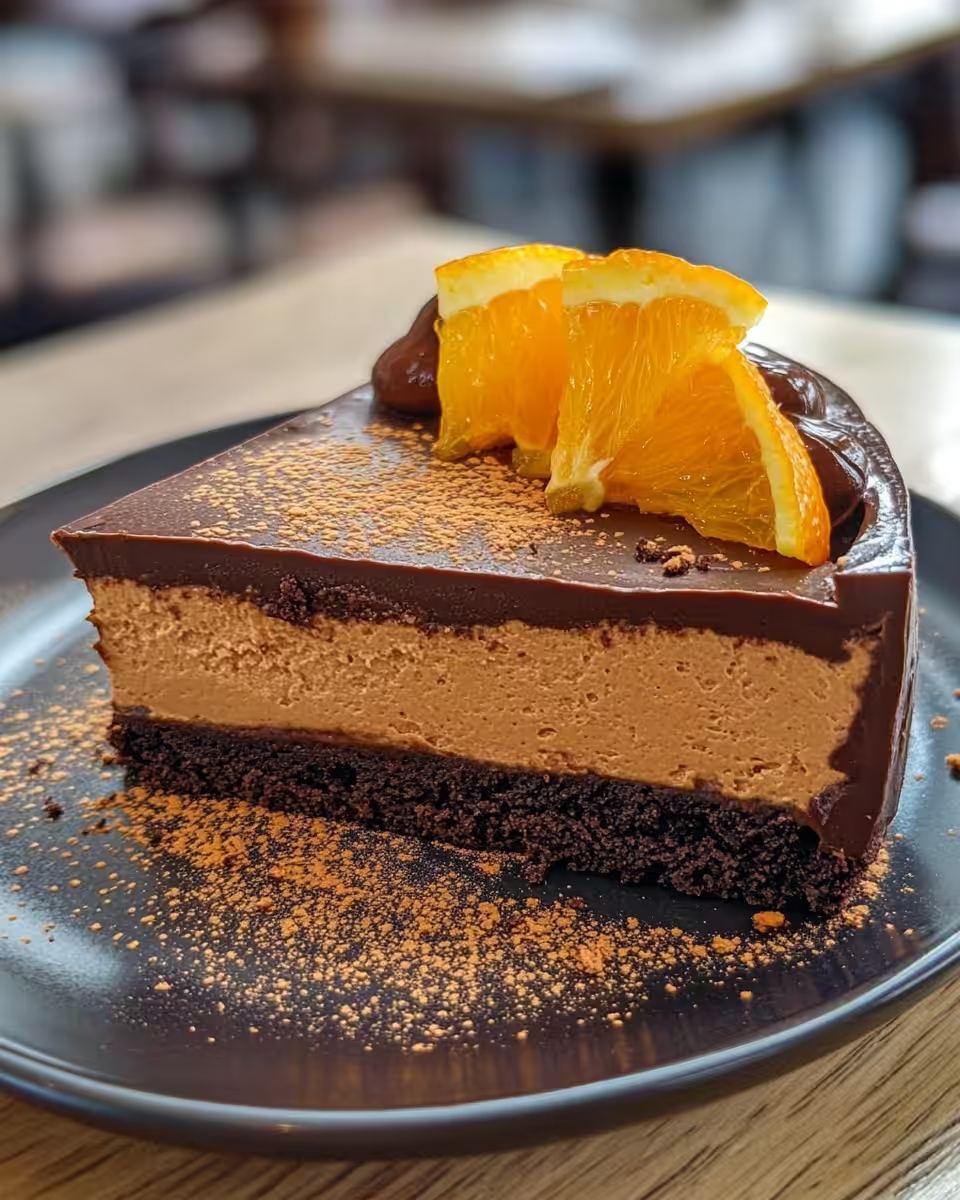
Fold in your semi sweet chocolate chips and orange zest carefully so they spread evenly without beating the air out. Pour this luscious mix over your cooled crust and smooth out the top with a spatula.
Time to bake for about 30 minutes. You wanna see edges set but the center should jiggle slightly when you nudge the pan. Once done, turn off the oven and crack the door open a bit. Let the cheesecake cool in there for one hour; it’s kinda a gentle finish. Then chill that baby in the fridge for at least four hours or overnight so it firms up right.
Time Savers That Actually Work
- Use pre-crushed chocolate graham crackers to skip the crumb job.
- Softening cream cheese in microwave for 20 seconds speeds mixing.
- Measure cocoa powder and espresso powder ahead in a small bowl for quick adding.
- Line the pan and prepare crust while oven is preheating to save kitchen time.
- Let heavy cream come to room temp beforehand for easier fluffing and mixing.
That First Bite Moment
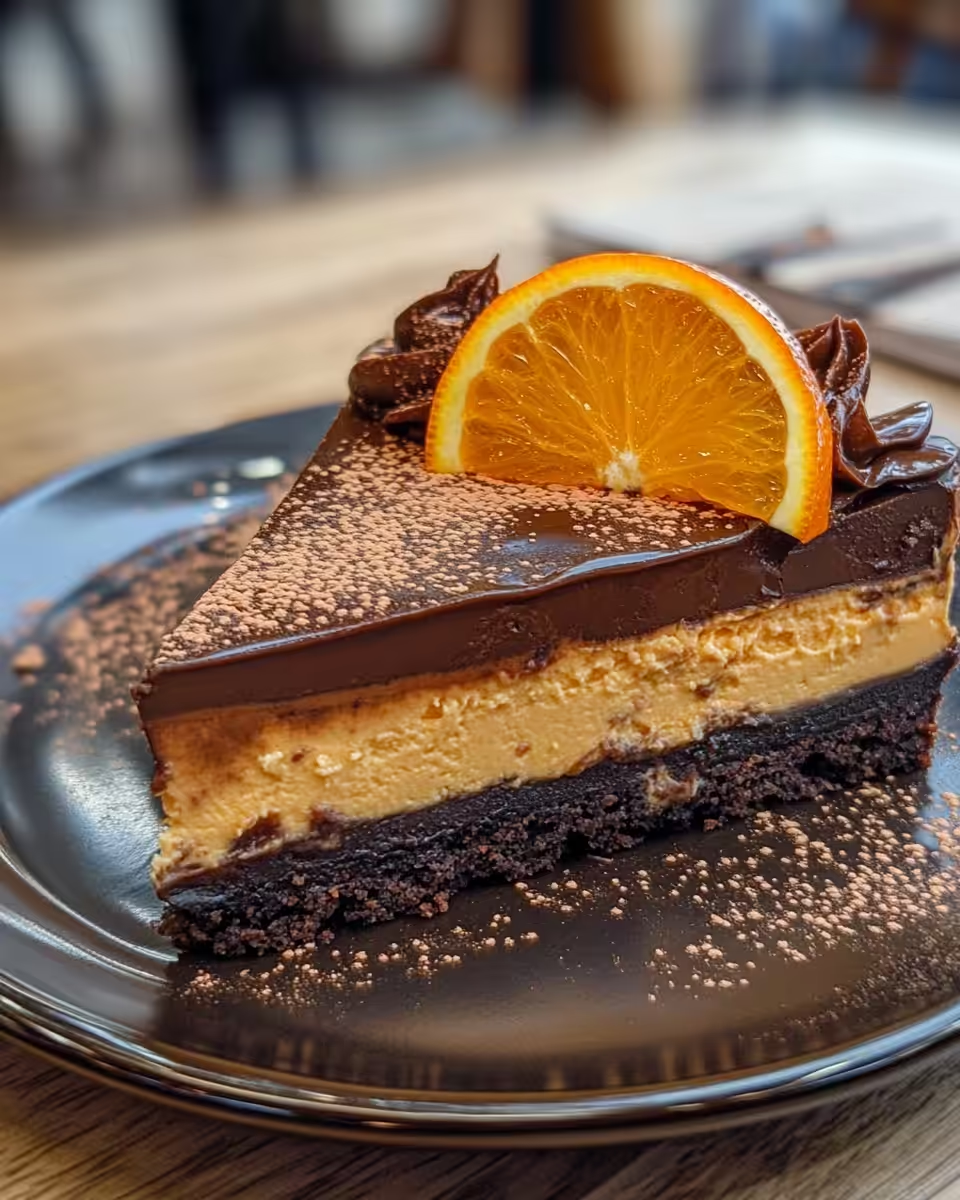
When you finally get that first forkful it hits you with rich chocolate kissed by that bright orange zest. The cream cheese and ricotta melt together like a creamy dream on your tongue. It’s smooth but also got some texture from those little chocolate chips hiding in there.
You’ll notice the crust crunch right away, giving a perfect contrast to the soft custard middle. It’s buttery and chocolatey enough to make you smile every bite.
There’s a depth that comes from the espresso powder you don’t always catch right away but that sneaky little note makes every flavor pop all the more. This dessert feels fancy but is sooo easy to make.
Every forkful kinda invites you back for just one more, and before you know it y’all are looking for a second slice which is totally allowed around here.
Keeping Leftovers Fresh and Ready
If you got extra cheesecake (lucky you) just cover it tightly with plastic wrap or keep it in an airtight container. Refrigerate to keep that rich creamy texture from drying out or picking up fridge smells.
You can freeze cheesecake slices wrapped well in foil and then put in a freezer bag. When ready, thaw overnight in the fridge and they’ll be ready to enjoy next day.
For quick serving after fridge storage, let cheesecake sit at room temp for 15 minutes. That brings back softness without risking spoilage.
The FAQ Section You Actually Need
- Can I make this cheesecake fully in the pressure cooker without the oven? Generally, yes you can. But this recipe starts crust in the oven so it gets firm and holds together. You could try a no-bake crust but results might differ.
- What’s the role of natural release here? It lets pressure lower slowly inside the cooker to avoid cracks and keeps cheesecake texture creamy instead of dry.
- Why add espresso powder? It enhances chocolate flavor without making it taste like coffee—just a sneaky flavor boost for best results.
- Can I swap ricotta for more cream cheese? You could but ricotta adds a lighter texture and freshness. Using only cream cheese makes it super dense.
- How do I avoid cracks on top? Use room temp ingredients, don’t overbeat, and let natural release do its job. Cracks mostly come from quick cooling or overcooked cheesecake.
- Why do semi sweet chocolate chips not melt completely? They add little bursts of texture and flavor. Full melting might make filling thinner and less creamy.

Chocolate Orange Cheesecake That Pressures Your Taste Buds
Equipment
- 1 Mixing bowl Large
- 1 9-inch springform pan
- 1 Spatula
Ingredients
Cheesecake Ingredients
- 10 oz chocolate graham crackers crushed fine
- ½ cup unsalted butter melted to keep moisture
- ¼ cup granulated sugar to sweeten the crust
- 3 8-oz bricks cream cheese softened for easy mixing
- 1 cup dark brown sugar adding depth and rich sweetness
- 1 cup whole milk ricotta cheese brings light creaminess
- ⅓ cup dark cocoa powder or regular cocoa powder if you prefer
- ½ teaspoon espresso powder optional, amps up chocolate
- ½ cup heavy whipping cream for that lush texture
- ⅓ cup semi sweet chocolate chips
- 1 orange zest zest from one whole orange
- 3 large eggs
Instructions
Instructions
- Preheat oven to 325°F (163°C). Grease a 9-inch springform pan and line the bottom with parchment paper.
- Mix chocolate graham cracker crumbs with melted butter and granulated sugar until it resembles wet sand. Press into pan bottom.
- Bake crust for 10 minutes until set. Let cool slightly.
- In a large bowl, beat softened cream cheese and brown sugar until smooth and lump-free.
- Add ricotta, cocoa powder, and espresso powder. Beat to combine into a silky batter.
- Slowly mix in heavy whipping cream until mixture is fluffy like mousse.
- Fold in chocolate chips and orange zest gently to avoid deflating the batter.
- Pour the batter over the cooled crust and smooth the top.
- Bake for 30 minutes until edges are set and center slightly jiggles.
- Turn off oven and crack door open. Cool cheesecake inside for 1 hour.
- Refrigerate cheesecake for at least 4 hours or overnight before serving.
Leave a Reply