
The pot lid rattles and you know dinner is almost ready. You remember that sound from all your times cooking in the city condo, the little hint that steam cues are working just right. The sealing ring hums quietly as pressure builds and you can barely wait to see how tender your chicken’s gonna get.

It’s kinda comforting watching the gauge keep steady, knowing the flavors inside are all getting happy and mingling. You get this warm feeling when you realize dinner’s gonna taste dang good from this method. The aroma already starts creeping into the air, making your tummy rumble before the meal’s even done.
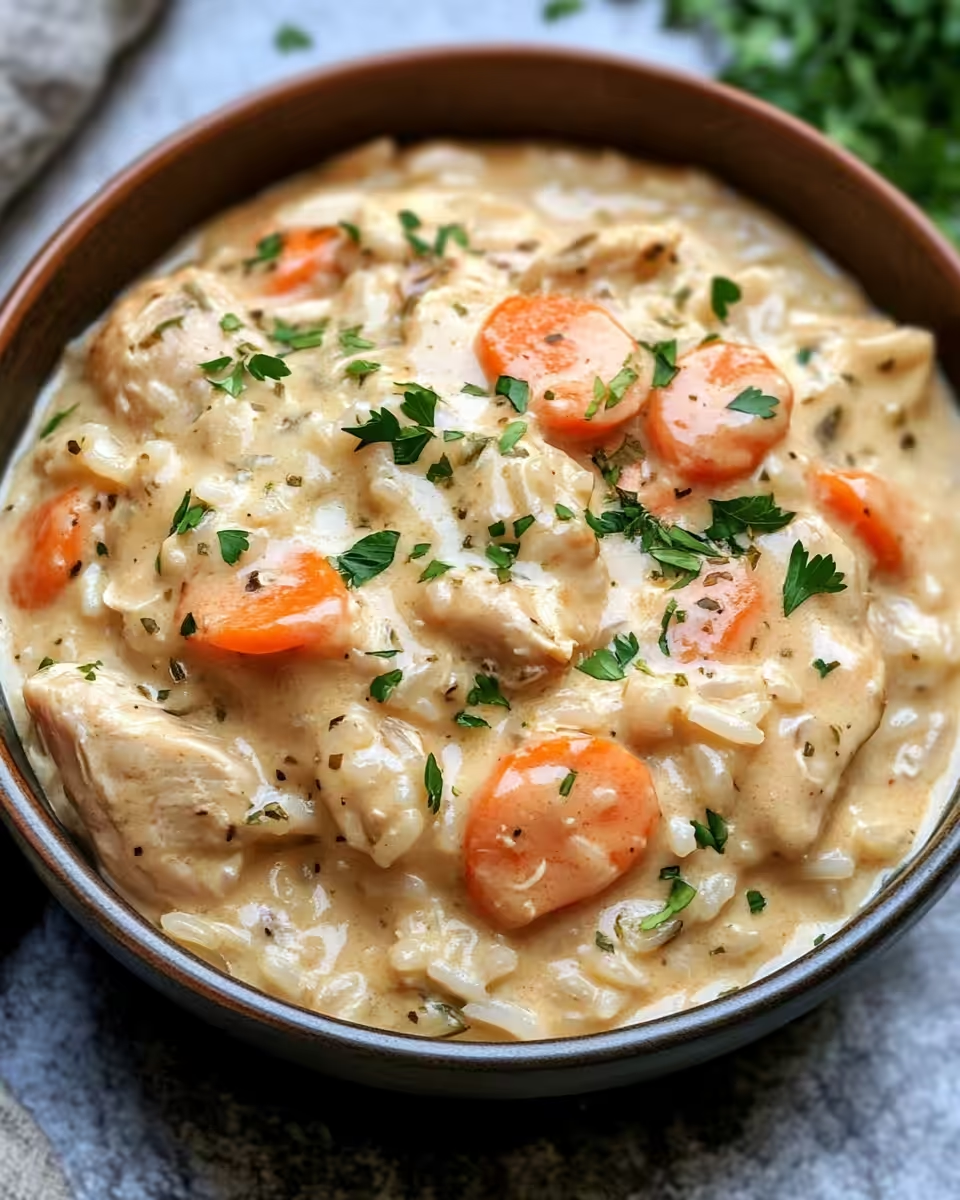
When you lift the lid after the slow release, you spot the tender pull on the chicken. You recall the crispy edges from frying earlier now softened by the rich gravy smothering it. It’s one of those moments where you kinda feel proud that the pressure cooker helped you nail this dish without a hitch.
The Real Reasons You Will Love This Method
- Tender pull every time - the pressure cooker breaks down fibers gently but fully.
- Steam cues guide you without guesswork, easier to know when it’s done.
- Sealing ring keeps flavors locked in, no escaping goodness.
- Natural release lets juices settle back into the chicken, taste stays rich.
- It’s faster than oven smothering, but still super cozy and filling.
What Goes Into the Pot Today
- 5 strips thick cut bacon - gotta have that smoky fat for the gravy.
- 2 large boneless skinless chicken breasts - sliced thin for quick cooking.
- ½ cup vegetable oil - for frying, helps get that golden crust.
- ½ cup all-purpose flour - mixin base for dredging and gravy.
- ¼ cup breadcrumbs - Italian or plain, adds crunch to the chicken coating.
- 1 teaspoon seasoned salt and ¾ teaspoon black pepper - the simple spice duo.
- 4 tablespoons butter and 4 tablespoons flour - for roux that thickens your gravy.
- 2.5 cups chicken broth, preferably low sodium - the main body of the gravy.
- 1 beef bouillon cube or 1 teaspoon beef better than bouillon - adds depth and savoriness.
- ⅓ cup half and half - silky richness to finish the gravy.
Plus you got 1 teaspoon each onion powder and garlic powder for flavor punch. Don’t forget the dried thyme, rosemary, and sage, each just a little pinch to bring that homey touch. And if you feel fancy, a few drops Kitchen Bouquet adds darker color and tiny boost. Oh, and 1 teaspoon low sodium soy sauce or Worcestershire makes your gravy stand out just right.
Your Complete Cooking Timeline
Step 1, start with cooking the bacon in a large skillet over medium heat. Wait till it’s crispy and then set it aside, but save that bacon fat for later frying. You already got your sealing ring checked and pressure cooker ready.
Step 2, slice those chicken breasts lengthwise to make thinner cutlets. Helps cook faster and soak up more gravy later. Next in step 3, mix the flour, breadcrumbs, seasoned salt, and pepper in a shallow dish. Dredge your chicken cutlets in this mix, pressing lightly so they stick.
Step 4, heat the vegetable oil together with the reserved bacon fat in your skillet over medium. Fry the chicken cutlets 4 to 5 minutes per side till golden and cooked through. Set these apart but don’t clean that pan yet.
Step 5 is all about gravy now. Melt butter in that same skillet, whisk in flour to make a roux. Keep whisking 2-3 minutes. Then slowly add chicken broth, stirring constantly so no lumps form. Toss in that crumbled bacon for smoky good vibes.
Final step, place the fried chicken back in the skillet, pour gravy over it and let everything simmer 5 minutes. The pressure cooker is gonna handle the rest when you transfer it all later. After cooking, use the natural release to keep the juices locked in.
Quick Tricks That Save Your Time
- Cook bacon in microwave on a paper towel lined plate for faster crispiness.
- Buy pre-sliced chicken cutlets or pound breasts yourself to save slicing time.
- Use instant measured spice mixes to skip mixing your own seasoning blend.
- Make flour and breadcrumb combo the night before; store covered to dredge faster.
- Use frozen homemade chicken broth cubes instead of open cans for quicker pouring.
That First Bite Moment
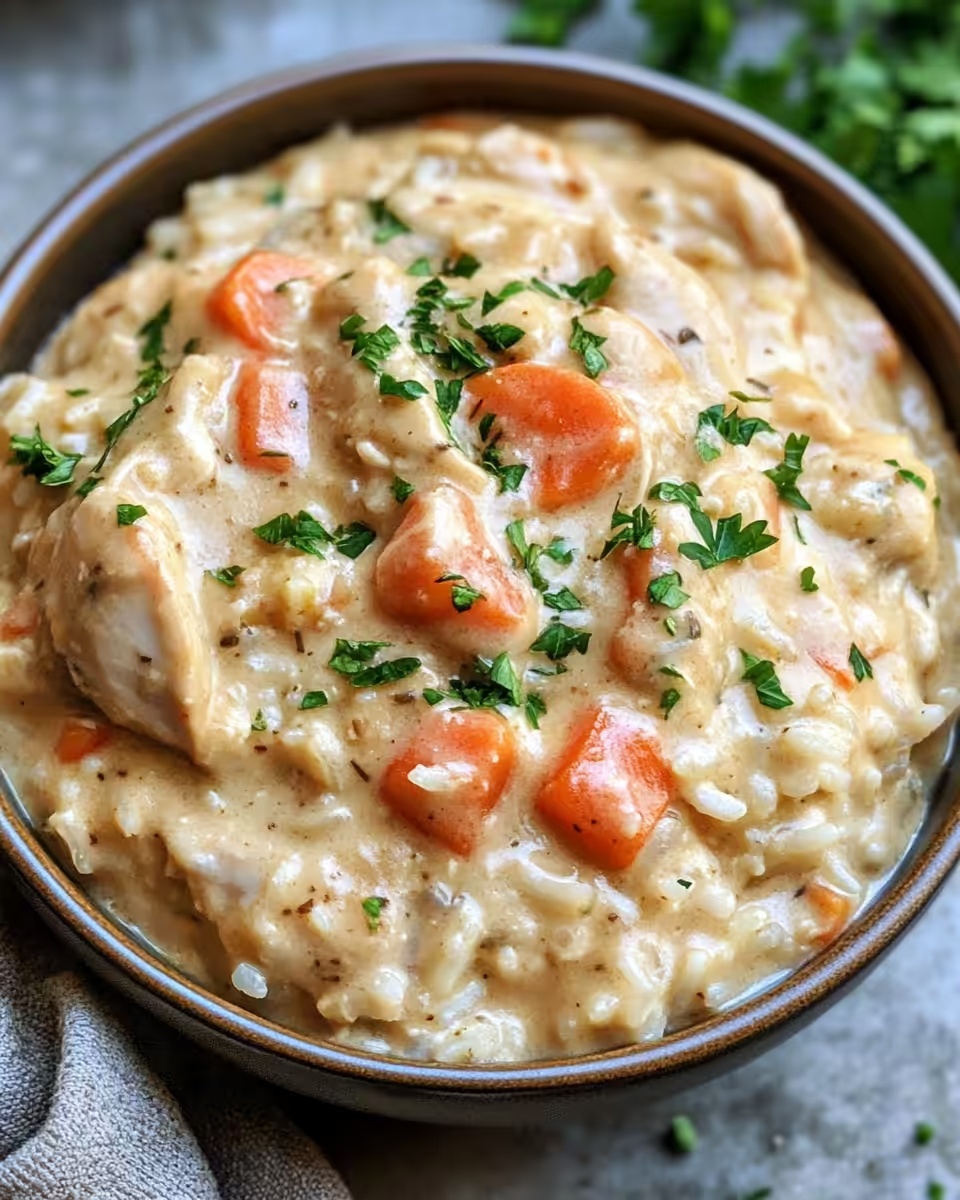
When you finally get that first bite, you notice the chicken is juicy beyond belief. The crust softened a bit but still has a slight crisp that melts into savory gravy.
The gravy feels silky smooth with a nice blend of herbs and the smoky little bursts from bacon here and there. You feel the warming spices hitting all the right spots.
It’s comforting in a way only well-cooked home food is. You kinda pause mid-bite to just savor that rich, full taste working its charm on your taste buds.
You recall the whole cooking time and can’t help but smile because this turned out exactly how you hoped. Tender, cozy, and just right for a relaxing night at home.
Keeping Leftovers Fresh and Ready
Store your leftover smothered chicken in an airtight container in the fridge to keep it fresh for up to 4 days. Make sure you cool it to room temp before sealing so no moisture builds up and makes it soggy.
If you want, you can freeze portions wrapped tight in foil and placed in freezer bags; they last about 2 months. When ready, thaw in fridge overnight for safest defrost.
Reheat leftovers in a skillet over low heat with a splash of broth or half and half added to loosen the gravy. This keeps it tasting fresh and not dried out. Avoid microwaving unless you really gotta; it kinda makes gravy separate sometimes.
Everything Else You Wondered About
- Q What if I don’t have half and half?
A You can mix equal parts milk and cream or just use whole milk; it won’t be as rich but still tasty. - Q Can I use thighs instead of breasts?
A Heck yes, thighs get more tender and juicy but might change cooking time a bit. - Q What’s the best way to know when chicken’s perfectly cooked?
A Use your pressure cooker’s steam cues and sealing ring sound; plus check tender pull after natural release. - Q Can I double this recipe?
A You sure can but keep an eye on the pressure cooker filling level, don’t overstuff it. - Q Is it okay if gravy looks too thick or too thin?
A You can adjust thickness by adding more broth or letting it reduce a bit longer. - Q Why use beef bouillon in chicken dish?
A It brings extra depth to gravy, making it taste richer without overpowering chicken flavor.
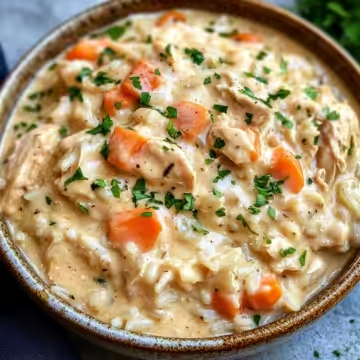
Smothered Chicken Pressure Cooker Recipe
Equipment
- 1 Mixing bowl For dredging mixture
- 1 Skillet Large
- 1 Whisk For roux and gravy
- 1 Tongs For flipping chicken
Ingredients
Main Ingredients
- 5 strips Thick cut bacon
- 2 Boneless skinless chicken breasts cut lengthwise to thin cutlets
- 0.5 cup Vegetable oil for frying
- 0.5 cup All-purpose flour
- 0.25 cup Breadcrumbs plain or Italian
- 1 teaspoon Seasoned salt
- 0.75 teaspoon Black pepper
- 4 tablespoon Butter
- 4 tablespoon Flour for roux
- 2.5 cups Chicken broth preferably low sodium
- 1 cube Beef bouillon or 1 teaspoon beef better than bouillon
- 0.33 cup Half and half
- 1 teaspoon Low sodium soy sauce or Worcestershire
- 1 teaspoon Onion powder
- 1 teaspoon Garlic powder
- 0.25 teaspoon Dried thyme
- 0.25 teaspoon Dried rosemary
- 0.25 teaspoon Ground sage
- 2-3 drops Kitchen Bouquet optional
Instructions
Instructions
- Fry bacon until crispy. Set aside and reserve 2–4 tablespoons of drippings.
- Slice chicken breasts lengthwise into cutlets. Pound to ¾ inch thick.
- Mix flour, breadcrumbs, seasoned salt, and pepper. Dredge chicken pieces until coated.
- Heat oil and bacon drippings in pan. Fry chicken 4–5 mins per side until golden. Set aside.
- Drain oil, then wipe pan clean, leaving browned bits (fond).
- Melt butter and whisk in flour to make a roux. Stir constantly for 2–3 minutes.
- Slowly add chicken broth and half and half while whisking. Add remaining gravy ingredients.
- Bring gravy to gentle boil, then reduce to a simmer.
- Add chicken back to pan with any juices. Chop and add bacon over top.
- Simmer covered partially over low heat for 10–15 minutes until chicken reaches 165°F.
- Garnish with parsley and serve with mashed potatoes or veggies.


Leave a Reply