
Steam curls up from the valve and your stomach starts talking back. You sense that familiar seal of the sealing ring locking in the heat just right. The float valve lifts gently and you start thinking about that crispy chicken waiting for you inside.
The aroma hits you hard when you crack open the lid. That mix of garlic and sesame makes your mouth water real quick. You can’t wait to dig in and get that crispy outside with juicy chicken inside.
Pressure cookers really know how to turn a quick meal into something special. You notice the steam cues giving you clues on when pressure’s building up and your sticky sauce starting to bubble up just right. It’s a bit like a little city kitchen dance and you’re starring in it.
The Truth About Fast Tender Results
- You gotta remember the sealing ring holds that pressure in tight so the chicken cooks fast and stays juicy.
- The broth depth inside your cooker matters — not too much or you’ll get soggy chicken instead of crispy.
- Keeping an eye on the float valve is key; it tells you when pressure is reached and when you’re good to do a slow release.
- Quick pressure cook times mean your chicken gets tender without drying out.
- Using steam cues helps you avoid overcooking and keeps your sauce sticky and perfect.
All the Pieces for This Meal
- 5 tablespoon vegetable oil - for that golden frying finish.
- 2 eggs lightly beaten - this helps the flour stick real good.
- 3 tablespoon cornflour and 10 tablespoon all-purpose flour - gotta get that crispy coating going.
- Spices - ½ teaspoon salt, ½ teaspoon pepper, ½ teaspoon garlic salt, 2 teaspoon paprika - these pack in the flavor.
- 3 chicken breast fillets, chopped bite-size - your star protein here.
- 1 tablespoon sesame oil (optional) and 2 tablespoon sesame seeds - add that nutty vibe.
- 2 cloves garlic minced for that punch of fresh aroma.
- 1 tablespoon Chinese rice vinegar or white wine vinegar - gives you the tangy goodness.
- Sweet & savory sauce - 2 tablespoon honey, 2 tablespoon sweet chilli sauce, 3 tablespoon ketchup, 2 tablespoon brown sugar, 4 tablespoon soy sauce - sticky sauce heaven.
Walking Through Every Single Move
First, toss your chicken chunks into a bowl and mix 'em with the beaten eggs. Make sure each piece gets a good coating so the flour sticks better later on.
Next, in another bowl combine cornflour, all-purpose flour, salt, pepper, garlic salt, and paprika. This mix is gonna give you that crispy shell you're craving.
Now, toss the eggy chicken pieces into the flour mix. You wanna coat 'em well, so no bare spots. This is what makes the outside golden and crunchy.
Heat up the vegetable oil in a large frying pan over medium-high. Working in batches, fry your coated chicken till it’s golden on the outside. That usually takes about 5-6 minutes a batch. Let the fried bits drain on paper towels so they don't get greasy.
Meanwhile, if you’re using sesame oil, warm it up gently in a clean pan. Pour in the sticky Asian sauce mix you stirred up. The sauce starts bubbling and smelling amazing real quick.
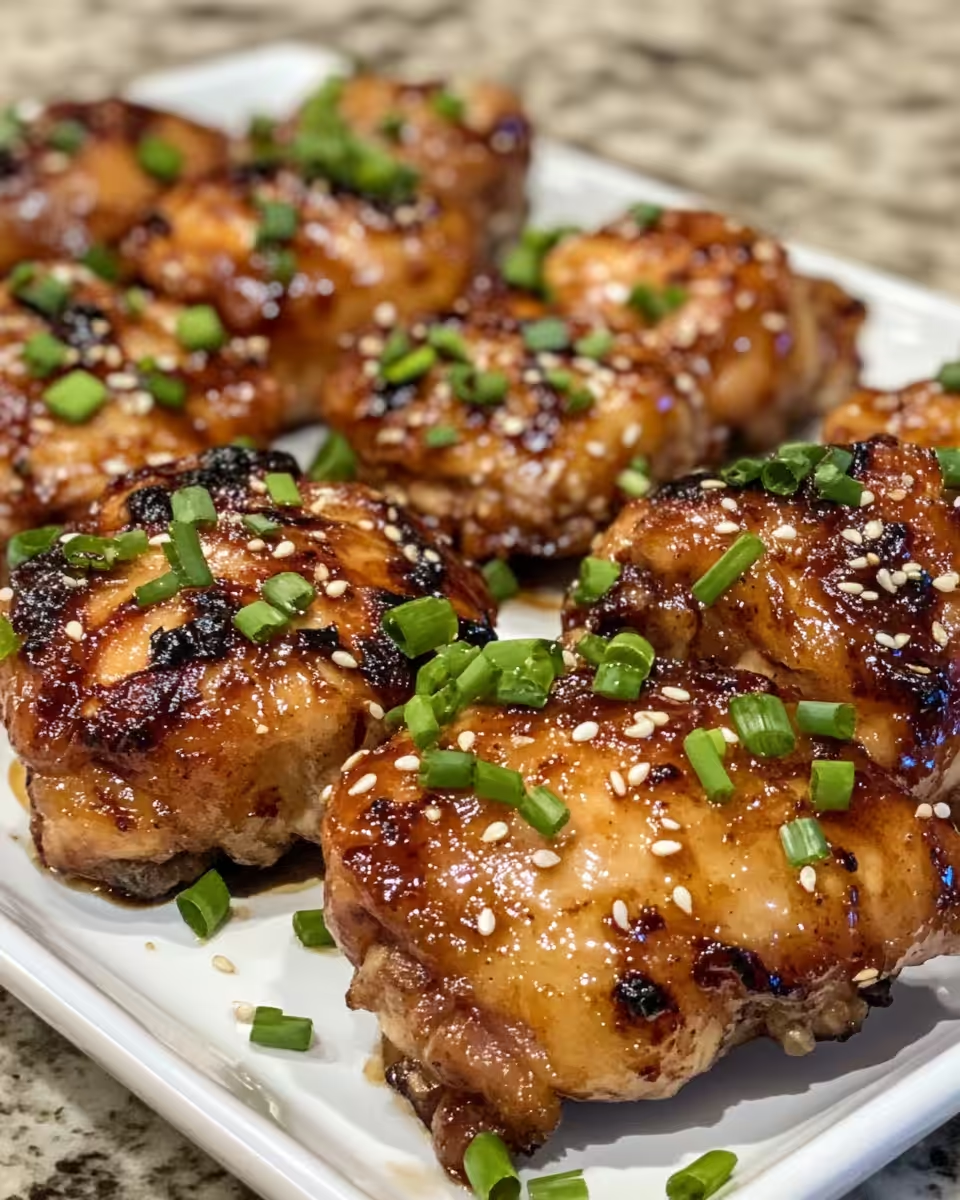
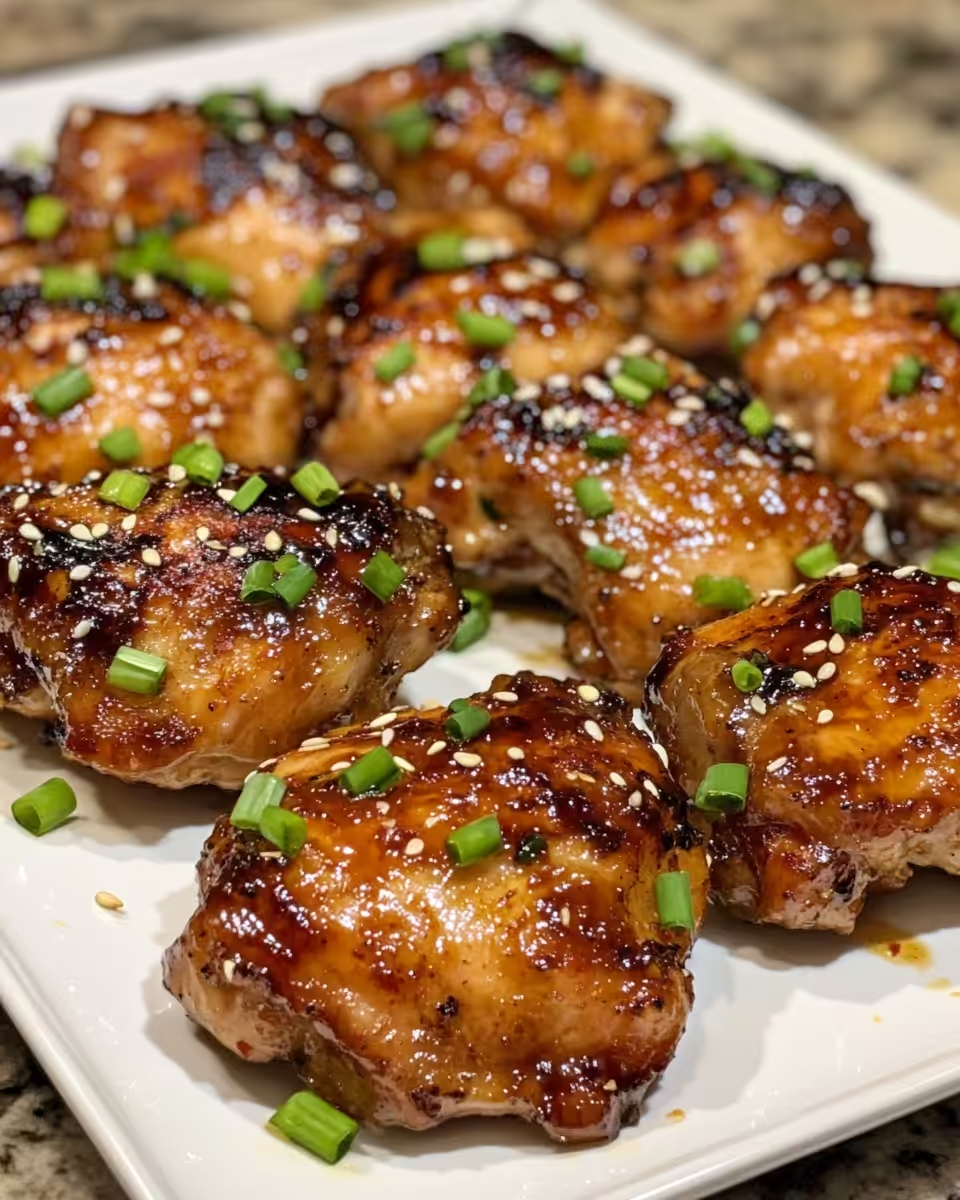
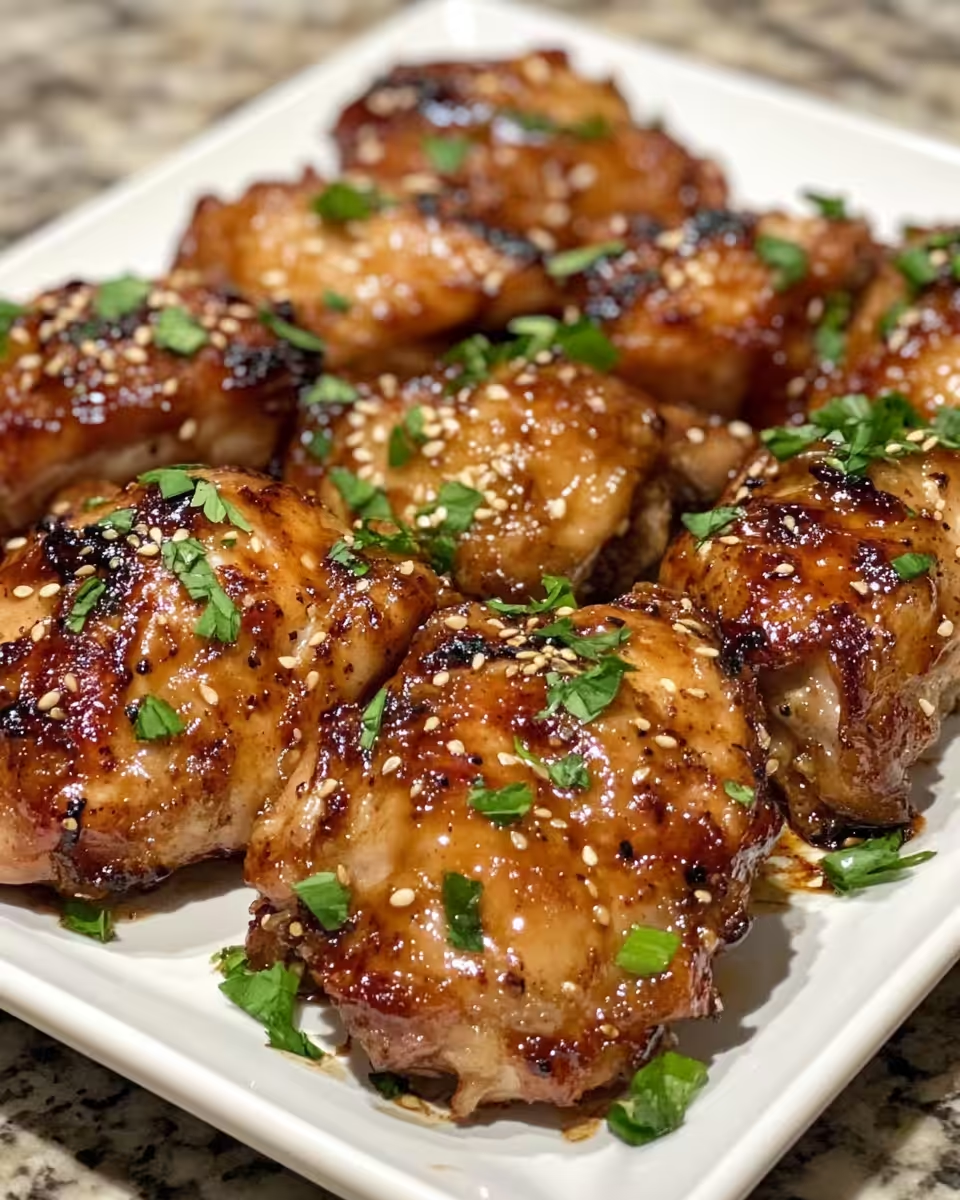
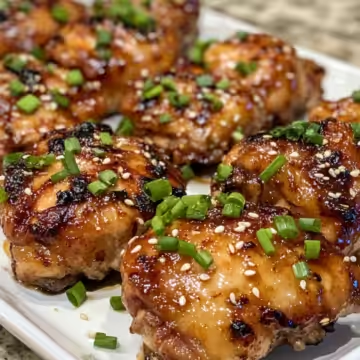
Pop the crispy chicken into that sauce and toss it till every bite’s covered in sticky goodness. Sprinkle with those sesame seeds so you get a nice crunch and extra flavor at the end.
You just created something special. It’s crispy, sticky, and full of bold flavors that work real good together.
Time Savers That Actually Work
Wanna cut down your cooking time? Use pre-minced garlic whenever you can. It’s easy to toss in and still brings that punch.
Instead of chopping chicken breasts yourself, you can find pre-cut chunks at some grocery stores. It saves you a step and gets you cooking faster.
Lastly, make your sauce ahead and keep it in the fridge. When you're ready to cook, just heat and toss. This shortcut doesn't sacrifice flavor and you get dinner on the table quick.
That First Bite Moment
The moment you bite into this crispy sesame chicken you feel that crunch that kinda makes your taste buds jump. Underneath, the chicken stays juicy and tender, no dryness in sight.
You notice the sticky Asian sauce is the perfect balance of sweet, tangy, and a touch spicy. It clings to each piece in a way that makes you wanna grab more.
Each sesame seed sprinkles a little toastiness that pops in your mouth and the spring onions add a fresh crisp note. You can’t help but smile at how all these flavors work together.
How to Store This for Later
If you end up with extra chicken feel free to store it in an airtight container. It keeps best in the fridge for up to 3 days.
For longer storage, freeze your crispy chicken in a sealed bag. Thaw completely before reheating so it stays tender.
Reheating in the microwave works, but if you wanna keep crispy, pop it briefly in a hot skillet instead. This brings back that nice crunch without making it soggy.
You can also freeze the sauce separately if you wanna keep the chicken crispy when reheating. Just warm them up separately and then toss together before serving again.
The FAQ Section You Actually Need
- Can I use thighs instead of breast? Yeah for sure. Thighs stay juicy and add a bit more flavor. Just watch cooking times if your pieces are bigger.
- Do I really need the sealing ring? Yep. That sealing ring’s essential for building pressure right and fast. Don’t skip it.
- What’s the slow release about? When your cooker timer ends, slow release lets steam out gradually. This stops chicken from drying and keeps sauce thick.
- Can I skip frying and pressure cook only? Frying gives you that crispy texture. Pressure cooking alone will get tender chicken but not crispy on the outside.
- How thick should broth be under the chicken? Just enough to reach the bottom but not cover the chicken pieces. Too much will make the coating soggy.
- How do I know when to stop cooking? Use those steam cues and float valve. Once the float valve rises and timer’s done, do slow release. That’s when your chicken’s perfectly tender.
Crispy Sesame Chicken with a Sticky Asian Sauce
Equipment
- 1 Mixing bowl Large
- 1 Frying pan Large, for frying chicken
- 1 Sauce pan For heating the sauce
Ingredients
Main Ingredients
- 5 tablespoon vegetable oil for frying
- 2 eggs lightly beaten
- 3 tablespoon cornflour
- 10 tablespoon all-purpose flour
- 0.5 teaspoon salt
- 0.5 teaspoon pepper
- 0.5 teaspoon garlic salt
- 2 teaspoon paprika
- 3 chicken breast fillets chopped bite-size
- 1 tablespoon sesame oil optional
- 2 cloves garlic minced
- 1 tablespoon Chinese rice vinegar or white wine vinegar
- 2 tablespoon honey
- 2 tablespoon sweet chilli sauce
- 3 tablespoon ketchup
- 2 tablespoon brown sugar
- 4 tablespoon soy sauce
- 2 tablespoon sesame seeds
- spring onions chopped, for garnish
- boiled rice for serving
Instructions
Instructions
- Toss chicken chunks with beaten eggs until well coated.
- Mix flour, cornflour, salt, pepper, garlic salt, and paprika in a bowl.
- Dredge chicken in flour mix, ensuring full coating on all sides.
- Heat vegetable oil in a frying pan and fry coated chicken in batches for 5–6 minutes until golden. Drain on paper towels.
- In another pan, heat sesame oil (if using) and add garlic, vinegar, honey, sweet chilli sauce, ketchup, brown sugar, and soy sauce. Cook until bubbling.
- Add fried chicken to the sauce and toss everything together until coated.
- Garnish with sesame seeds and chopped spring onions.
- Serve hot over boiled rice.


Leave a Reply