
The pot lid rattles and you know dinner is almost ready. You feel that little thrill cooking up, like dang this is gonna be good tonight. The honey and garlic mix floating through your kitchen makes your stomach growl before you even peek inside.
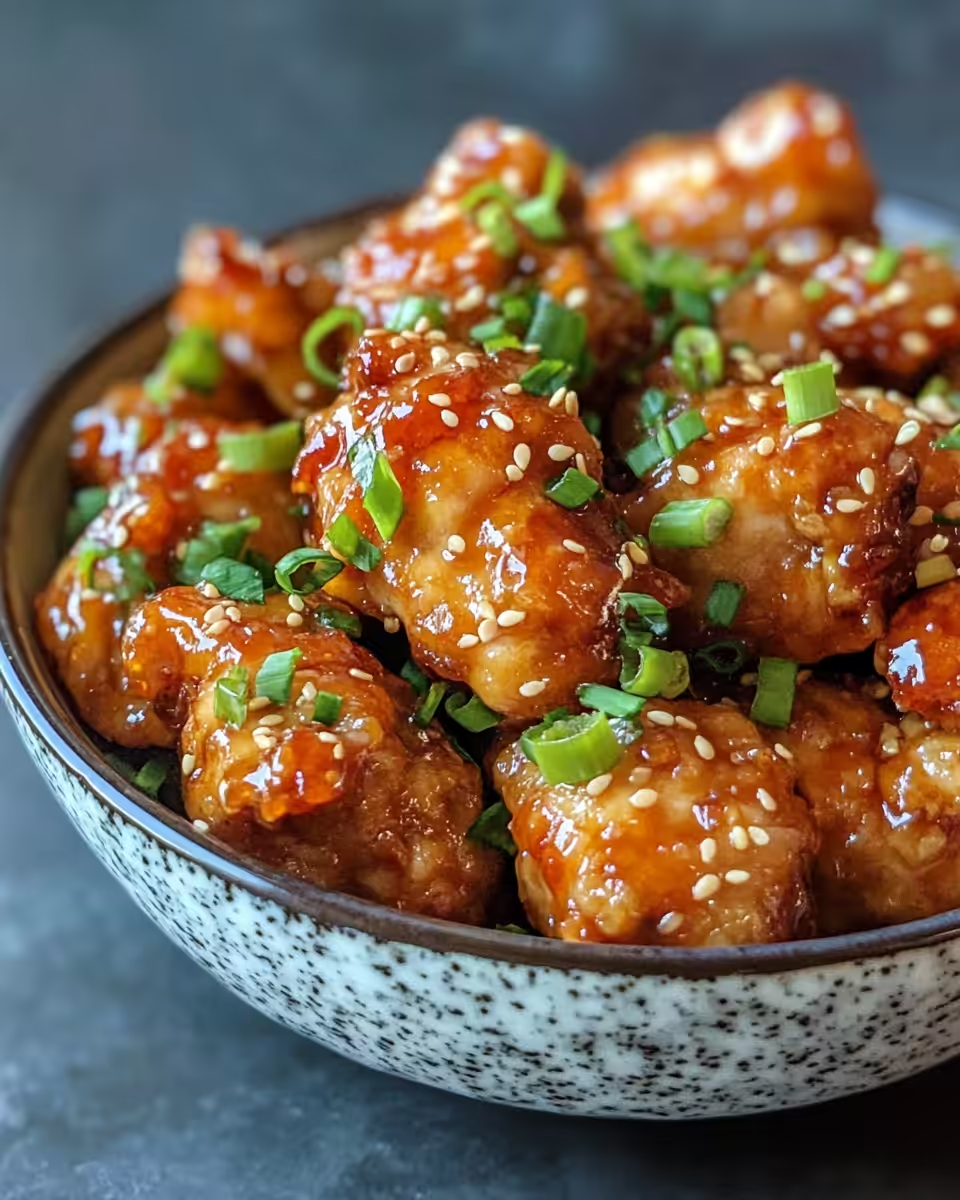
You recall how you tossed those chicken cubes with salt and pepper, then seared them until golden brown. You remember adding the honey and soy sauce, garlic and the tiniest bit of red pepper flakes for a kick. It's all simmering now, building that sweet and savory broth depth you crave.
You sense the anticipation, the sealing ring doing its job perfectly, the pressure build up sounding right. Almost done with this speedy dinner trip, you can't wait to take that first bite and maybe drizzle some lime over the top. Y'all, this meal works real good when you're short on time but still want big flavor.
What Makes Pressure Cooking Win Every Round
- Pressure cooking locks in flavors quick, making dishes taste fuller and richer fast.
- It cuts cooking time down so you get on the table and off the kitchen quicker.
- Using a sealing ring right means less mess, less stress, and more steam power harnessed inside.
- The pressure build pushes heat evenly, so no more unevenly cooked bits or dry chicken.
- You save on cleanup because everything cooks in one pot, including sauces and sides sometimes.
- The natural release option lets food rest gently so it stays juicy and tender.
- Slow release helps if you’re not in a rush, giving food an extra soak in all those liquids.
The Complete Shopping Rundown
You gotta start with those basics right. Grab 1 ½ pounds boneless, skinless chicken breasts. Cut ‘em into small cubes about half an inch so they cook real quick under pressure.
Then reach for 3 tablespoons of honey and 3 tablespoons of low-sodium soy sauce. That sweet and salty combo is key here. Don’t forget 3 cloves garlic minced fine, bringing that garlicky punch.
Grab a pinch of red pepper flakes if you want some spicy heat. For the garnish, pick up sliced green onions plus chopped fresh parsley or cilantro to freshen things up. Chopped peanuts add a nice crunch y'all gonna love.
Lastly, get some lime wedges. Squeezing fresh lime juice over the chicken at the end really pops the flavors and makes it sing. Olive oil or canola oil is your go-to for cooking the chicken before sealing.
The Full Pressure Cooker Journey
Step one you heat 2 teaspoons of olive oil in the pressure cooker pot on sauté mode. Get it nice and hot before adding your chicken.
Season the chicken cubes lightly with salt and black pepper but keep it easy cause the soy sauce got plenty already.
Throw the chicken in and brown it gently. This locks in deliciousness and gets the outside golden, about 3-4 minutes.
While that’s happening, mix honey, soy sauce, minced garlic, and red pepper flakes for your sauce. Whisk it good so it’s all cozy and combined.
Pour the sauce right over your browned chicken in the pot. Stir so every piece gets coated and starts soaking in those flavors.
Lock the lid on, making sure that sealing ring is snug and set it to pressure cook on high for 6 minutes. You’ll hear the pressure build and know it’s working.
When done, let it natural release for 5 minutes to keep things tender, then slow release any leftover pressure before opening the lid. Serve the chicken hot with lots of green onions, chopped peanuts and fresh parsley or cilantro. Don’t forget a squeeze of lime and a drizzle of sriracha if you like it spicy.
Smart Shortcuts for Busy Days
- Use pre-minced garlic in a jar to save chopping time on hectic evenings.
- Buy chicken breasts already cubed or use leftover roasted chicken for a quick switch.
- Grab pre-sliced green onions and pre-chopped herbs from your grocery’s fresh section for less fuss.
- Keep lime wedges frozen and ready by slicing extra limes in advance and keep them stored.
These little tricks will shave some minutes off your dinner routine so you can relax faster. The pressure cooker does most the work - you just get ready to eat.
Your First Taste After the Wait
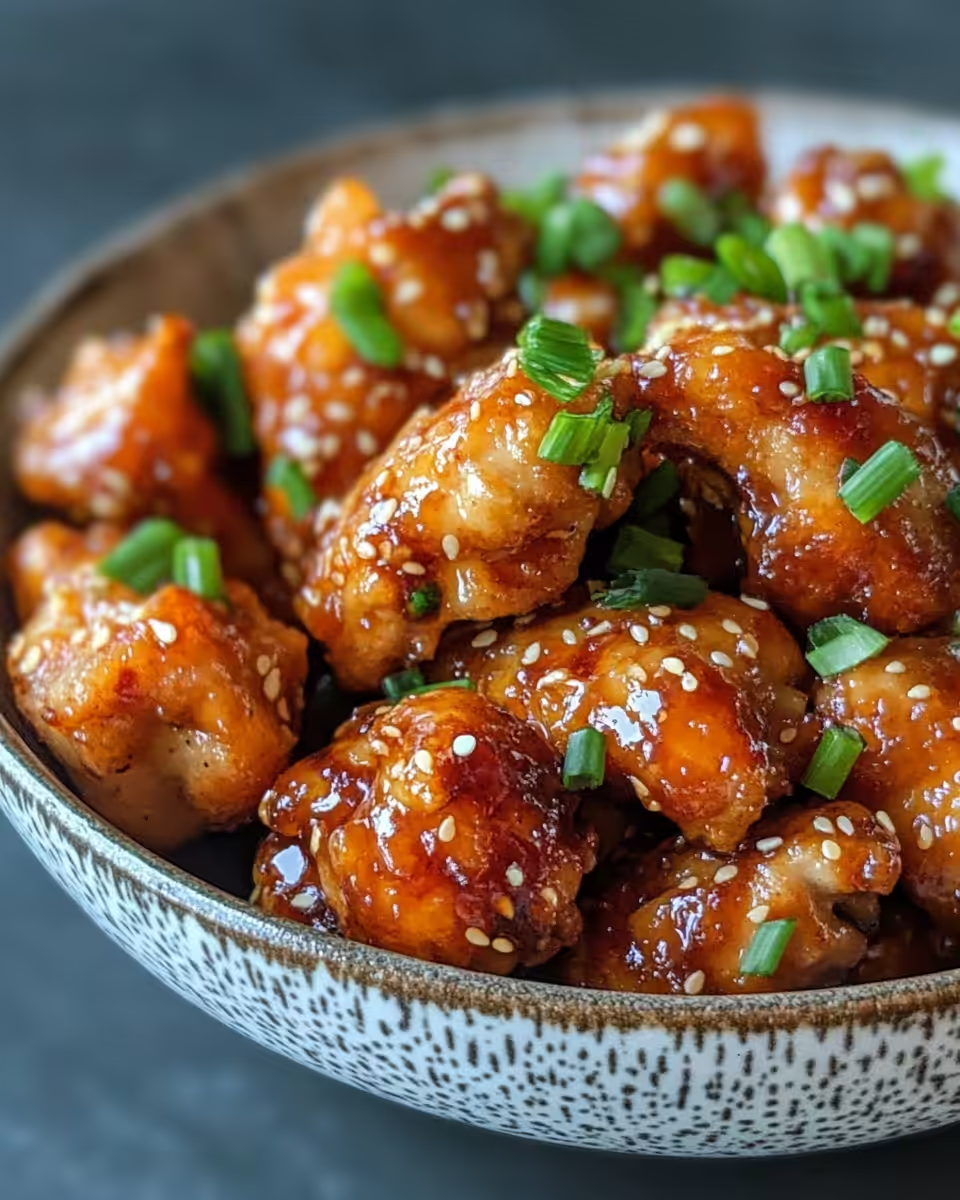
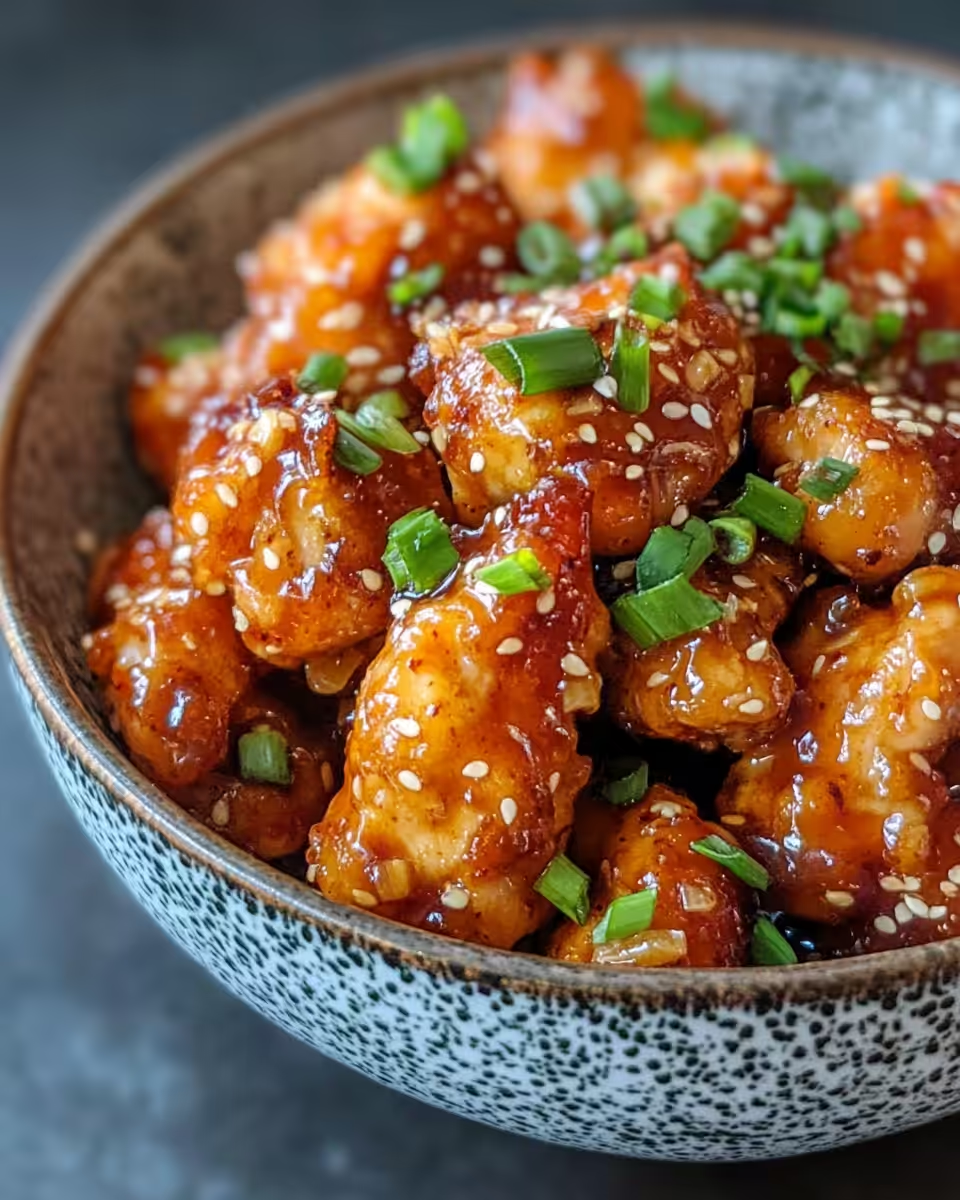
Taking your first bite, you notice the chicken is soft but still juicy, not dried out or tough like other quick cooks. The honey sauce hugs every piece in a shiny, sticky glaze.
The garlic comes through with a warm punch, balanced with salty soy goodness and just a whisper of heat from the red pepper flakes. That lime splash you added at the end brightens and freshens each mouthful.
You get that crunchy surprise from the chopped peanuts, making it kinda fun and textural. The sliced green onions sprinkle a crisp pop of color and flavor on top.
Y’all, it’s the kinda meal that hits spots you didn’t even know you were hungry for. Fast, tasty, and pleasing every sense.
Smart Storage That Actually Works
If you got leftovers, put ‘em in an airtight container for fridge storage. They’ll stay good for about 3-4 days but best if eaten sooner.
Freeze portions in freezer-safe bags with some of the sauce for up to 3 months. Just thaw in the fridge overnight and warm up in your pressure cooker or microwave.
To reheat y’all, warming low and slow keeps that chicken tender. You can use the sauté mode on your pressure cooker or a low microwave setting. Don’t overcook or it dries out real fast.
What People Always Ask Me
- Can I use other chicken cuts? Absolutely! Thighs work great and even drumsticks but adjust cooking time slightly for thicker pieces.
- How important is the sealing ring? Very! It keeps steam in and pressure up. Make sure it’s clean and fits well before cooking.
- What’s natural release versus slow release? Natural release means you just let pressure drop by itself after cooking. Slow release means carefully letting out pressure bit by bit for more gentle cooling.
- Can I add veggies? Sure thing! Add quick-cooking veggies like snap peas or bell peppers after pressure cooking to keep 'em crisp.
- Is low-sodium soy sauce necessary? It helps control saltiness but if you only got regular soy sauce, just use less salt when seasoning the chicken.
- What if my chicken isn’t cooked after 6 minutes? That’s rare with cubed chicken but you can always seal it back up and cook 1-2 minutes more under pressure.
15-Minute Honey Garlic Chicken in Your Pressure Cooker
Equipment
- 1 Pressure cooker Set to sauté and pressure cook modes
Ingredients
Main Ingredients
- 2 teaspoons olive oil or canola oil
- 1.5 pounds boneless, skinless chicken breasts cut into small ½-inch cubes
- salt to taste
- black pepper to taste
- 3 tablespoons honey
- 3 tablespoons low-sodium soy sauce
- 3 cloves garlic minced
- ¼ teaspoon red pepper flakes optional
- sliced green onions for garnish
- fresh parsley or cilantro chopped, for garnish
- chopped peanuts for garnish
- lime wedges for serving
Instructions
Instructions
- Heat 2 teaspoons of olive oil in the pressure cooker pot on sauté mode until hot.
- Season cubed chicken lightly with salt and pepper.
- Add chicken to the pot and brown it for 3-4 minutes until golden.
- In a bowl, whisk together honey, soy sauce, minced garlic, and red pepper flakes.
- Pour the sauce over the browned chicken and stir to coat evenly.
- Lock lid in place, ensure sealing ring is secure, and pressure cook on high for 6 minutes.
- Let it natural release for 5 minutes, then slow release remaining pressure carefully.
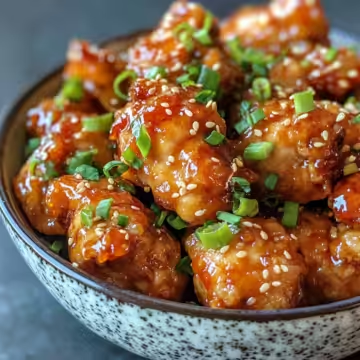
- Serve hot and garnish with green onions, chopped peanuts, parsley or cilantro, and a squeeze of lime.


Leave a Reply