
You catch the smell through the steam vent and suddenly you are starving.
That tangy scent of garlic and ginger mingling with sweet hoisin sauce pulls you closer to the kitchen. You can hear the valve hiss as the pressure cooker works its charm, building broth depth with each passing second.
You feel a little thrill watching the steam cues rise, knowing that soon you’ll have tender pull chicken coated in that irresistible General Tso’s sauce. It’s comfort food but way easier than you expect.
The Real Reasons You Will Love This Method
- You get a crispy outside without waiting forever 'cause frying happens fast before you pressure cook.
- Using the pressure cooker locks in flavors deep, making the chicken super tender and juicy.
- The sauce thickens up real good, sticking to every bite without extra work.
- Steam cues and float valve tell ya when everythin’s done perfectly, so no guesswork involved.
- Less mess since you fry in batches and then just toss everything in one pot for the sauce.
- Quick cook time means you’re sittin’ down to eat way faster than usual.
- You can tweak spice and sweetness easily to make it just how you like it.
What Goes Into the Pot Today
- 1 lb boneless, skinless chicken thighs, cut into bite-sized pieces
- ½ cup cornstarch for that crispy coating
- 2 eggs, beaten - to help the cornstarch stick better
- ¼ cup soy sauce - salty and savory for the sauce
- 2 tablespoon rice vinegar adds a bit of bright tang
- 2 tablespoon hoisin sauce for that classic deep sweetness
- 3 tablespoon sugar to balance it all out
- 2 cloves garlic, minced - can’t go without the garlic punch
- 1 teaspoon fresh ginger, grated, bringing the zing
- ½ teaspoon crushed red pepper flakes - adds a bit of heat you can dial up or down
- 2 green onions chopped to sprinkle on top at the end
- Vegetable oil for frying which you’ll heat before getting crispy
Walking Through Every Single Move
First, toss your chicken pieces with that cornstarch till each piece is evenly coated. Don't rush it, you want that crispy crust.
Next, dip every chicken bite into the beaten eggs so the coating sticks snug.
Heat up your vegetable oil in a big skillet or wok over medium-high heat. You want it hot enough so chicken crisps quick and golden.
Fry the chicken in batches so the oil temp stays right. Usually about 5 to 7 minutes till crunchy and browned. Let them drain on paper towels so they stay crispy.
Now in a separate bowl mix soy sauce, rice vinegar, hoisin sauce, sugar, garlic, ginger, and red pepper flakes. That’s your sauce base.
Pour this sauce into a clean skillet and bring it to a simmer over medium heat. Pay attention to the float valve to keep an eye on pressure cooking speeds.
Add the fried chicken into your simmering sauce and toss to coat all those crispy bits real good. Let it cook another 3 to 5 minutes so sauce thickens and sticks.
Finally, sprinkle chopped green onions on top for a fresh, crunchy finish and dig in.
Easy Tweaks That Make Life Simple
You can shortcut frying by doing a quick sear instead. Just brown chicken pieces fast then pressure cook with sauce pouring right in.
If you’re in a hurry, grab pre-minced garlic and pre-grated ginger from the store. It works real good and saves chopping time.
Also, using chicken breasts? Just cut cook time a bit shorter and watch the tender pull so it doesn’t dry out.
When You Finally Get to Eat
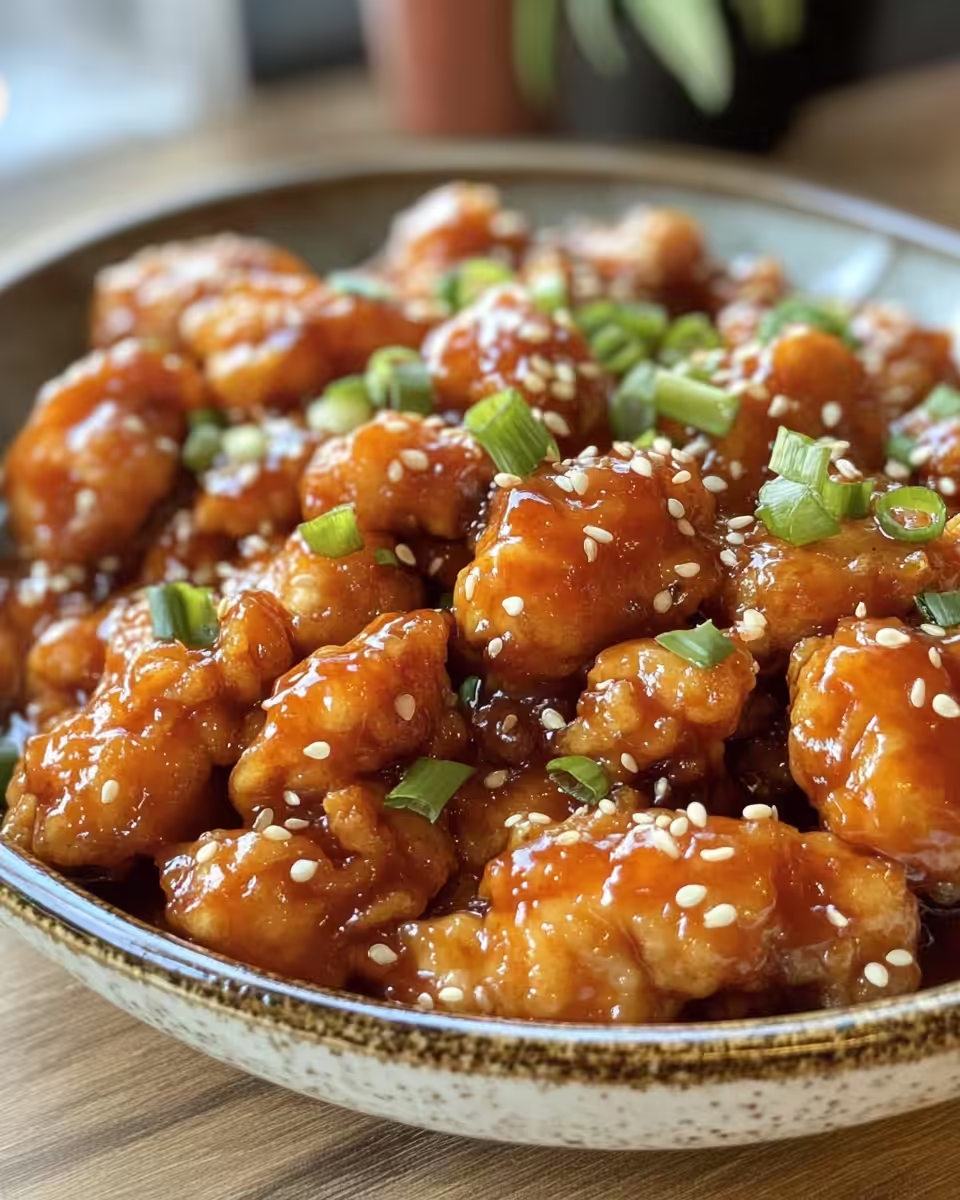
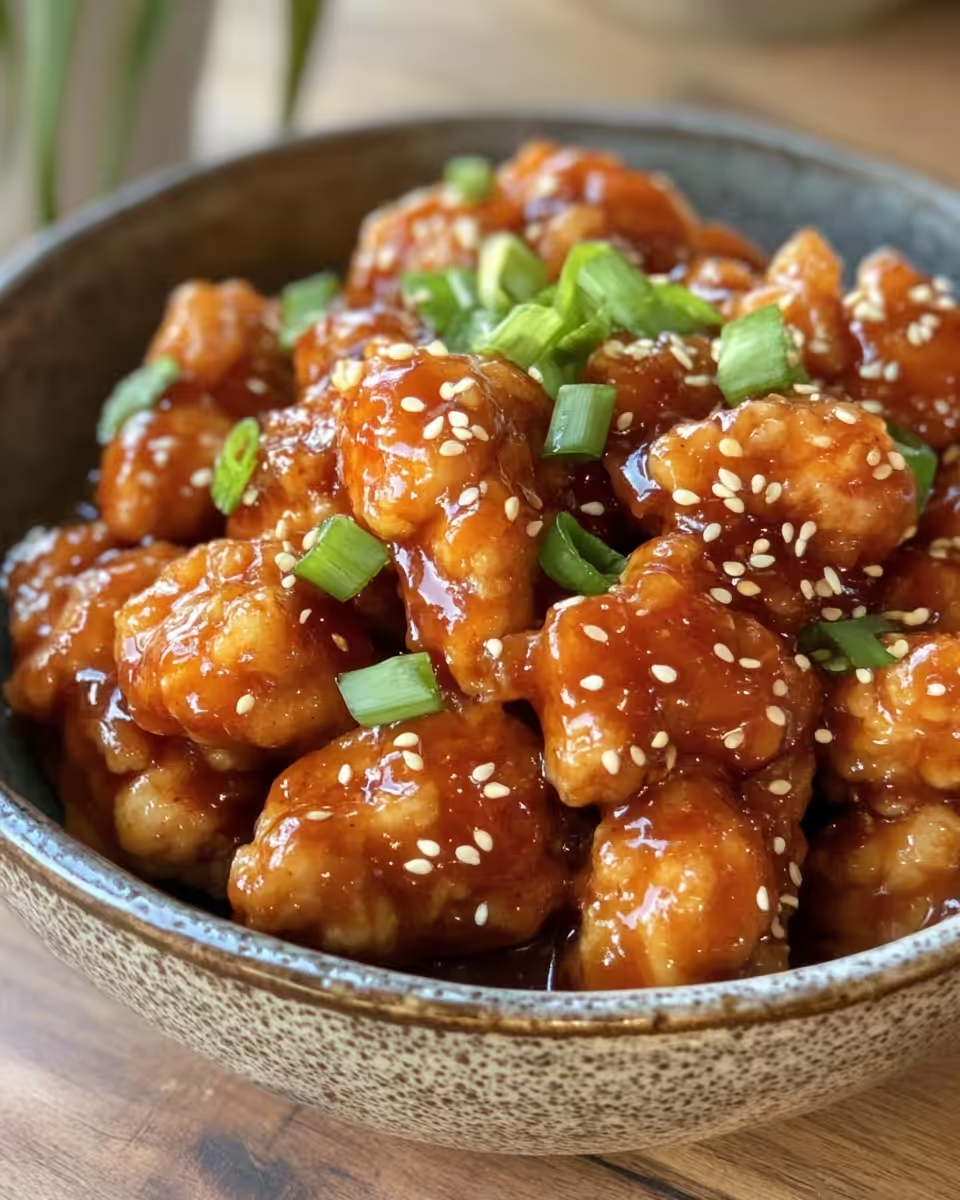
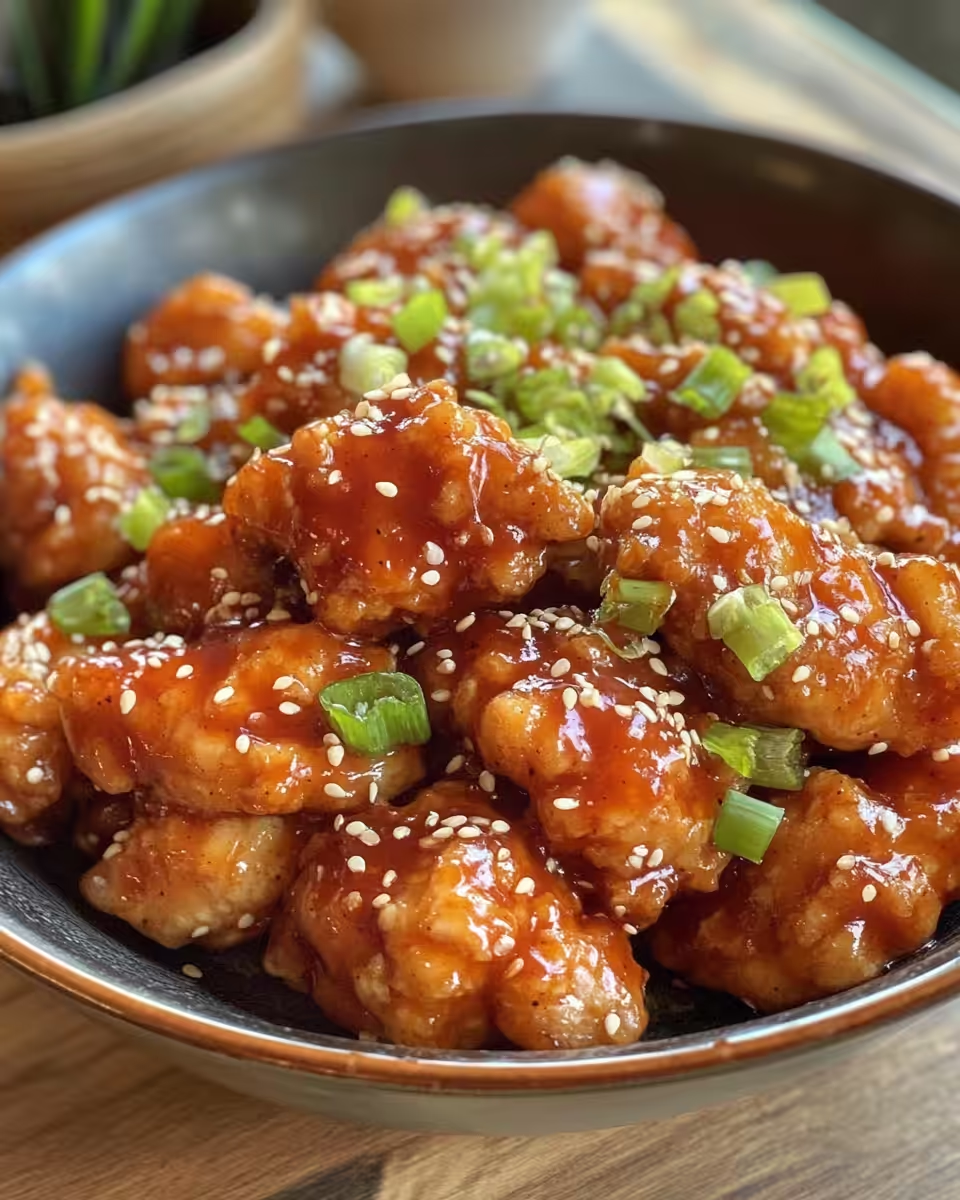
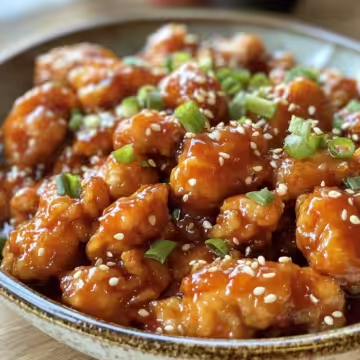
You bite into the crispy chicken coated in sticky, tangy sauce and that crunch melds so well with tender inside. It’s dang satisfying.
The heat from the red pepper flakes lingers just enough to keep you wanting more without overwhelming. Garlic and ginger lift the whole dish wonderfully.
Every forkful holds that deep broth depth flavor you only get from pressure cooking plus the caramel notes from sugar and hoisin. It’s like a hug for your belly.
Smart Storage That Actually Works
Wrap leftovers in airtight containers to keep crispy chicken from getting soggy or just store sauce and chicken separately when you can.
Keep refrigerated up to 3 days but honestly it barely lasts that long at my place.
You can freeze portions too in freezer-safe bags for up to a month. Just thaw overnight in fridge then reheat gently.
Everything Else You Wondered About
- Q: Can I use chicken breasts?
A: Yep! Just cut them smaller for even cook and shorten pressure time so they don’t get dry. - Q: Do I have to fry first?
A: Frying adds crispy texture but you can skip it for just saucy tender chicken if you’re in a rush. - Q: What if my sauce is too thin?
A: Let it simmer a little longer till it thickens or add a cornstarch slurry to boost thickness. - Q: How do I know when pressure is right?
A: Watch the float valve and listen for that valve hiss it gives when it hits pressure. Steam cues help too. - Q: Can I add veggies?
A: Sure! Broccoli or bell peppers tossed in at the end work great for a quick stir. - Q: How spicy is it?
A: It has a nice mild to medium kick depending on red pepper flakes you add. You can always dial that back.
General Tso's chicken
Equipment
- 1 Mixing bowl Large
Ingredients
Main ingredients
- 1 lb boneless, skinless chicken thighs cut into bite-sized pieces
- ½ cup cornstarch for crispy coating
- 2 eggs beaten
- ¼ cup soy sauce
- 2 tablespoon rice vinegar
- 2 tablespoon hoisin sauce
- 3 tablespoon sugar
- 2 cloves garlic minced
- 1 teaspoon fresh ginger grated
- ½ teaspoon crushed red pepper flakes
- 2 green onions chopped
- vegetable oil for frying
Instructions
Instructions
- Toss chicken pieces with cornstarch until evenly coated.
- Dip coated chicken in beaten eggs to secure crust.
- Heat vegetable oil in skillet or wok over medium-high heat until hot.
- Fry chicken in batches for 5–7 minutes until golden and crispy. Drain on paper towels.
- Mix soy sauce, rice vinegar, hoisin sauce, sugar, garlic, ginger, and red pepper flakes in bowl.
- Pour sauce into skillet and simmer over medium heat.
- Add fried chicken to sauce and toss to coat. Cook for 3–5 more minutes.
- Sprinkle green onions on top and serve hot.


Leave a Reply