

The pot lid rattles and you know dinner is almost ready. Sometimes that rattling gets you feeling all excited. You spot the little sealing ring doing its job, pressure build getting going nice and steady.
In your kitchen, that valve hiss is like music. It tells you the broth depth is just right inside. It9s kinda comforting knowing the pressure cooker got everything under control while you can chill or prep a quick side.
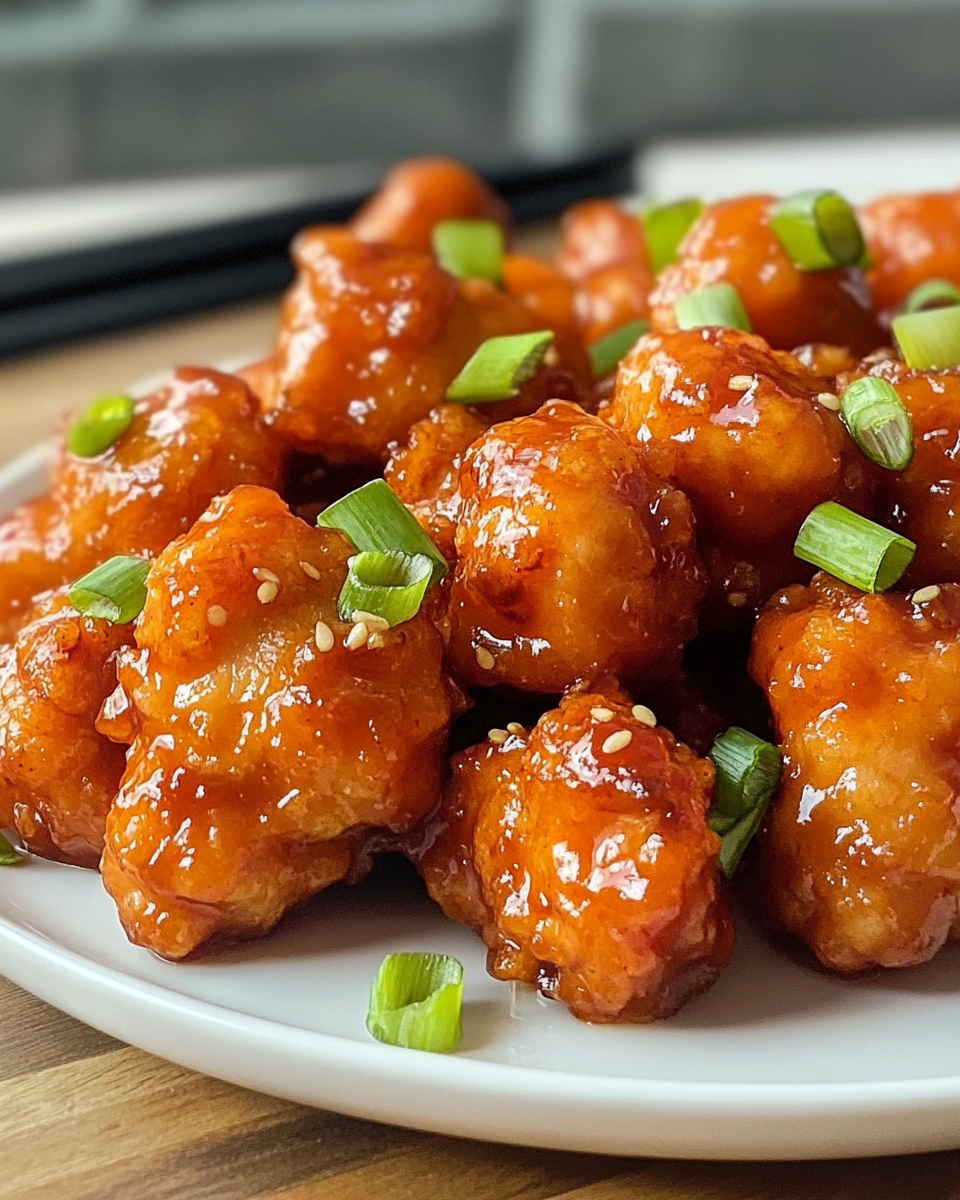
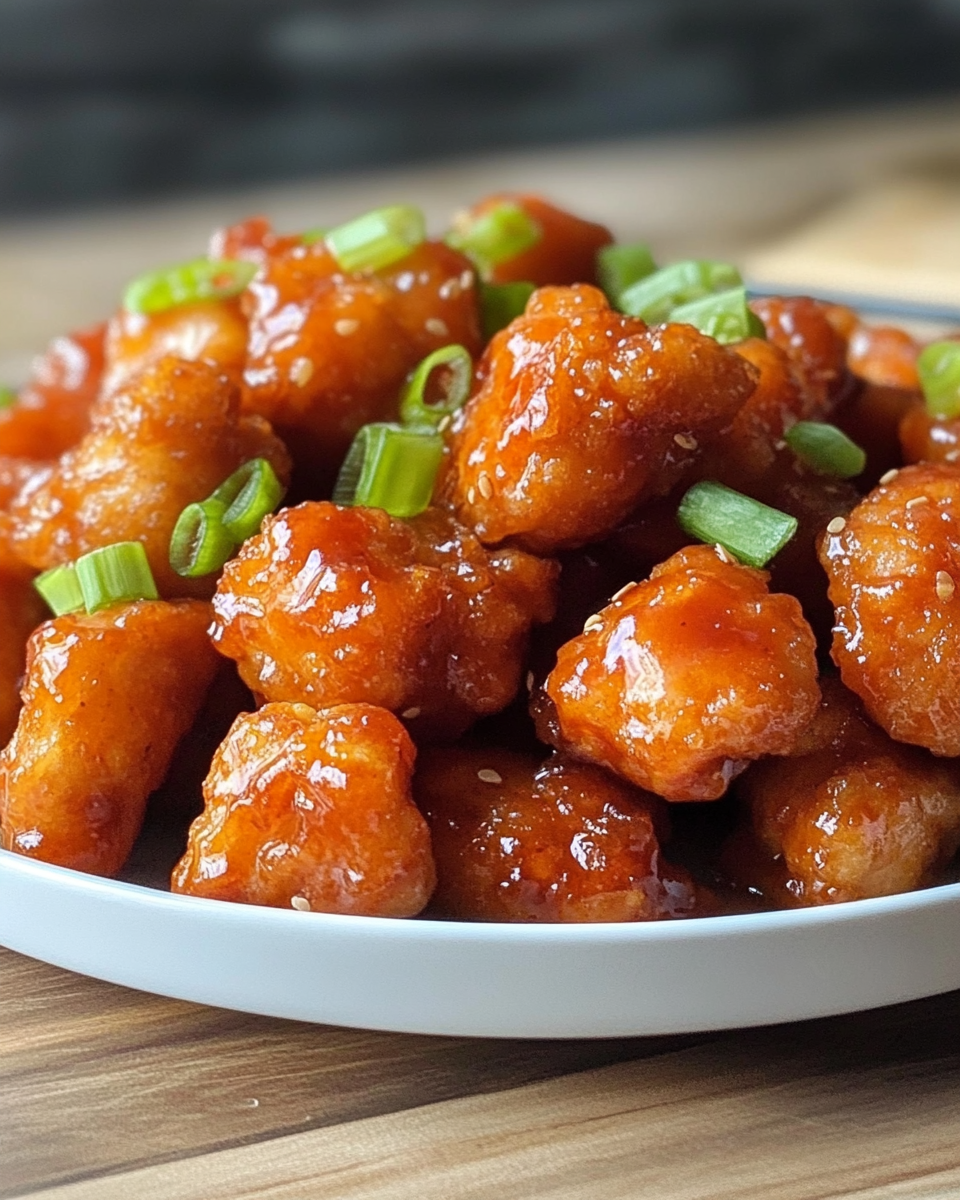
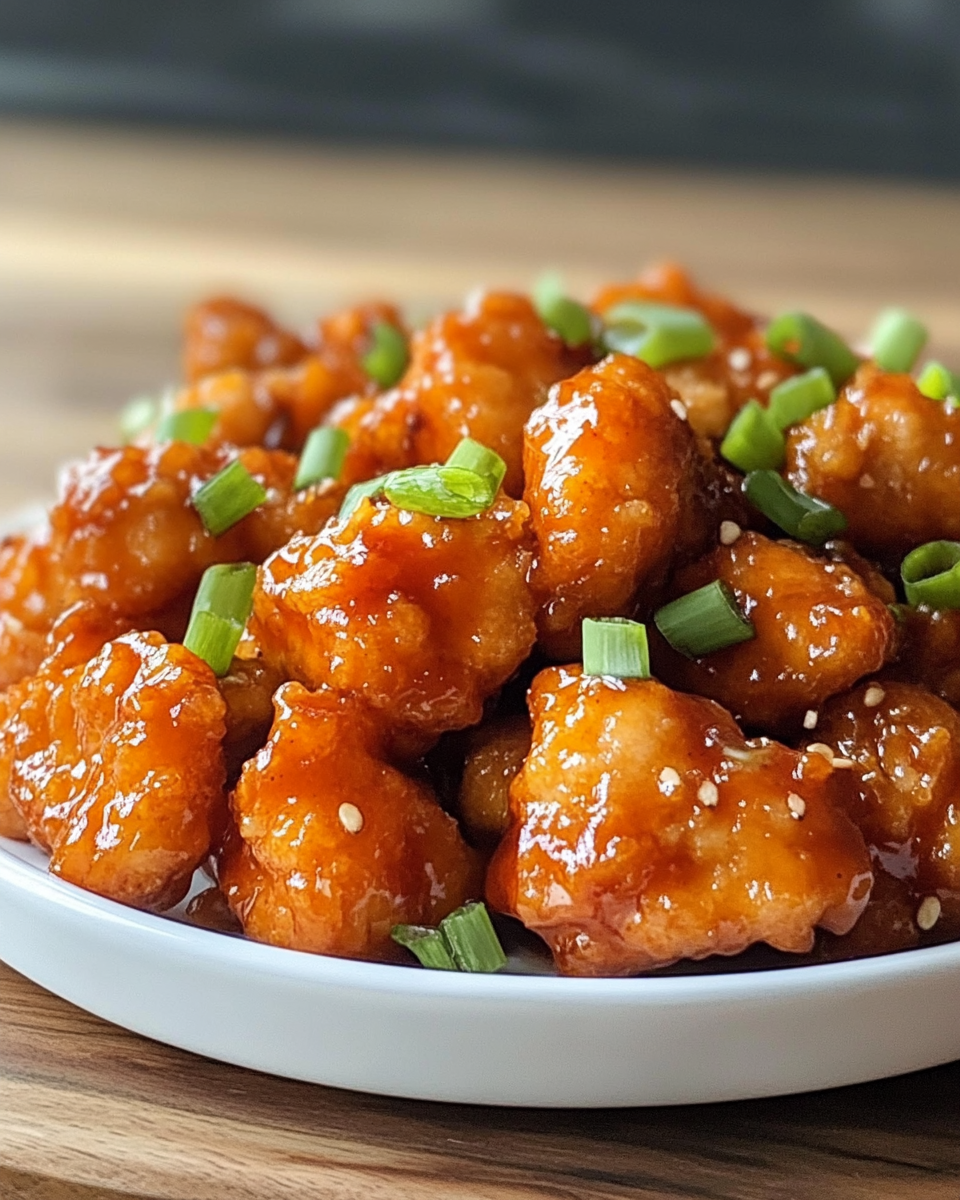
You recall the tender pull of chicken thighs after a pressure cook session. That juiciness mixed with the crispy fried coating is totally worth the little effort. Plus, the sauce that clings to each bite is a heck of a flavor bomb, y'all.
Why This Recipe Works Every Single Time
- The chicken9s first fried for crispy edges before pressure cooking locks in the juiciness.
- Using corn starch twice causes that perfect crispy coating that holds sauce real good.
- The ginger and garlic balance the sweet and sour sauce perfectly every go-around.
- Rice vinegar adds tang cutting through the richness without overpowering it.
- Hoisin and soy give you that classic General Tso9s flavor right from your kitchen.
- Quick pressure build and steady valve hiss keep timing precise, so chicken stays tender but not mushy.
The Complete Shopping Rundown
- 2 lb chicken thighs, trimmed and cut into 1-inch pieces. Dark meat makes your dish juicy and tender.
- Dcup corn starch for that crispy coating you gotta have to hold sauces well.
- 4 cup extra light olive oil for frying, plus a bit more if you need to crisp batches well.
- 2 tablespoons minced ginger, fresh from a 2-inch piece. Gives the sauce fresh punch and warmth.
- 3 cloves garlic or 1 tablespoon grated. You want the garlic sharp and fragrant.
- half teaspoon red pepper flakes, add more if you like some kick in your bite.
- 1 teaspoon sesame seeds optional but looks nice sprinkled on top for garnish.
- half cup cold water mixed with sauces to form the simmering base liquid.
- 5 tablespoons low sodium soy sauce plus rice vinegar and hoisin sauce to nail that flavor combo guaranteed.
Walking Through Every Single Move
Step 1. In a medium bowl, you toss your chicken pieces with corn starch until they9re fully coated. This first starch layer is the base for your crispy finish.
Step 2. Heat your olive oil in a large skillet or wok on medium-high heat. Fry that chicken in batches so it9s golden and cooked through, about 495 min each batch. Drain on paper towels so it stays crisp.
Step 3. In a small bowl, whisk the cold water, soy sauce, rice vinegar, and sugar to make your sauce. Set it aside while you finish frying chicken.
Step 4. Remove extra oil from the skillet leaving about 1 tablespoon. Add minced ginger, garlic, and red pepper flakes, and cook over medium heat 192 minutes until fragrant. This aromatic base is gonna flavor everything.
Step 5. Pour in your sauce mixture and let it simmer. Cook it 293 minutes until it thickens up a bit and coats the back of a spoon.
Step 6. Toss your fried chicken back in the skillet with sauce. Cook another 293 minutes until chicken's heated through and sauce clings perfectly. Sprinkle with sesame seeds if you use them, then serve hot with rice or veggies.
Valve Hacks You Need to Know
- Make sure your sealing ring sits snug without cracks for that solid pressure build every time. It9s how that valve hiss stays steady.
- Release pressure naturally for 5 minutes before quick releasing to keep chicken tender pull just right.
- Keep a little eye on broth depth when adding sauce ingredients to avoid scorch warning or burns on the cooker.
- Preheating the skillet before frying chicken speeds up the browning and lets you keep batches quick and crispy.
When You Finally Get to Eat
You notice the sauce9s thick coat sparkling on each crispy chicken bite, sticky enough to keep flavors locked, but not overly sweet. The balance of vinegar tang and sugar rounds out well.
The tender pull of the chicken from pressure cooking makes each bite melt in your mouth. You appreciate that crispy fried coating still giving a slight crunch.
That pinch of red pepper flakes sneaks in some heat without overshadowing garlic and ginger. It warms you up inside after a long day.
When served with fluffy steamed rice, the whole dish becomes comforting and satisfying. You spot your favorite veggie on the side and there you go94a perfect meal!
Your Leftover Strategy Guide
- Let leftovers cool fully before storing them to keep that broth depth fresh and avoid soggy chicken.
- Use airtight containers and keep in the fridge for up to 3 days. Reheat gently to keep that crispy texture close to original.
- If you freeze leftovers, wrap well to prevent freezer burn. Thaw overnight in the fridge and reheat on stove low with a splash of water or broth.
- Leftover sauce can double as a marinade for chicken later or added to stir fry veggies to boost flavors quickly.
Everything Else You Wondered About
- Q: Can I use chicken breast instead of thighs? A: You can; just watch cooking time so breast don99t get dry and tough.
- Q: Is it okay to skip frying and just pressure cook? A: Frying helps keep that crisp texture, so skipping it means softer chicken but still tasty.
- Q: How spicy is this recipe? A: Moderately spicy. Add more red pepper flakes if you want it hotter or leave them out for mellow.
- Q: Can I make this in an Instant Pot? A: Absolutely! Use the sauté function for frying, then pressure cook with sealing ring and valve properly set.
- Q: What sides go best with General Tso99s Chicken? A: Steamed rice, stir fry veggies, or even simple noodles works great.
- Q: How do I keep my sauce thick after reheating? A: Reheat slowly and stir often. Add a little corn starch slurry if needed for thickening back up.

General Tso’s Chicken Recipe
Equipment
- 1 Mixing bowl for tossing chicken
- 1 Skillet or wok for frying and sauce
- 1 Small bowl for mixing sauce
Ingredients
Chicken & Seasoning
- 2 lb chicken thighs trimmed and cut into 1-inch pieces
- ½ cup corn starch for coating
- ¼ cup extra light olive oil for frying, plus more as needed
- 2 tablespoon minced ginger from a 2-inch piece
- 3 cloves garlic or 1 tablespoon grated
- ½ teaspoon red pepper flakes or to taste
- 1 teaspoon sesame seeds optional for garnish
Sauce Base
- ½ cup cold water
- 5 tablespoon low sodium soy sauce
- 3 tablespoon rice vinegar or more to taste
- 1 ½ tablespoon hoisin sauce
- 4 tablespoon granulated sugar
- 1 ½ tablespoon corn starch for sauce
Instructions
Instructions
- Toss the chicken pieces with corn starch until fully coated and set aside.
- Heat olive oil in a skillet over medium-high heat and fry the chicken in batches for 4–5 minutes until golden and cooked through. Drain on paper towels.
- In a small bowl, whisk together cold water, soy sauce, rice vinegar, sugar, hoisin sauce, and corn starch to make the sauce.
- Remove excess oil from the skillet leaving 1 tablespoon. Add ginger, garlic, and red pepper flakes. Cook over medium heat for 1–2 minutes until fragrant.
- Pour in the sauce mixture and simmer for 2–3 minutes until it thickens and coats a spoon.
- Add the fried chicken back into the skillet with the sauce. Cook another 2–3 minutes until hot and well coated.
- Sprinkle sesame seeds if desired and serve hot with rice or vegetables.


Leave a Reply