
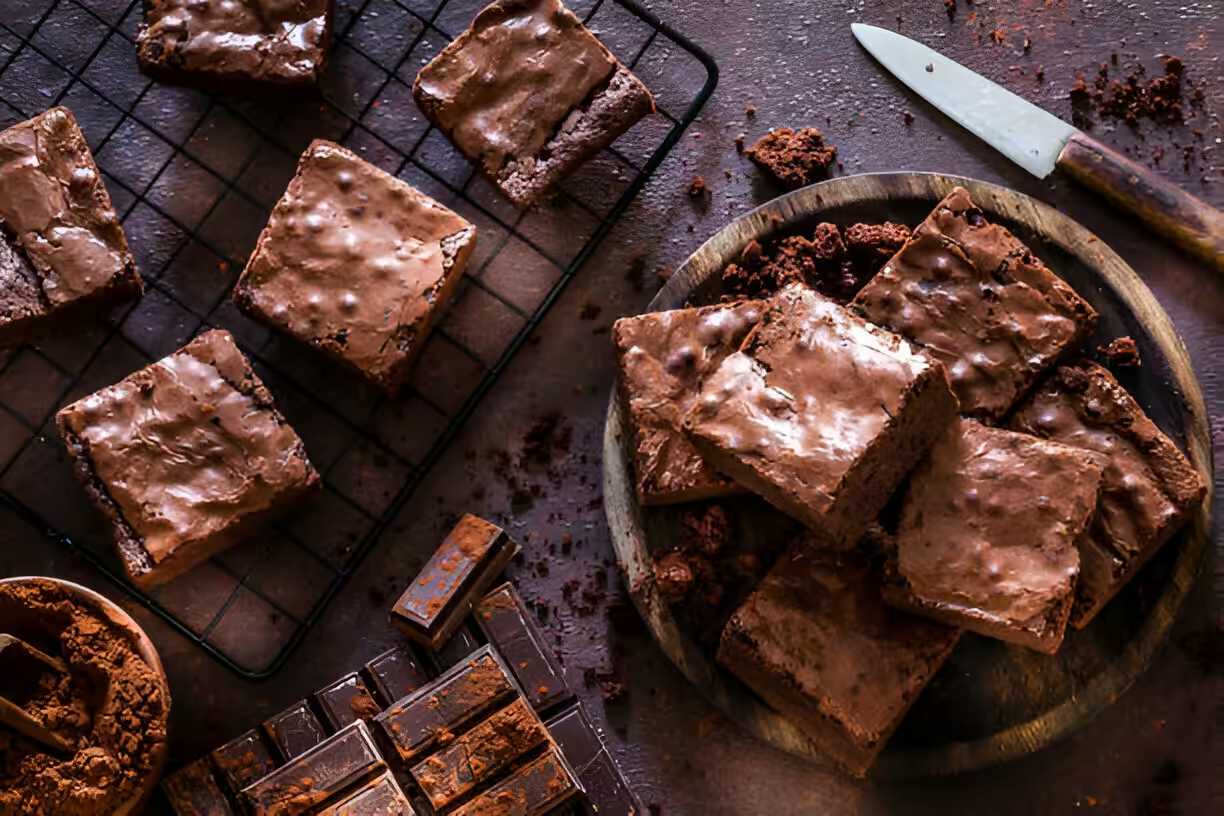
Brownies is one of those desserts that people just cant get enough of. They’re chocolatey, soft, and sometimes fudgy. Store brownies are ok, but they often taste bland and have weird preservatives. Making them at home lets you pick fresh ingredients and put your own spin on them. Plus, mixing, baking, and watching them rise gives you a good feeling, like you actually made something awesome to share with others.

Section 1: History of Brownies
Brownies was first made in the late 1800s in America. No one is totally sure who invented them, but one story says a chef at the Palmer House Hotel in Chicago created a small, rich chocolate cake with walnuts and apricot glaze for the 1893 World’s Columbian Exposition. Folks liked it so much it spread quick into cookbooks and homes all over the country.
At first brownies were more like a dense chocolate cake, but over time bakers tried differnt ways to make them fudgier or chewier. These tweaks and recipes from all over helped brownies become the popular, versatile treat we know today.
Section 2: Why Make Homemade Brownies?
Store-bought brownies sometimes have a cardboard taste or too much sugar. Homemade brownies let you control every ingredient, so they taste richer and fresher. You can make them cake-like or super fudgy, add nuts, chips, or swirl caramel—whatever you like.
Making brownies at home can also be healthier. You can cut down on sugar, skip preservatives, or use whole grain flour and oats. Even if you add nuts for crunch, they’ll still beat most pre-packaged options.
And don’t forget cost. A few pantry staples can yield a big batch of brownies for way less money than store packs. Plus, baking with friends or family makes memories you cant buy.
Section 3: Essential Ingredients for Homemade Brownies
Here are the basic things you need. They’re simple but important for good texture and flavor.
3.1 Basic Ingredients
- Flour: All purpose flour gives structure, but don’t use too much or they’ll be dry.
- Cocoa powder: Unsweetened cocoa gives deep chocolate taste. Dutch-processed works too if you want a milder flavor.
- Sugar: Granulated sugar makes them sweet and helps with that fudgy center.
- Eggs: Eggs add moisture, richness, and help bind everything together.
- Butter: Melted butter makes brownies tasty and tender. You can try coconut oil if you want something differnt.
- Vanilla extract: A splash of vanilla brings out the chocolate flavor.
- Salt: Just a pinch balances the sweetness and brings out all the other flavors.
3.2 Optional Add-ins
If you want to step it up, try these extras:
- Chocolate chips: Semi-sweet or dark chips for extra gooey bits.
- Nuts: Walnuts or pecans add a nice crunch and nutty taste.
- Caramel swirls: Drizzle caramel for a sweet, chewy ribbon.
- Flavors: A bit of mint extract or orange zest for a fun twist.
Section 4: Detailed Homemade Brownie Recipe
4.1 Ingredients
- 1 cup all-purpose flour
- ½ cup unsweetened cocoa powder
- 1 cup granulated sugar
- 2 large eggs
- ½ cup melted butter
- 1 teaspoon vanilla extract
- ¼ teaspoon salt
- (Optional) ½ cup chocolate chips or nuts
4.2 Directions
- Preheat oven to 350°F (175°C). Grease an 8x8-inch baking pan or line it with parchment paper.
- In a bowl, mix flour, cocoa powder, and salt. Set aside.
- In another bowl, stir melted butter and sugar until it looks smooth. Then add eggs and vanilla, mix well.
- Slowly fold dry ingredients into wet until just combined—dont overmix or brownies get tough.
- If you want, fold in chocolate chips or nuts now.
- Pour batter in pan, spread it out. Bake 20–25 minutes or until edges look set but center is a bit soft.
- Let brownies cool in pan about 10 minutes, then move to wire rack to cool completly before cutting.
4.3 Baking Tips and Advice
- Fudgy brownies: Take them out a bit early—they’ll finish setting as they cool.
- Oven know-how: Make sure your oven temp is right, a bad calibration can ruin baking time.
- Storing: Keep in an airtight container at room temp up to a week, or fridge for longer.
Section 5: Popular Variations of Brownies
5.1 Gluten-Free Brownies
Swap all-purpose flour for almond or coconut flour. They stay moist and taste great without gluten.
5.2 Vegan Brownies
Use flaxseed meal or applesauce instead of eggs, and plant butter or coconut oil in place of butter. They turn out tasty!
5.3 Healthier Brownies
Try black bean brownies—blend black beans instead of flour for extra fiber and a fudgy texture.
Section 6: Serving Suggestions and Pairings
6.1 Toppings
- Whipped cream for a light, fluffy touch
- Ice cream to make a brownie sundae
- Fresh berries like raspberries for a tart contrast
- Extra chocolate or caramel sauces for more sweetness
6.2 Beverage Pairings
- A strong cup of coffee really brings out the chocolate
- A glass of milk balances the richness
- Dessert wine or port for a fancy treat
Section 7: Common Mistakes to Avoid When Making Brownies
7.1 Overmixing vs. Undermixing
Mix just enough so there are no dry patches. Too much mixing makes them cakey or tough, too little leaves lumps.
7.2 Baking Time and Temperature
Don’t leave them in too long. Edges set first, center should still be a bit soft. Use the toothpick test—few crumbs are ok.
7.3 Cooling Process
Wait until brownies are fully cool before you cut. It stops them from crumbling and gives clean edges.
Section 8: FAQs
8.1 Can I substitute ingredients in brownie recipes?
Yes, lots of swaps work. Try natural sweeteners instead of sugar or almond flour for gluten-free versions.
8.2 How do I store leftover brownies?
Keep brownies in an airtight container at room temp. You can also refrigerate them, just bring to room temp before eating.
8.3 How do I know when my brownies are done?
Insert a toothpick in center; it should come out with a few moist crumbs. Edges should look set, center slightly soft.
8.4 Can brownies be frozen?
Totally. Cool them fully, wrap in plastic or foil, then put in a container. They last up to three months in freezer.
8.5 Are brownies better than cake?
That’s up to you. Brownies are dense and fudgy, cake is fluffier. Some love one more than the other, it’s just taste.
Conclusion
Baking homemade brownies is fun, tasty, and lets you get creative. Try different add-ins and share them with friends or family. You’ll never go back to store-bought once you taste fresh, warm brownies from your oven.
Homemade brownies
Equipment
- 1 8x8-inch baking pan
- 1 mixing bowls
- 1 whisk or electric mixer
- 1 rubber spatula
- 1 measuring cups and spoons
- 1 parchment paper (optional)
- 1 oven
Ingredients
- ½ cup unsalted butter
- 1 cup granulated sugar
- 2 large eggs
- 1 teaspoon vanilla extract
- ⅓ cup unsweetened cocoa powder
- ½ cup all-purpose flour
- ¼ teaspoon salt
- ¼ teaspoon baking powder
- ½ cup chocolate chips or nuts (optional) Add for extra texture and flavor.
Instructions
- Preheat the oven to 350°F (175°C). Grease the baking pan or line it with parchment paper for easy removal.
- In a medium microwave-safe bowl, melt the unsalted butter. This should take about 30-40 seconds in the microwave.
- Once melted, remove the bowl from the microwave and mix in the granulated sugar until well combined.
- Add the eggs, one at a time, mixing well after each addition. Then, stir in the vanilla extract.
- In a separate bowl, whisk together the cocoa powder, flour, salt, and baking powder.
- Gradually incorporate the dry ingredients into the wet mixture using a rubber spatula or wooden spoon. Mix until just combined; do not overmix.
- If desired, fold in chocolate chips or nuts for added texture and flavor.
- Pour the brownie batter into the prepared baking pan, spreading it evenly.
- Bake in the preheated oven for 20-25 minutes, or until a toothpick inserted in the center comes out with a few moist crumbs (but no wet batter).
- Let the brownies cool in the pan on a wire rack for about 10 minutes before slicing them into squares.

Leave a Reply