

Steam curls up from the valve and your stomach starts talking back real quick. You catch that sweet smell teasing your nose and suddenly it’s all you can think about. It’s almost silly how fast your hunger kicks in with this one cooking away in the pressure cooker.
It’s kinda like the air fills with this cozy promise, you know? You get that sealing ring locking in all those flavors and the broth depth that’s gonna soak into every bit of chicken. It’s not just cooking, it’s like wrapping your meal in a warm hug.
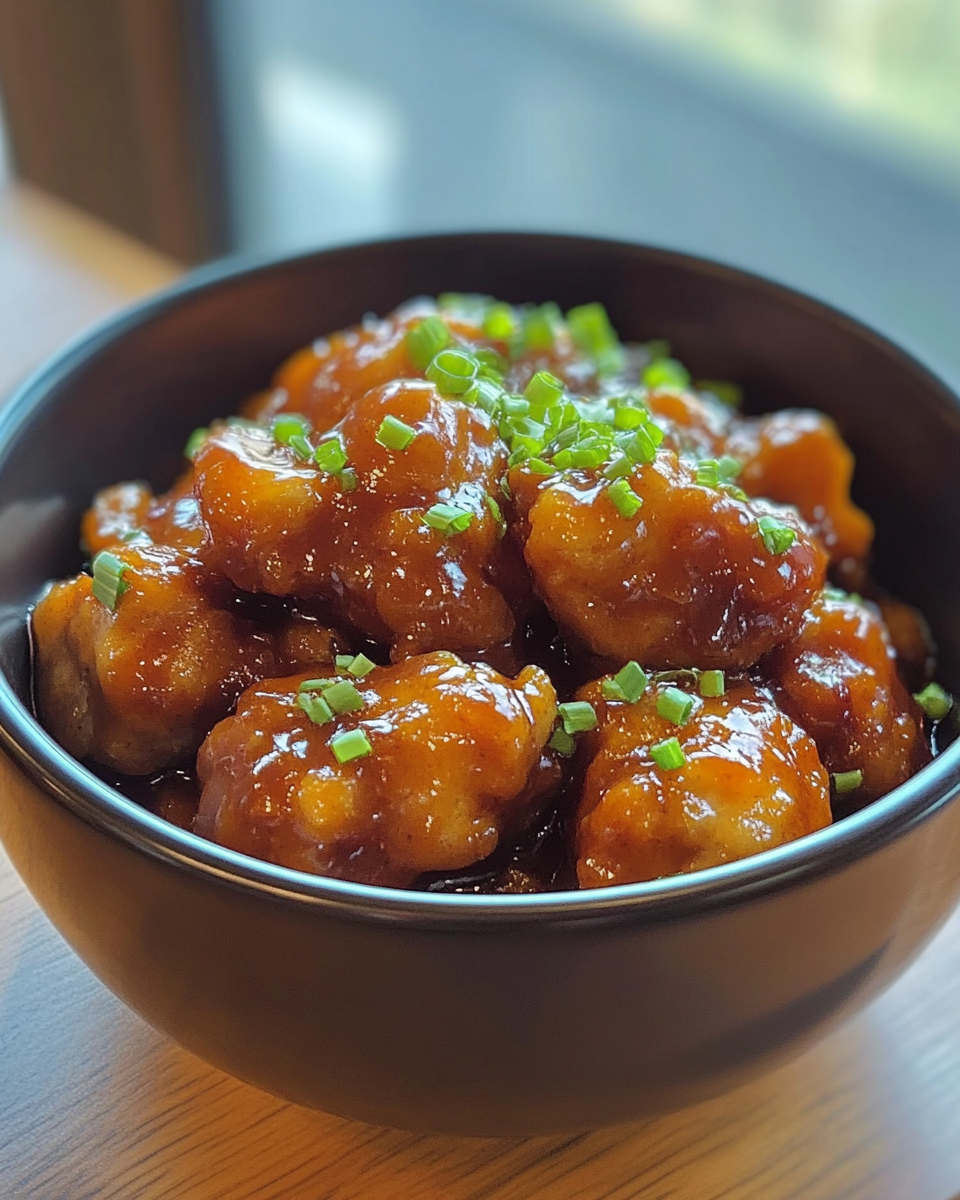
The timer ticks but your excitement builds every minute. When you get that quick release done, you know you’re about to dive into something dang good. You spot the sauce glistening and can’t wait to taste that sweet honey meets butter goodness.
The Real Reasons You Will Love This Method
- Pressure cooker fast cooks the chicken so it stays juicy and tender, no drying out here.
- The quick release helps you control cooking time perfectly so nothing gets overdone.
- Sealing ring traps all the buttery honey sauce making every bite flavorful.
- Natural release lets the flavors settle slowly if you wanna take it easy.
- The broth depth created means your chicken soaks up all that yum.
- Cleaning is easy cause you cook right in one pot, less mess hanging around.
The Complete Shopping Rundown
- 1.3 pounds (600 grams) boneless skinless chicken thighs chopped into large bite-sized chunks. This cut is best for juicy flavor, trust me.
- ⅓ cup (50 grams) of flour for coating the chicken so you get that nice crust.
- Seasonings: 1 teaspoon salt, ½ teaspoon onion powder, garlic powder, and black pepper each to keep it simple but tasty.
- Butter: 1 tablespoon unsalted for frying plus 5 tablespoon diced chunks to melt into the sauce.
- Olive oil to cook the chicken crisp a little before pressure cooking.
- Honey, about ⅓ cup (110 grams), for that sweet, sticky finish you wanna lick the spoon for.
- 2 tablespoon apple cider vinegar adds a tiny tang that balances out the richness.
- 1 tablespoon soy sauce for an umami kick that rounds out the flavors real good.
- Salt and black pepper again for final seasoning to taste when you finish the dish.
The Exact Process From Start to Finish
Step 1, toss your chicken chunks in the mix of flour, salt, onion powder, garlic powder, and black pepper until they’re nicely coated. Don’t skip this step cause it helps with that crispy outside even in the pressure cooker.
Step 2, heat one tablespoon each of unsalted butter and olive oil in a large skillet over medium-high heat. Throw in your coated chicken and brown it till golden and cooked through, about 6-8 minutes. Then move it aside on a plate.
Step 3, lower the heat a bit to medium. Add your honey, that diced butter, apple cider vinegar, and soy sauce to the skillet. Stir them all together as the butter melts and the sauce comes together smooth.
Step 4, simmer the sauce for 2 to 3 minutes till it starts to thicken just a little bit. This step gets all those flavors marrying nicely.
Step 5, return the chicken to the skillet and toss to coat thoroughly in the sauce. Let it cook for 2 to 3 more minutes so the sauce clings to every piece.
Step 6, time to transfer everything to your pressure cooker. Lock the lid with the sealing ring in place and set it to cook. Use the quick release method when the time’s up to stop cooking fast and keep that perfect texture.
Step 7, season with salt and black pepper to taste then serve right away. The sauce should be thick enough to dip your fork in and it’s dang delicious on anything from rice to veggies.
Quick Tricks That Save Your Time
- Cut your chicken into even chunks so they cook all the same, no surprises.
- Use pre-mixed seasoning blends if you wanna speed up the flavor prep.
- Heat your skillet before adding butter and oil so you get that golden crust fast.
- While the chicken bakes, prep your sauce ingredients to keep everything moving.
- Quick release right at the end helps you avoid overcooking and keeps the chicken juicy and tender.
That First Bite Moment
You pick up a piece, feeling that buttery honey glaze shine on the surface. The first taste hits you with sweet and tang right away. It’s warm, comforting like a hug you really need after a long day.
The chicken is tender, juicy but holds together with that slight crust from the flour coating. You catch little hints of garlic and onion powder in there making it rich but simple, not overwhelming at all.
Each bite kinda melts in your mouth leaving a little sticky sweetness behind that makes you wanna get another bite real quick. It’s dang satisfying and you already start thinking about your next meal with this recipe.
Your Leftover Strategy Guide
Store leftovers in an airtight container inside the fridge. They’ll keep good for about three to four days and still taste great when reheated.
If you froze some, defrost it overnight in the fridge then warm gently in a skillet. Avoid the microwave if you can ‘cause it may dry out the chicken.
To freshen leftovers, add a splash of water or a little extra honey and butter in your pan before warming. It brings back that sauce broth depth and keeps things tasty.
The FAQ Section You Actually Need
Can I use chicken breasts instead of thighs? You sure can but thighs stay juicier and less likely to dry out when pressure cooked. If you use breasts, watch your time close.
What’s the difference between quick release and natural release? Quick release means you pop the valve open right after cooking to release steam fast. Natural release means you let the pressure drop slowly on its own which can give you even more tender food.
Do I really need the sealing ring? Yep, that sealing ring keeps the pressure cooker airtight so your sauce and moisture don’t escape. Without it your chicken could dry out or the cooker won’t reach pressure.
How do I get the sauce thicker? After pressure cooking, you can remove the chicken and simmer the sauce down on stove till it’s as thick as you like. You can also add a bit more flour or cornstarch mixed with water.
Can I make this in one pot? Yeah, you can brown the chicken right inside some pressure cookers with sauté function then add sauce ingredients and cook. Just keep an eye so your chicken browns evenly.
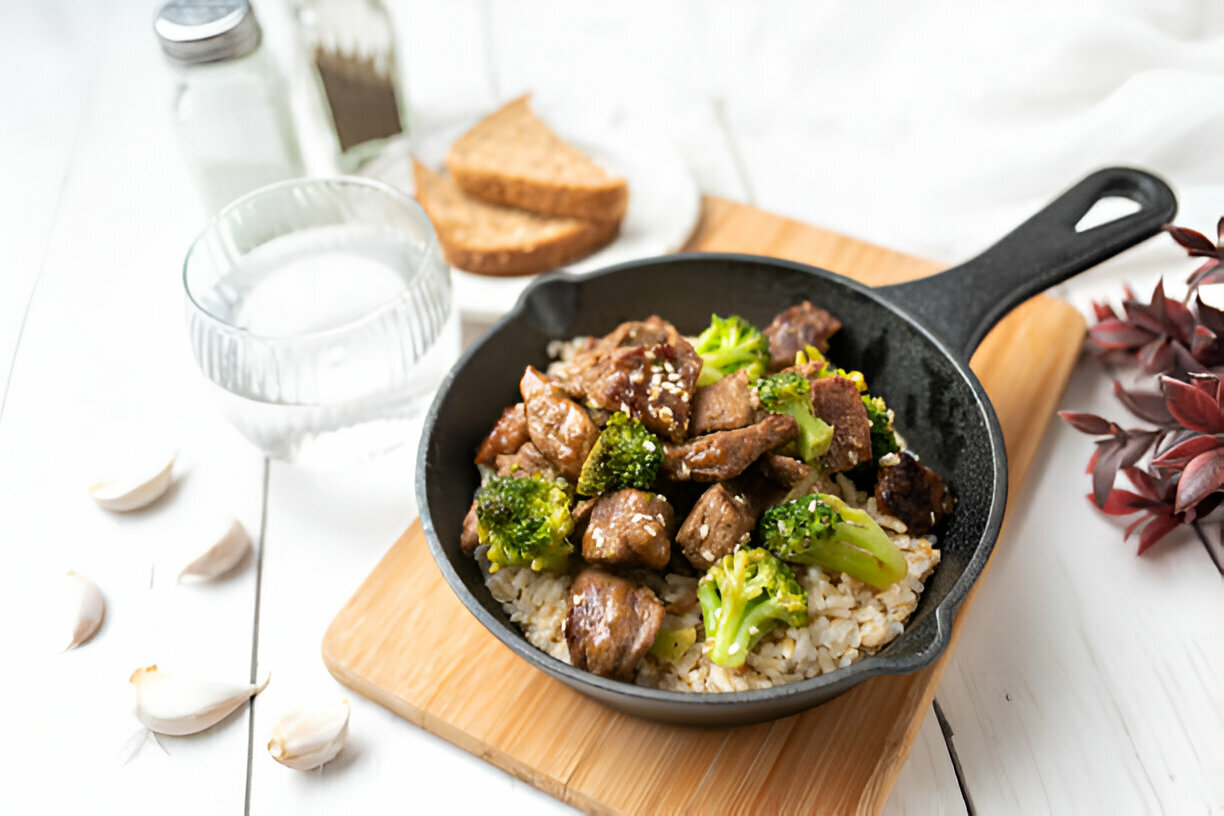
What sides go best with Honey Butter Chicken? Rice soaks up that sauce real good, but mashed potatoes, steamed veggies, or even simple noodles work great too. Pick whatever you’re craving.

Honey Butter Chicken Pressure Cooker Recipe
Equipment
- 1 Mixing bowl Medium sized
- 1 Large pan For browning chicken
- 1 Pressure cooker For final cooking
Ingredients
Main ingredients
- 600 g Boneless skinless chicken thighs cut into large bite-sized chunks
- 50 g Flour for coating the chicken
- 1 teaspoon Salt
- 0.5 teaspoon Onion powder
- 0.5 teaspoon Garlic powder
- 0.5 teaspoon Black pepper
- 1 tablespoon Unsalted butter for frying
- 1 tablespoon Olive oil
- 110 g Honey
- 5 tablespoon Unsalted butter diced into chunks for sauce
- 2 tablespoon Apple cider vinegar
- 1 tablespoon Soy sauce
- Salt and black pepper to taste
Instructions
Instructions
- Toss chicken chunks in a mix of flour, salt, onion powder, garlic powder, and black pepper until coated.
- Heat 1 tablespoon butter and olive oil in a skillet over medium-high heat. Brown chicken for 6–8 minutes until golden, then transfer to a plate.
- Lower heat to medium. Add honey, diced butter, apple cider vinegar, and soy sauce. Stir until butter melts and sauce is smooth.
- Simmer sauce for 2–3 minutes until slightly thickened.
- Return chicken to skillet and coat in sauce. Cook another 2–3 minutes, then transfer to pressure cooker. Lock lid and cook, using quick release when done.
- Season with salt and pepper to taste and serve hot. Enjoy!
Leave a Reply