
The pressure builds and you start counting down minutes until you eat. That hiss from the valve is like music sometimes, you know? You catch those steam cues and your mouth starts watering even before the timer hits zero.
It’s funny how a few minutes under pressure can transform simple chicken into something sooo tender and juicy. You sense the broth depth, where all those flavors get pushed right into each bit of meat. And dang, it’s way better than waiting around forever on the stove.
Then comes the natural release when you finally let the pressure go. It’s like a little countdown to your first bite. You notice the kitchen filling with that honey and garlic aroma. You practically start drooling, knowing the flavor punch is just about ready to hit your tongue.
What Makes Pressure Cooking Win Every Round
- Speed that hits you fast. No more waiting for your chicken to cook forever.
- Flavors lock in tight, like the pressure squeezes all that yumminess close to your food.
- Juicy, tender results way quicker than in a pan or oven.
- The valve hiss and steam tell you exactly when things are moving along.
- Easy cleanup because you cook everything in one pot.
- Works great whether you wanna go bold on sauces or keep it simple.
Your Simple Ingredient Checklist
- 2 teaspoons extra-virgin olive oil (or canola, whatever you got on hand)
- 1 ½ pounds boneless, skinless chicken breasts, cut into small cubes (about ½ inch)
- Salt and black pepper, just enough to season lightly — soy sauce will take care of the saltiness
- 3 tablespoons honey to bring that sweet vibe
- 3 tablespoons low-sodium soy sauce for that salty, savory base
- 3 cloves garlic, minced, because garlic is life
- ¼ teaspoon red pepper flakes, optional but adds a nice little kick if you’re into it
- Sliced green onions, chopped parsley or cilantro, chopped peanuts, and lime wedges to squeeze over the chicken when you serve
These simple ingredients work together like a dream in your pressure cooker. You get that sweet and savory balance, a hint of heat, and fresh toppings that add texture and brightness at the end. The garlic and soy sauce soak so well when pressure cooking since the flavor gets really deep in the chicken pieces.
The Full Pressure Cooker Journey
Step 1: Start by heating your olive oil in the pressure cooker pot on the sauté setting. You want it nice and hot but not smoking, so your chicken browns up a little first.
Step 2: Lightly season your chicken cubes with salt and black pepper. Don’t go overboard since soy sauce’s salty punch will be there.
Step 3: Add the chicken to the hot oil and brown on one side, maybe 3-4 minutes. This adds flavor and a little texture before the pressure build.
Step 4: While that’s happening, whisk together the honey, soy sauce, minced garlic, and red pepper flakes in a small bowl until it’s all mixed up and ready.
Step 5: Turn the chicken pieces over. Pour the honey garlic sauce right over the chicken and give it a quick toss to coat everything.
Step 6: Seal the pressure cooker lid and set it to high pressure for 5 minutes. When the valve hiss sounds and steam cues are strong, start your timer. When the time’s up, let the pressure release naturally for a bit, then carefully vent the rest.
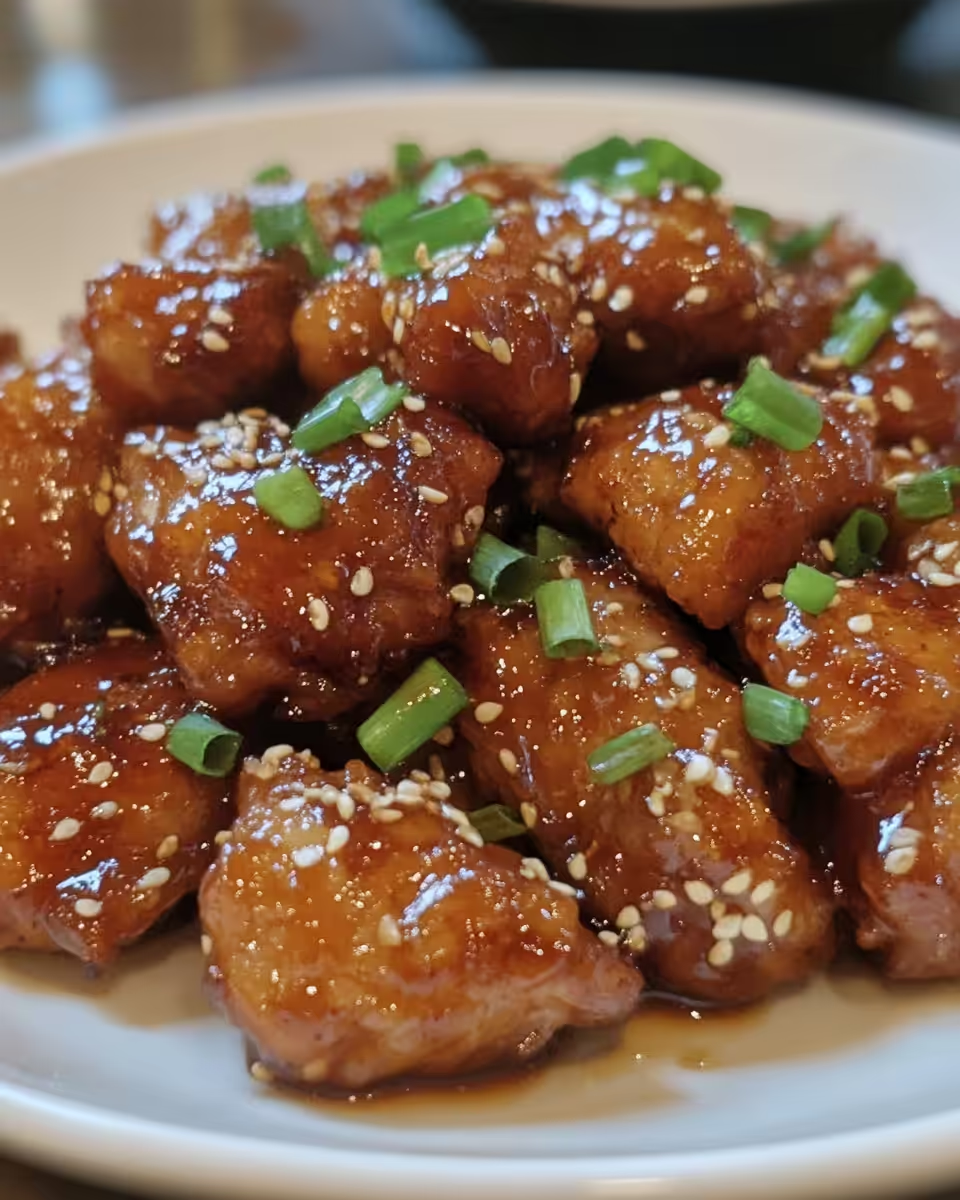
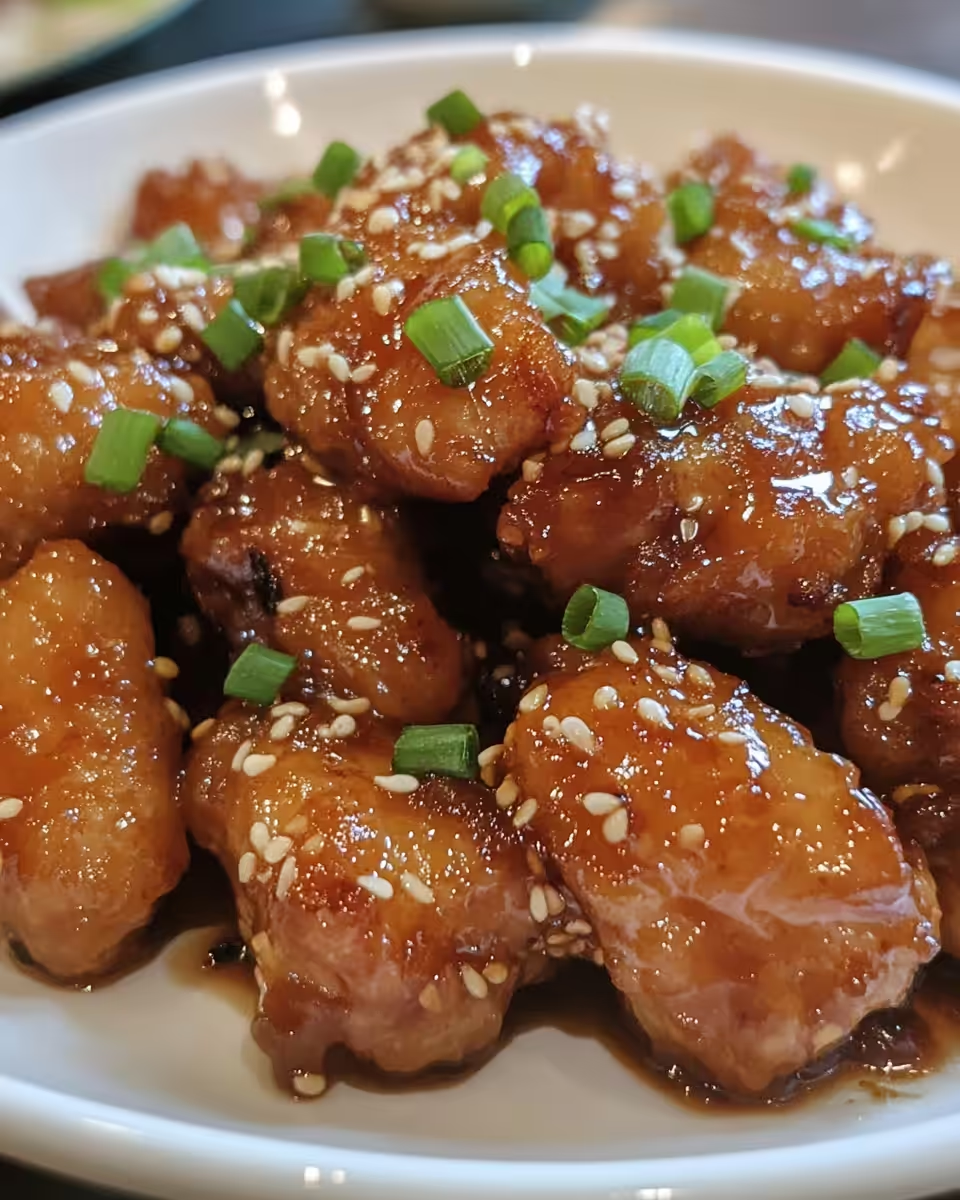
Once you open it up, your kitchen will smell incredible. The chicken is perfectly cooked, saucy, and tender. Top it off with sliced green onions, chopped parsley or cilantro, chopped peanuts and a squeeze of lime juice. If you like heat, a drizzle of sriracha works wonders here too.
Quick Tricks That Save Your Time
- Use pre-minced garlic to skip the chopping step.
- Buy pre-cut chicken pieces if you’re in a mad rush.
- Whisk the sauce ingredients the night before and stash in the fridge so it’s ready to pour.
- While chicken browns, steam your rice with a rice cooker or Instant Pot to save using another pan.
- Use frozen chicken cubes that thaw quickly under pressure, cutting prep time.
That First Bite Moment
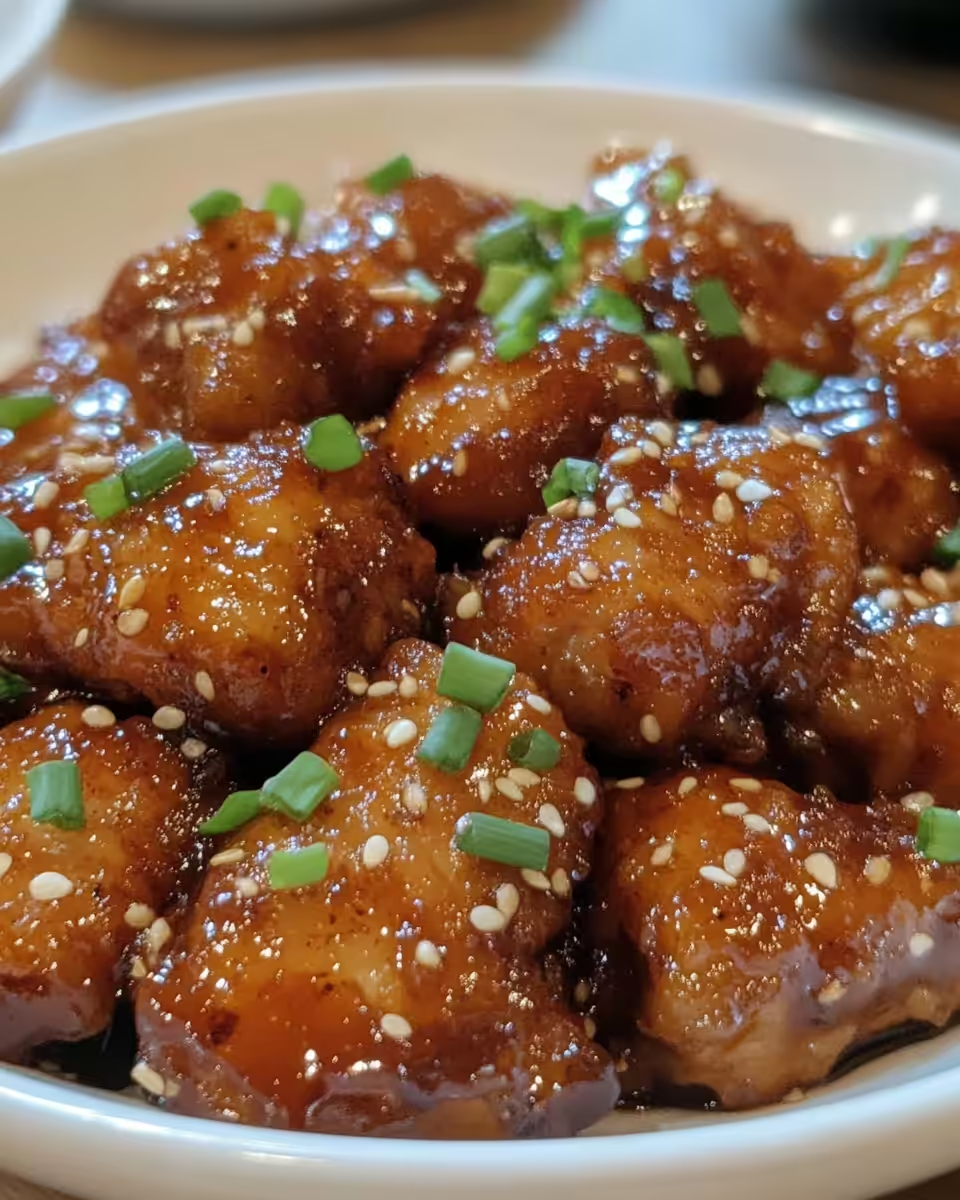
You grab your fork and the chicken feels crazy tender. It’s that kind of tenderness pressure cooker fans rave about. It just literally falls apart if you press it a little.
The honey garlic sauce clings everywheres, shiny and sweet with that punch of garlic and a little heat from the red pepper flakes. You sense the tang from lime juice brightening things up with each bite.
Crunch from the peanuts adds a lovely surprise texture, and the green onions bring that fresh snap you kinda crave to cut through all the richness.
That first taste really hits you. It’s simple, it’s comforting, and dang it’s totally satisfying. You know you’ll be making this a lot.
Making It Last All Week Long
If you wanna stretch dinner vibes through the week, storing this chicken right is key. Start with airtight containers that seal tight and keep moisture out.
In the fridge, this honey garlic chicken should keep well for about 3 to 4 days. Great for lunches or quick dinners when you’re zonked.
Freeze leftovers in single-serve portions if you wanna pop 'em back quick. Just thaw in the fridge overnight or nuke it for a few minutes on medium heat to keep it tasty.
You can also mix leftovers with fresh salad greens or throw over warm rice or noodles to make new meals. It works great reheated and still juicy.
Common Questions and Real Answers
- Can I use chicken thighs instead? Totally, chicken thighs work great and might actually be moister. Just adjust pressure cook time to 6 minutes.
- What if I don’t have honey? You can try maple syrup or brown sugar as a substitute but honey gives that unique glaze.
- Should I brown the chicken first? While optional, browning it first adds flavor and a little texture that you’ll wanna notice.
- Can I skip the red pepper flakes? Sure thing, they’re totally optional. It’s still tasty without heat.
- How do natural release and quick release differ? Natural release lets the pressure drop on its own, which finishes chicken gently and keeps it juicy. Quick release vents steam fast but can make meat a bit tougher sometimes.
- Is this recipe good for meal prepping? Heck yeah, it’s perfect! Cook it, store it in containers, and you’re good for several days.
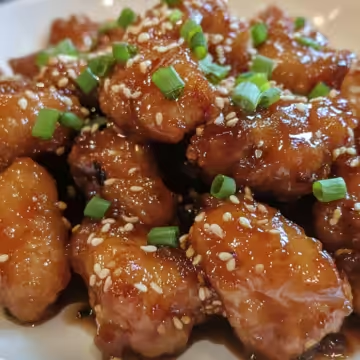
15-Minute Honey Garlic Chicken in Your Pressure Cooker
Equipment
- 1 Pressure cooker Instant Pot or similar
Ingredients
Main Ingredients
- 2 teaspoons extra-virgin olive oil or canola oil
- 1 ½ pounds boneless, skinless chicken breasts cut into small ½-inch cubes
- Salt and black pepper just enough to season lightly
- 3 tablespoons honey to bring that sweet vibe
- 3 tablespoons low-sodium soy sauce for a savory base
- 3 cloves garlic minced
- ¼ teaspoon red pepper flakes optional, adds heat
- sliced green onions optional for garnish
- chopped parsley or cilantro optional for garnish
- chopped peanuts for garnish
- lime wedges to squeeze over the chicken
Instructions
Instructions
- Heat olive oil in the pressure cooker pot on the sauté setting until hot but not smoking.
- Season the chicken cubes lightly with salt and pepper and add to the hot oil. Brown on one side for 3-4 minutes.
- Whisk together honey, soy sauce, minced garlic, and red pepper flakes in a bowl.
- Turn the chicken pieces over and pour the honey garlic sauce over the chicken. Stir to coat.
- Seal lid and cook on high pressure for 5 minutes. Allow natural pressure release for a few minutes, then manually release remaining steam. Serve hot with garnishes.


Leave a Reply