
That first hiss from the cooker tells you something good is happening. You hear that little whistle and suddenly you're like, okay, somethin's cooking right. It means the steam is locked up tight, pressure’s rising, and the magic’s kinda about to happen in that sealed chamber. You feel this quiet excitement building, knowing your dinner will be ready faster than usual.
Now, with lemon chicken, you sense that bright citrusy zing mixing in while the heat does its work. Even if you normally dread waiting on dinner, this pressure cooker speeds things up, trapping the broth depth and flavors. You spot nothing lost but everything gained in taste and tenderness. It’s a heck of a win when your kitchen timer’s ticking loud in the background.
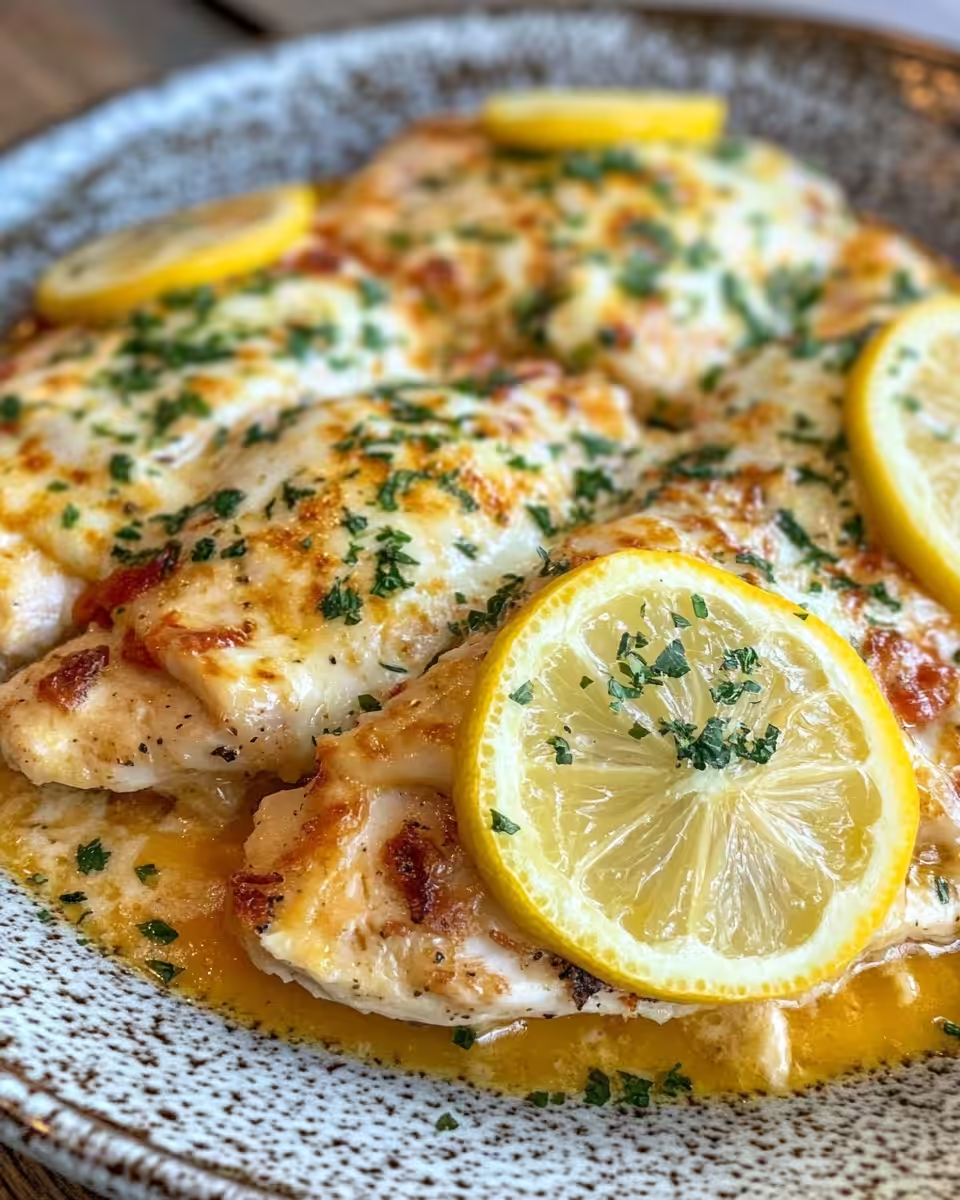
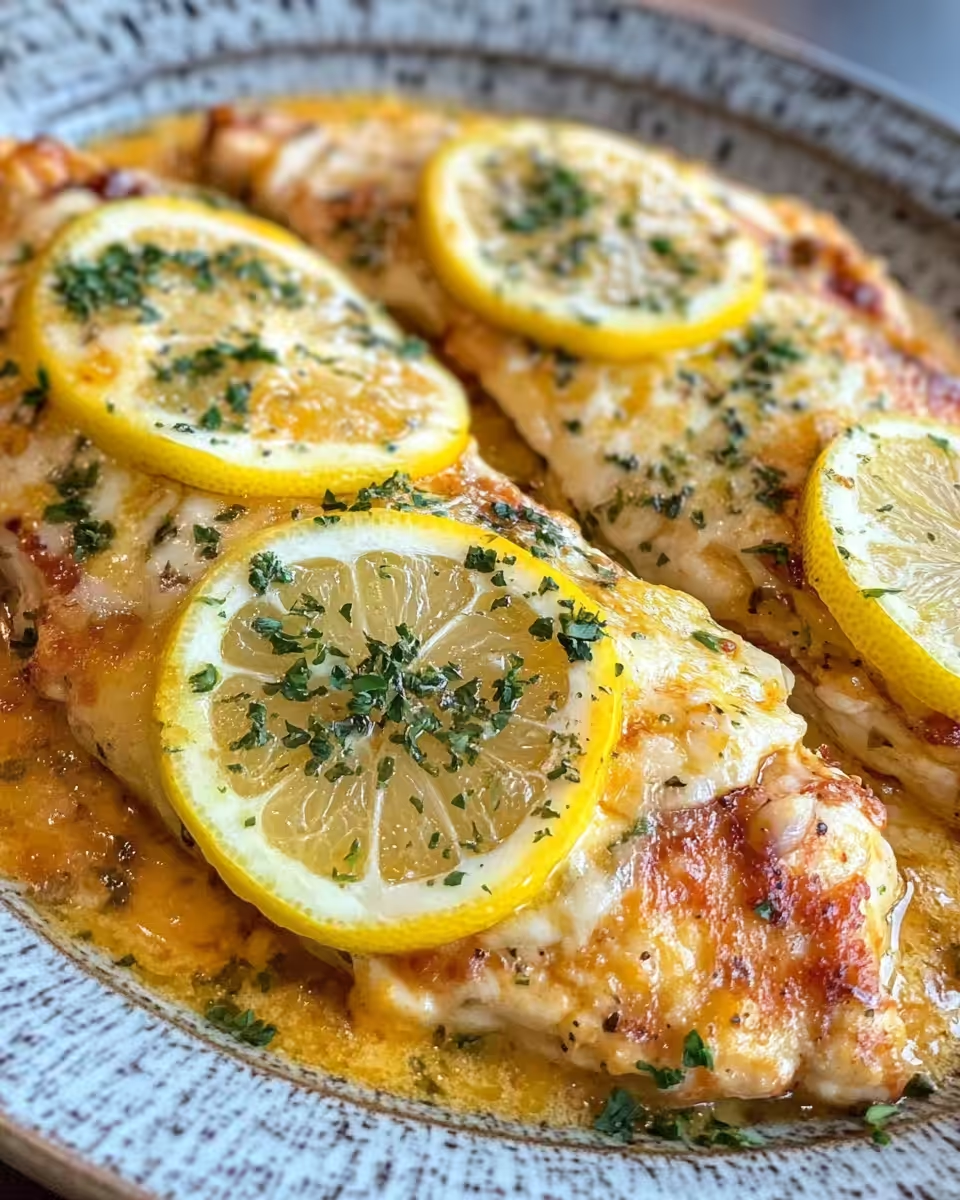
Sometimes you even forget you gotta keep an eye on the sealing ring or do that quick release so the pressure drops just right. But the payoff’s worth it. When the cooker’s done, the chicken’s juicy but crispy, with that Romano cheese crunch and zesty lemon kiss making a lovely combo you just can’t wait to dig into.
What Makes Pressure Cooking Win Every Round
- Speedy results letting you go from start to dinner plate so much faster.
- Locks in flavors keeping everything juicy and tender without drying things out.
- Energy efficient using less heat and time than your regular oven or stove.
- Minimal fuss since it’s mostly just set and wait, maybe a quick release or natural release first.
- Versatile cooking from soups and stews to breaded chicken like this, you got options!
Everything You Need Lined Up
- 4 chicken cutlets, about ½-inch thick
- Salt and freshly ground black pepper to taste
- ¼ cup all-purpose flour
- 2 large eggs
- 2 tablespoons water
- ¾ cup Italian-style panko bread crumbs
- ⅓ cup grated Romano cheese
- 2 teaspoons lemon zest
- ½ teaspoon dried oregano
- ½ teaspoon garlic powder
Make sure your sealing ring’s good, too. It’s gotta be clean to keep that pressure perfect. Grab olive oil and unsalted butter, cause you gonna need them for frying the cutlets just right. And we can’t forget shredded mozzarella cheese and fresh parsley for topping later on.
Finally, prep some lemon wedges for after. They add that fresh squeeze punch that brings the whole dish alive. You’ll wanna have everything measured and ready ahead of time so this rush hour recipe works smooth.
Your Complete Cooking Timeline
- First, season the chicken cutlets well with salt and black pepper on both sides. You want that flavor going in deep, not just on top.
- Next, set up three dishes: one for the flour, one for whisking eggs and water, and a third for mixing panko bread crumbs, Romano cheese, lemon zest, oregano, and garlic powder all together.
- Now dredge each chicken piece in flour, shaking off the extra so it’s not cakey. Dip into the egg wash, then coat with the breadcrumb mix, pressing lightly for good adhesion.
- Heat a few tablespoons olive oil in a large skillet over medium heat. Add chicken and fry till golden and cooked through, about 4-5 minutes each side. You want that crispy crust locking in juices.
- After frying, carefully transfer the chicken onto a paper towel-lined plate to soak up extra oil. This step’s gotta keep your chicken crispy, not greasy.
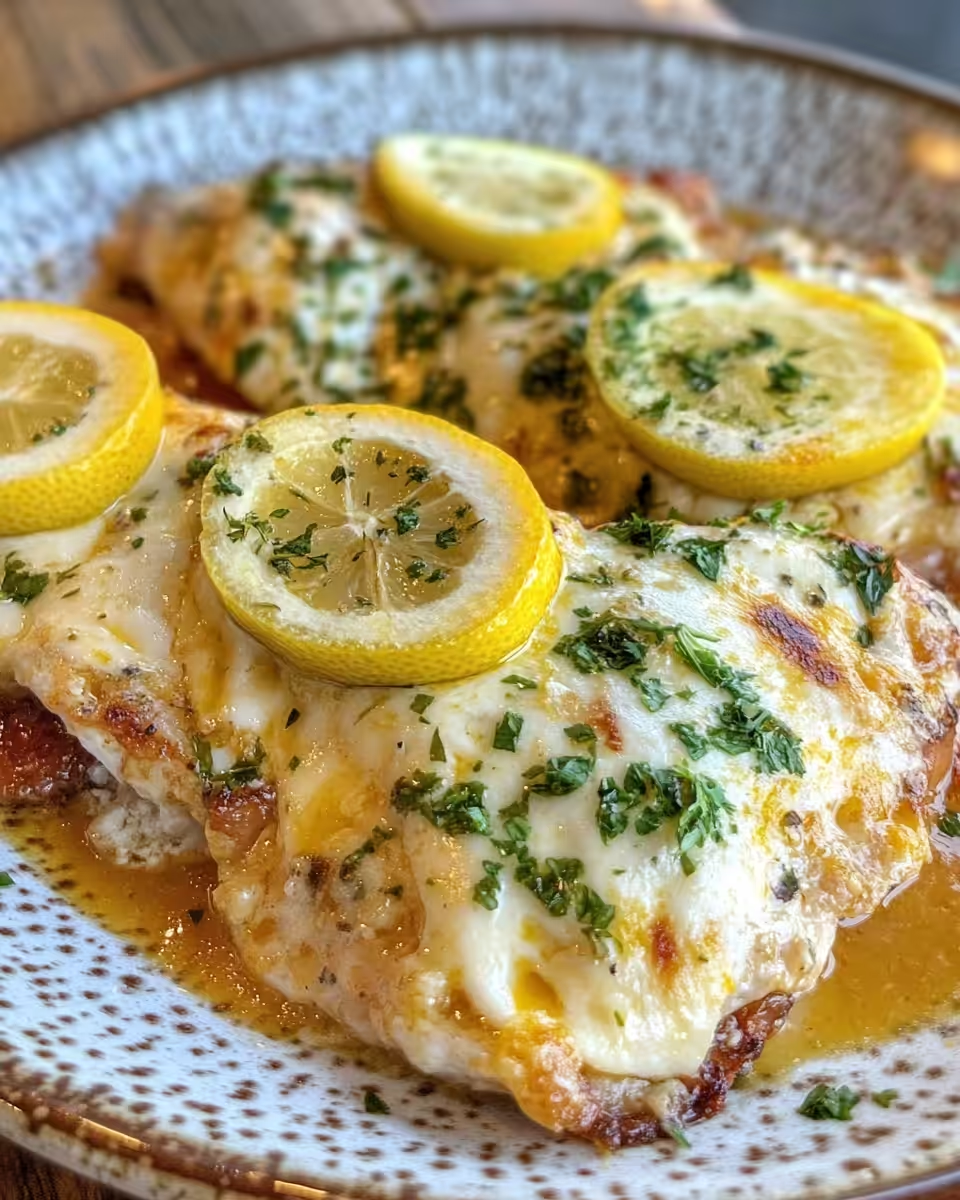
- Place chicken cutlets in your pressure cooker pot. Add the butter on top and sprinkle shredded mozzarella all over the chicken.
- Seal the lid, set to high pressure, and cook for just 3 minutes. Use quick release to drop the pressure when done so cheese stays melty but not tough. Serve hot with lemon wedges and sprinkle fresh parsley before plating.
:max_bytes(150000):strip_icc():format(webp)/8513735lemon-chicken-romanoKimscookingNow4x3-50255c0fb26f4bc1b8478bec0adb4db0.jpg)
Easy Tweaks That Make Life Simple
- If you’re short on time, buy pre-cut chicken cutlets so no slicing needed. Saves a step for sure.
- Use store-bought lemon zest in the spice aisle if you’re not feeling the fresh grating today. It’s still got that punch.
- Skip the flour step for a lighter crust but know it helps ingredients stick better to the chicken.
- Try a slow release instead of quick release if you want cheese to settle in gently rather than bubbling too much.
These little tricks make your cooking flow real smooth, especially on busy nights. You gotta do what works best in your kitchen and schedule.
That First Bite Moment
You pick up the chicken, crispy and golden brown, feeling the light crunch right under your teeth. The mozzarella’s all melty, gooey, just the way it should be. You sense the Roman cheese’s salty twang mingled with the herbs.
The lemon zest and fresh wedge add that zing giving the whole dish a bright wake-up call. You spot that golden crust sealed in all the juices making every bite tender and juicy.
The garlic powder and oregano sneak in, not too pushy, but like a comfy hug of flavor wrapping the chicken just right. It’s kinda like a perfect balance between crispy crust and soft interior.
You sit back, sauce-less and savoring the layered textures and tastes. You know this dish works great for tossing on plates fast, impressing folks with how fresh and done right it feels.
How to Store This for Later
- Fridge: Cool your leftovers quickly and put in airtight containers. Keeps good for up to 3 days. Reheat gentle with a splash of broth for moisture so it’s not dried out.
- Freezer: Wrap portions tightly with plastic wrap then foil. Freeze up to 2 months. Thaw overnight in fridge before reheating to keep that fresh bite.
- Reheat on stove: Use a skillet with a bit of oil or butter over medium heat. Works better than microwave for maintaining crust crispness without drying.
- Microwave: If you gotta, microwave with a damp paper towel over the chicken to keep moisture in. Heat in short bursts and check often to avoid rubbery texture.
Storing this right keeps your busy weeks smoother since you can have a great dinner ready anytime without fuss. Just remember quick or natural release after heating if you warm up in your pressure cooker again.
What People Always Ask Me
- Can I use chicken breasts instead? Absolutely. Trim and pound ’em evenly so they cook through in the same time.
- What’s best way to get that crispy coating? Fry in hot oil first before the pressure cooking step. Don’t skip that part!
- Could I skip the Romano cheese? You could, but that cheese adds a great sharp salty flavor that yeah, you’re gonna notice big time missing.
- How do I do quick release safely? Use a long utensil or a glove and keep your hands away from steam jets. Press the valve carefully until the hissing stops.
- Can I add veggies? Sure, just put quick-cooking ones like peas or spinach on top before sealing lid. They’ll steam just right during pressure cooking.
- Is natural release better than quick release? It depends. Natural release lets juices settle but takes longer. Quick release’s great when you want to keep cheese melty and fresh.

Lemon Chicken Romano Pressure Cooker Recipe
Equipment
- 1 Mixing bowl for breading setup
- 1 Large skillet for frying
- 1 Pressure cooker
Ingredients
Main Ingredients
- 4 chicken cutlets about ½-inch thick
- Salt and freshly ground black pepper to taste
- ¼ cup all-purpose flour
- 2 large eggs
- 2 tablespoons water
- ¾ cup Italian-style panko bread crumbs
- ⅓ cup grated Romano cheese
- 2 teaspoons lemon zest
- ½ teaspoon dried oregano
- ½ teaspoon garlic powder
- olive oil for frying
- unsalted butter for pressure cooker
- shredded mozzarella cheese for topping
- fresh parsley for garnish
- lemon wedges for serving
Instructions
Instructions
- Season chicken cutlets with salt and pepper on both sides.
- Set up three dishes for flour, egg-water mixture, and breadcrumb-cheese-lemon zest-spices mix.
- Dredge chicken in flour, dip in egg wash, then coat in breadcrumb mixture.
- Fry chicken in olive oil over medium heat until golden and cooked through, 4–5 minutes per side.
- Transfer to paper towels, then place in pressure cooker. Add butter, top with mozzarella, seal, cook on high pressure for 3 minutes. Quick release and serve with lemon wedges and parsley.


Leave a Reply