
Steam curls up from the valve and your stomach starts talking back. You know that feeling when the sealing ring sets in place and the valve hiss lets out its little warning? That�27s when you realize this Honey Butter Cornbread is gonna be something special. The kitchen buzzes just a bit, filling up with that warm, buttery-sweet scent you just gotta have.
�27It�27s not just the smell though. You sense the pressure cooker working its charm with this little brothy depth beneath the cornbread batter, keeping everything moist and perfect. You watch for those steam cues to know the timing is right �2D soon you�27ll be slicing into soft golden bites.
As the timer counts down, you remember that feeling of the buttery honey brushing the top after it�27s done, still gleaming from the heat. That�27s the part that gets you every time, that shiny, sticky top that melts right on your tongue. It's dang satisfying to see it come together this way, so fast but so good.
The Real Reasons You Will Love This Method
- You get moist cornbread every single time without drying out or burning on the edges.
- Using the pressure cooker means you don�27t gotta babysit your cornbread; it�27s mostly hands-off.
- The steam cues and valve hiss give you a cue that the cooking is perfect �2D no guessing.
- The quick release lets you get to that buttery top faster, so you enjoy the freshest cornbread possible.
- The broth depth at the bottom keeps the environment just right for soft crumbs and sweet honey flavor.
Your Simple Ingredient Checklist
- ½ cup (1 stick) butter, melted �2D gotta have that butter ready to go.
- ⅔ cup granulated sugar �2D for that sweet base you�27re craving.
- 2 tablespoons honey �2D adds that lovely golden sweetness.
- 2 large eggs �2D these give your cornbread the perfect fluff.
- 1 ¼ cups buttermilk, shaken well �2D keeps everything tender.
- 1 cup yellow cornmeal �2D the star of the show, for that classic cornbread texture.
- 1 cup all-purpose flour �2D helps hold it all together nicely.
- ½ teaspoon baking soda �2D this makes sure it�27s nice and light.
- ¼ teaspoon kosher salt �2D never forget the salt, it brings out all the flavors.
- ¼ cup butter, melted plus 2 tablespoons honey �2D for that final glossy brush on top.
The Exact Process From Start to Finish
Step one, start by greasing your muffin tin or lining it with paper liners. You want each cornbread muffin to pop out easily later.
Next, in a big bowl, whisk together your melted butter, sugar, and honey until it�27s smooth and kinda shiny. This step gets that sweet base right.
Then add in the eggs and buttermilk. Whisk again until you don�27t see any streaks and it�27s all combined nice.
In a separate bowl, stir together cornmeal, flour, baking soda, and salt. Mixing the dry stuff separately keeps your batter lump-free.
Now slowly add those dry ingredients to your wet mixture. Stir just until everything comes together�2D you don�27t wanna overmix or the bread gets tough.
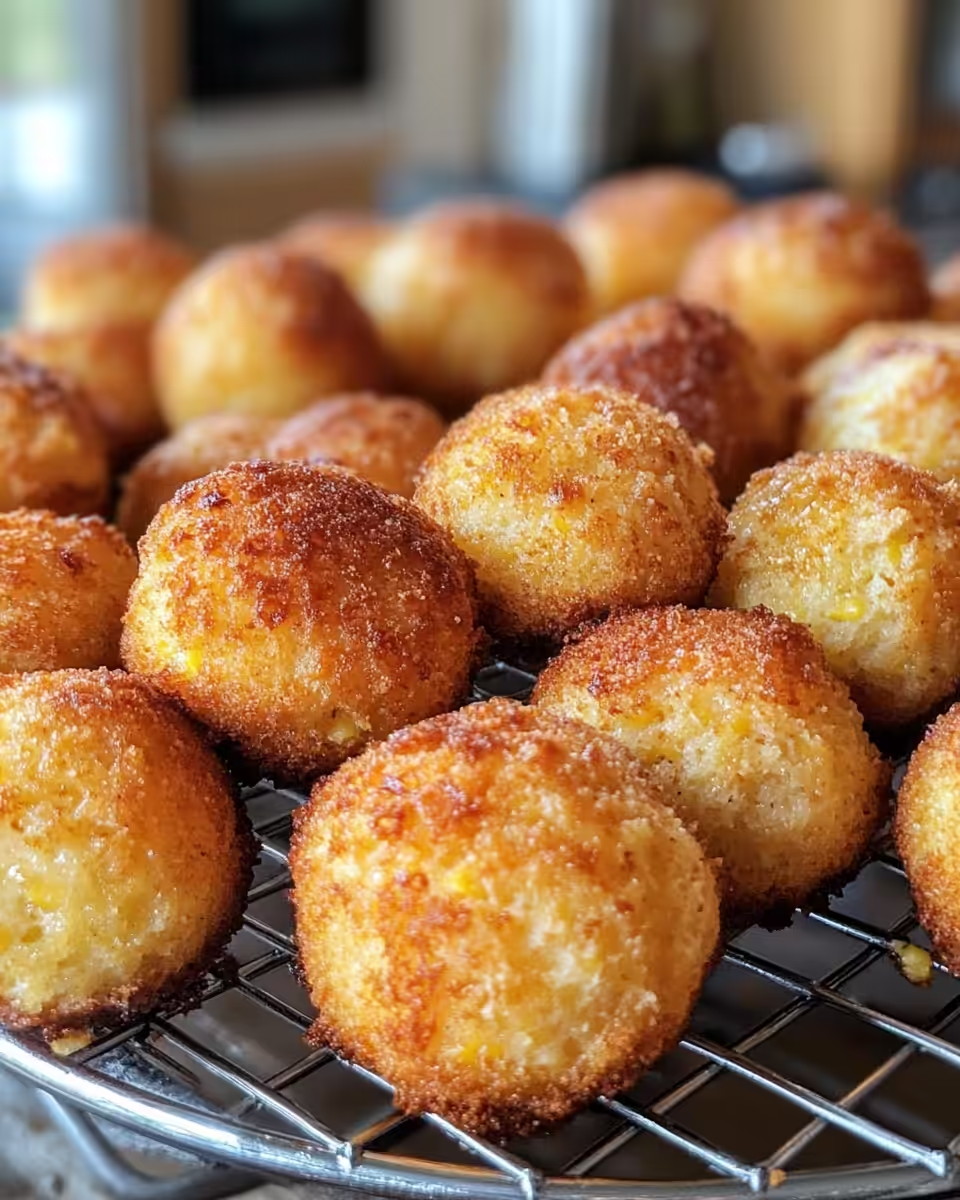
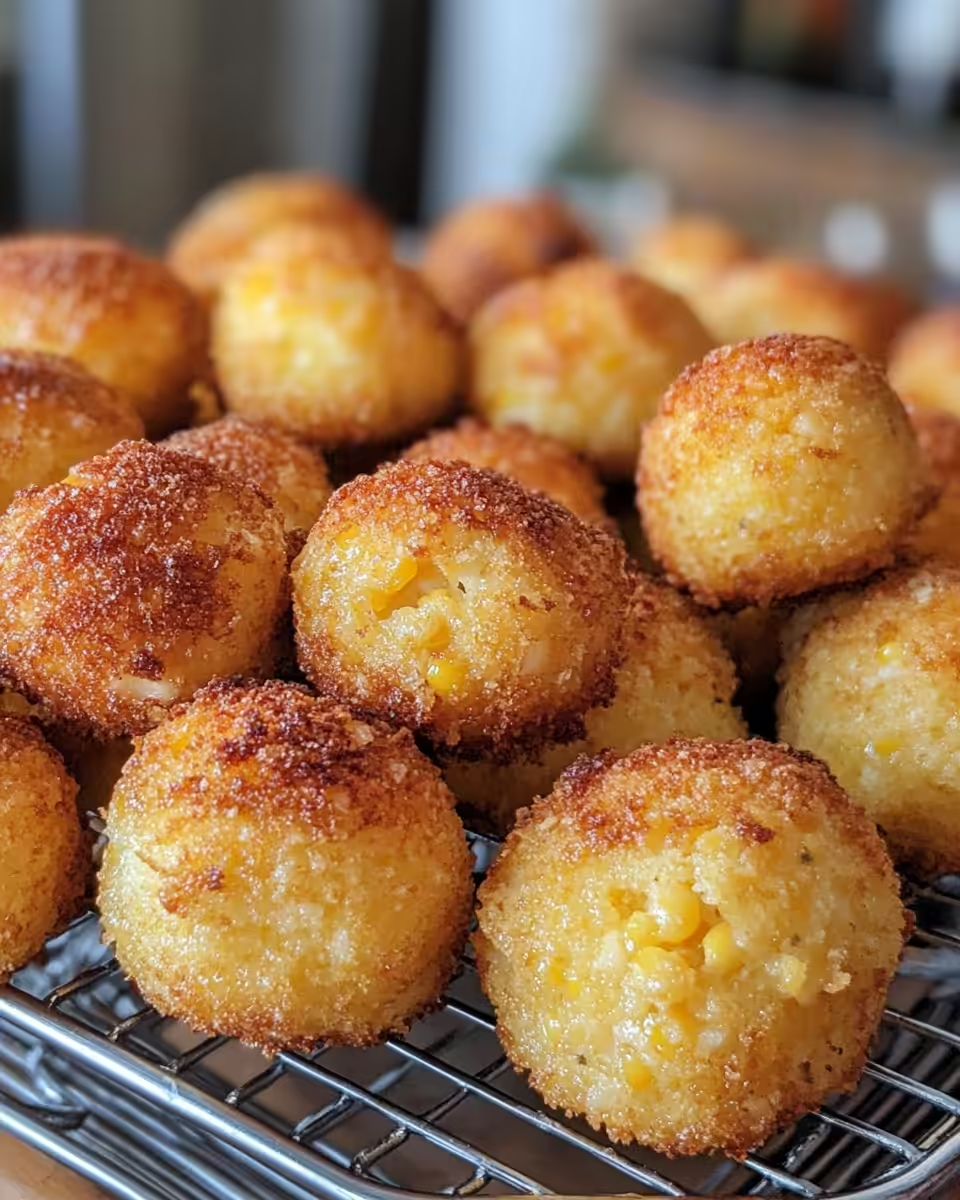
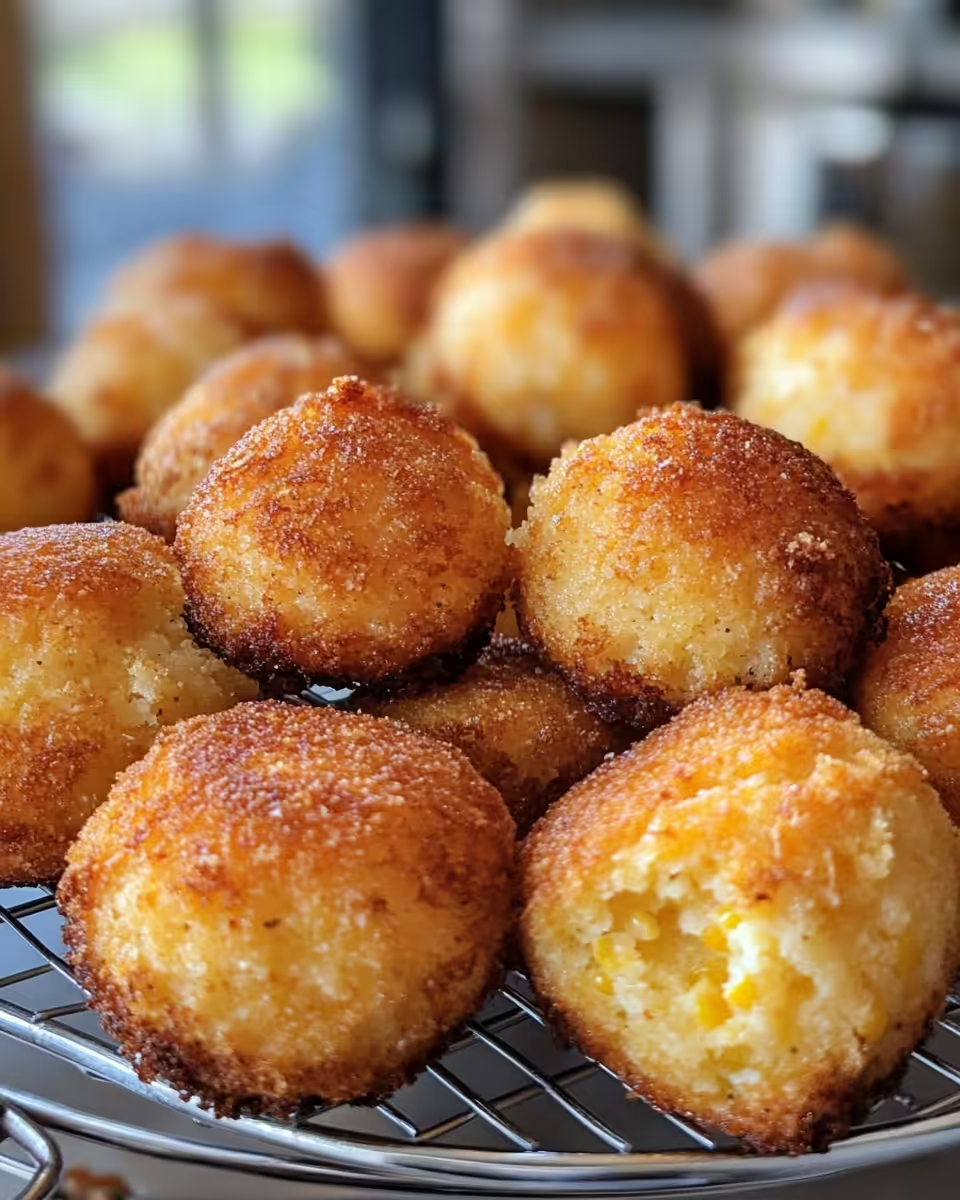
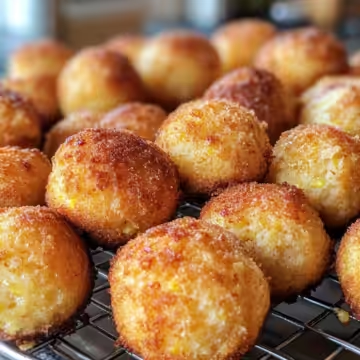
Spoon the batter evenly into your muffin tin, filling each cup about three-quarters full. This way, they bake up just right without spilling over.
Bake your cornbread muffins at 350 degrees F for about 15 to 18 minutes, until golden and a toothpick anywhere in the center comes out clean. Once out of the oven, brush each top immediately with the melted butter and honey combo for that sticky shiny finish. Let them cool a bit before you dig in.
Time Savers That Actually Work
Keep your butter melted ahead of time and stored in a glass measuring cup. This way, you just pour it right into the batter when it�27s time.
Shake your buttermilk before you start measuring. It mixes any settled bits, so you don�27t get weird clumps in the batter that slow things down.
If you�27re short on time, measure out your dry ingredients the night before and store in an airtight container. It�27s a dang easy trick to speed up morning prep, no extra brainpower needed.
The Flavor Experience Waiting for You
First bite hits your senses with the tender crumb giving way under your teeth. The cornmeal lends just enough grit with a sweet buttery backdrop that feels so comforting.
That honey butter brush on top caramelizes a bit in the oven, creating this shiny sweet crust that melts perfectly with every warm bite. It's that kinda sweet that feels cozy and homey, not over the top.
You sense the subtle tang from the buttermilk underneath, adding a tiny kick that keeps this cornbread from feeling too heavy or dull. It�27s balanced, soft, and dang satisfying.
Your Leftover Strategy Guide
If you got extras, wrap each muffin tightly in plastic wrap or foil to keep 'em fresh. You can stash these in the fridge for up to 3 days and still get great flavor.
For longer storage, pop them in a freezer bag with some parchment to prevent sticking. They last about a month frozen and thaw quick when you wanna snack.
Reheat leftovers by wrapping in wet paper towels and microwaving for 20-30 seconds, or pop them in a toaster oven for a crispy edge.
You might also crumble leftover cornbread up and use it for a topping on a sweet breakfast casserole or skillet dish. It�27s a great way to avoid waste and enjoy those flavors again.
The FAQ Section You Actually Need
Q1: Can I use regular milk instead of buttermilk? You can, but buttermilk gives it that nice tang and helps the texture be softer. If you don�27t have buttermilk, add a teaspoon of vinegar or lemon juice to regular milk and let it sit for 5 minutes before using.
Q2: Does the pressure cooker affect the crust? When you bake cornbread in a pressure cooker, the steam keeps it moist, so it won�27t get a super crispy crust like in an oven. But brushing with honey butter at the end helps add a nice, sticky top.
Q3: What�27s broth depth and why does it matter? Broth depth refers to how much liquid you put at the bottom of the pressure cooker. It�27s important because it creates the steam needed to cook the cornbread perfectly without drying it out.
Q4: How do I know when to quick release the pressure cooker? After your cooking time is up, quick release pressure right away using the valve. This stops the cooking fast and helps keep your cornbread moist and tender.
Q5: Can I make this recipe gluten-free? You�27d need to swap the all-purpose flour for a gluten-free blend. Keep the cornmeal and other ingredients the same, but keep an eye on texture because gluten-free flours act different.
Q6: My cornbread came out dense. How do I fix this? Make sure not to overmix the batter and check your baking soda for freshness. Also, keep the sealing ring tight so the pressure and steam do their thing right.
Honey Butter Cornbread Recipe for Your Pressure Cooker
Equipment
- 1 Square baking dish 8x8 inches
- 2 Mixing bowls separate wet and dry
- 1 Whisk
Ingredients
Main ingredients
- ½ cup Butter melted, 1 stick
- ⅔ cup Granulated sugar
- 2 tablespoons Honey
- 2 Large eggs
- 1 ¼ cups Buttermilk shaken well
- 1 cup Yellow cornmeal
- 1 cup All-purpose flour
- ½ teaspoon Baking soda
- ¼ teaspoon Kosher salt
- ¼ cup Butter melted for topping
- 2 tablespoons Honey for topping
Instructions
Instructions
- Preheat your oven to 350 degrees F. Lightly grease a square baking dish (about 8x8 inches).
- In a medium bowl, stir butter, sugar and honey together. Whisk in eggs one at a time. Whisk in buttermilk until smooth.
- In a separate bowl, combine cornmeal, flour, salt and baking soda.
- Add dry ingredients into the wet mixture and stir just until combined — do not over-mix.
- Pour batter into the prepared baking dish.
- Bake for 45-50 minutes or until a toothpick inserted into the center comes out clean.
- Meanwhile, mix ¼ cup melted butter and 2 tablespoons honey.
- Poke top of cornbread with a fork and drizzle the honey butter all over.
- Let sit for 5 minutes before slicing and serving warm.
Leave a Reply