
The pot lid rattles and you know dinner is almost ready. That little valve hiss lets you catch the sound of things cooking just right inside. You spot the steam trying to sneak out but the sealing ring holds it in tight, keeping all those good flavors locked into the broth depth of your dish.
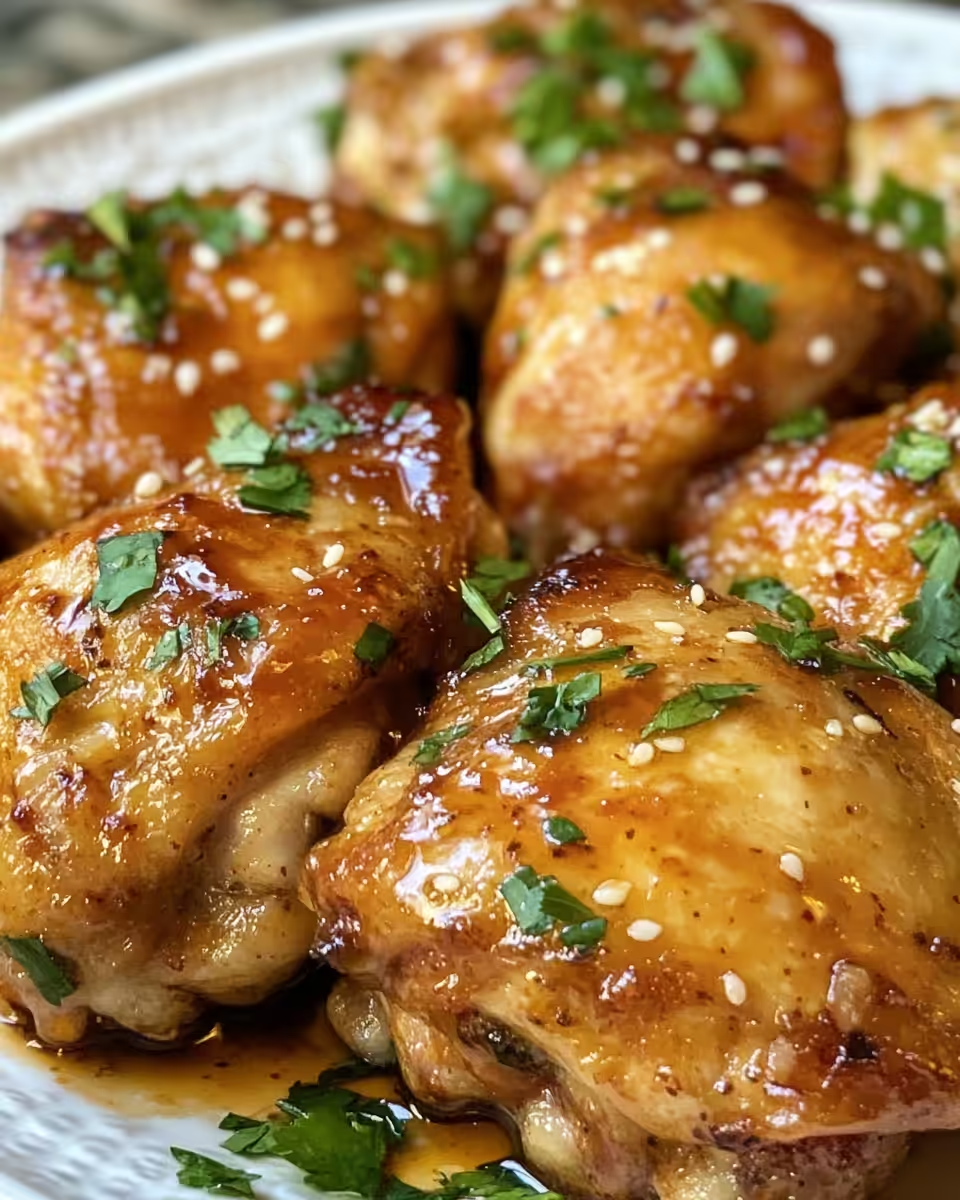
Sticky Thai Chicken’s not just a recipe its a whole vibe. You got tender chicken thighs soaking up this spicy sweet mix that sticks to the bone. The kind of meal that makes you wanna lick the plate even if you know you shouldn’t.
By the time the pressure cooker does its thing and signals natural release you’re halfway to dinner bliss. The kitchen smells kinda incredible and you recall why pressure cooking is your go-to for busy weeknights. You just gotta be ready to dive in.
What Makes Pressure Cooking Win Every Round
- It cuts cooking time down like crazy meaning dinner’s faster on the table.
- Flavor locks in deep by trapping steam and broth depth for fuller taste.
- Natural release lets food finish gently so it stays juicy and tender.
- The sealing ring keeps pressure where it belongs stopping flavor escape.
- Valve hiss signals when it’s time to pay attention so nothing burns or drys out.
- It’s hands off mostly which means you can chill while dinner cooks.
Everything You Need Lined Up
- 8 chicken thighs bone in skin on these guys give you max flavor with juicy tender meat.
- 1 teaspoon red pepper flakes for that gentle kick of heat that sticks.
- ¼ cup brown sugar to bring sweetness and stickiness.
- ¼ cup fish sauce for umami that hits deep.
- ¼ cup soy sauce adds salty balance and color.
- 1 tablespoon grated ginger for zing and warmth.
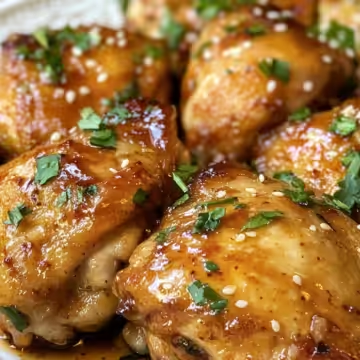
- ¼ cup fresh cilantro chopped for garnish and fresh bite.
- Cooking spray optional if you want that skin crisped up.
- Salt and pepper just enough to season and layer flavors.
- Optional extras you might wanna have but not needed: garlic or lime for tweaks.
The Exact Process From Start to Finish
Step 1 You gotta start by seasoning those chicken thighs well with salt and pepper. Don’t be shy here cause that’s base flavor.
Step 2 In a small bowl whisk together brown sugar fish sauce soy sauce ginger and red pepper flakes till it's a sticky sweet glaze.
Step 3 Place the thighs in your pressure cooker pot then pour that sauce over making sure everything's coated good.
Step 4 Give the pot lid a good seal checking the sealing ring and set your valve to sealing position to trap all the broth depth.
Step 5 Set cooking time to about 15 minutes and wait for the valve hiss to stop as pressure builds.
Step 6 When timer’s up let the pressure do a natural release for about 10 minutes so chicken stays moist and tender.
Step 7 Quick slow release the last bit if needed then carefully open the lid.
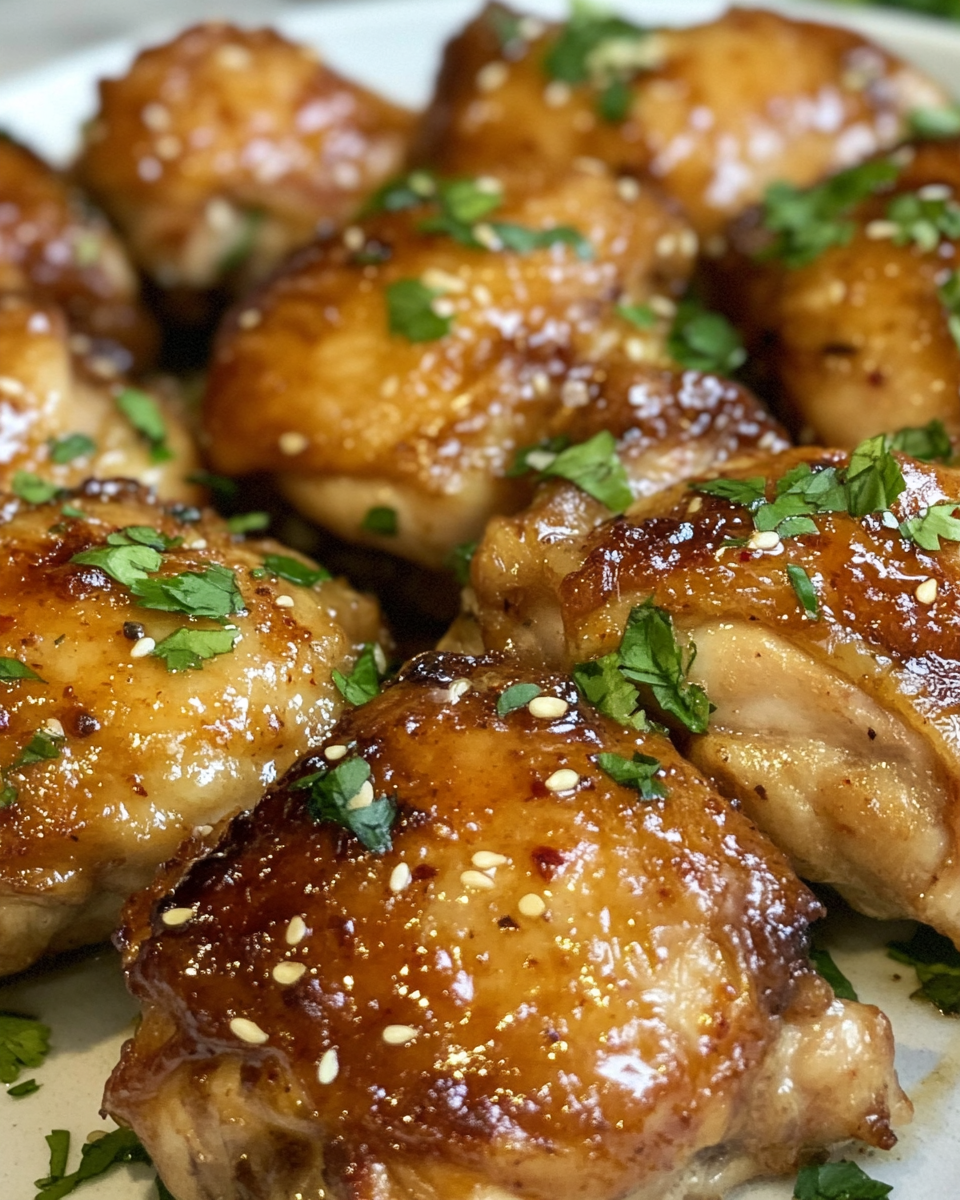
Step 8 If you want crisp skin, pop the thighs under the broiler for a quick 3-5 minutes while watching close. Garnish with cilantro and you’re good to go.
Easy Tweaks That Make Life Simple
- Skip measuring by using a pre-made Thai stir fry sauce that matches close. Cuts prep time quick.
- Instead of fresh ginger, use powdered stuff but add a little more cause fresh is stronger.
- If you ain't got a broiler just let the skin crisp up in a hot pan sprayed with cooking spray after pressure cooking.
The Flavor Experience Waiting for You
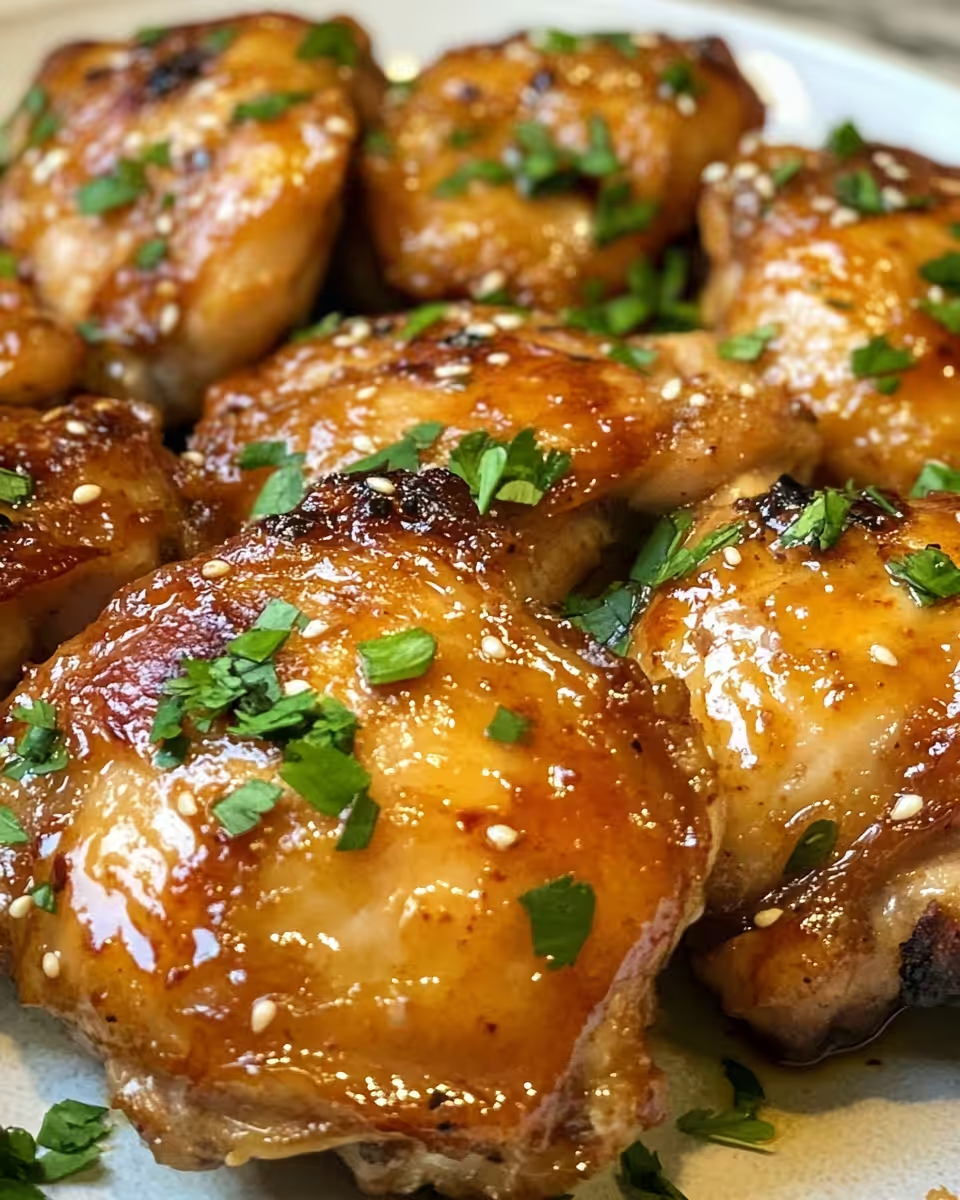
This Sticky Thai Chicken hits your taste buds with a sweet and spicy punch right off the bat. The brown sugar melts into the fish and soy sauce creating that perfect balance that'll keep you lickin your fingers.
The heat from the red pepper flakes creeps up slow but stays steady bringing that kind of warmth you want on a cool night. Ginger adds a fresh zest that brightens the whole dish up so it’s never one note.
Finishing with cilantro turns it fresh and kinda herbal so each bite feels alive. You recall those depths of broth depth locking all that flavor inside every tender piece of chicken making each forkful feel like a tiny celebration.
Making It Last All Week Long
Store leftover chicken in airtight containers that keep the flavor locked in but let it chill in the fridge for up to 4 days. It keeps getting better if you reheat it gently.
Got a freezer? Lay the chicken flat in a shallow container or freezer bag. It keeps well frozen for about 2 months and still tastes great when thawed slow overnight in the fridge.
To reheat use your stove on medium low or your pressure cooker on saute mode to warm evenly. Avoid nuking in microwave too long or it might dry out.
Use the leftover sauce as a drizzle for rice or steamed veggies. You’ll catch that sticky sweet tang that brings the meal back to life.
Everything Else You Wondered About
- Q What if my pressure cooker doesn’t have a broiler setting?
A No worries heck you can finish skin crisping in a hot pan sprayed with cooking spray real quick. - Q Can I use boneless chicken thighs?
A You sure can but be ready for a slight difference in cook time—reduce by a few minutes so they don’t dry out. - Q What’s broth depth mean exactly?
A It’s how much liquid you got inside the pot that’s steaming everything. It’s key to flavor and proper pressure cooking. - Q How do I know when to do natural release?
A Right after cooking time ends just let the pressure lower on its own for about 10 minutes. It keeps the chicken juicy. - Q Can this recipe be doubled?
A Yep you gotta make sure not to overfill and keep pressure cooker’s max fill line in mind. - Q Do I gotta use a sealing ring every time?
A Yes it’s super important for holding pressure tight and trapping all those flavors inside.
Sticky Thai Chicken in Your Pressure Cooker
Equipment
- 1 Pressure Cooker for cooking chicken
Ingredients
Main Ingredients
- 8 chicken thighs bone-in, skin-on
- 1 teaspoon red pepper flakes
- ¼ cup brown sugar
- ¼ cup fish sauce
- ¼ cup soy sauce
- 1 tablespoon grated ginger
- ¼ cup fresh cilantro chopped, for garnish
- Cooking spray optional, if crisping skin
- Salt and pepper to taste
Instructions
Instructions
- Season chicken thighs with salt and pepper generously.
- In a bowl, whisk together brown sugar, fish sauce, soy sauce, ginger, and red pepper flakes to form glaze.
- Place chicken in pressure cooker and pour glaze over, coating well.
- Seal the lid, ensuring the sealing ring is in place, and set the valve to sealing.
- Cook on high pressure for 15 minutes.
- Allow natural pressure release for 10 minutes after cooking ends.
- Perform quick release if any pressure remains and open the lid carefully.
- Optional: To crisp the skin, broil chicken for 3–5 minutes. Garnish with chopped cilantro and serve.


Leave a Reply