
Steam curls up from the valve and your stomach starts talking back. It’s like a little conversation between you and your kitchen. You catch that warm smell of garlic mingling with cheese and cooked chicken giving you a nudge you just can't ignore.
You spot the float valve pop, and you know things are cookin’ just right. The broth depth inside the pot kinda smells like everything you want for dinner. It’s dang cozy and inviting all at once.
You feel that pressure cooker does the heavy lifting, so you don’t have to sweat it. The quick release gets this ready fast but still juicy. You’re about to dive into cheddar and garlic heaven wrapped in a warm tortilla.
The Real Reasons You Will Love This Method
- Pressure cooking locks in all those rich flavors so every bite is juicy and cheesy delicious.
- You don’t gotta stand over the stove; it’s mostly hands-off cooking.
- The quick release lets you eat faster, no waiting around forever with the slow release.
- Using the natural release gives the chicken extra tenderness worth savoring.
- The float valve shows you exactly when the pressure’s perfect, no guesswork.
- You get consistent results every single time because the pressure cooker keeps things exact.
- This method is perfect for busy days when you still want something homemade and satisfying.
The Complete Shopping Rundown
- Cooked chicken, shredded - you want about 2 cups. If you got leftovers, even better.
- Cheddar cheese, shredded – 1 cup packed with gooey goodness.
- Garlic cloves, 2 minced for that punchy garlicky vibe.
- Sour cream, half a cup to keep things creamy and tangy.
- Fresh parsley, chopped, about a quarter cup for some fresh green flair.
- Garlic powder, half a teaspoon helps boost the garlic flavor without overpowering.
- Salt and pepper to your taste, gotta season just right.
- Flour tortillas, big ones – 4 to wrap that melty chicken cheese combo up snug.
- Olive oil, a tablespoon to get your skillet golden and crisp on the outside of your wraps.
Walking Through Every Single Move
Start by mixing your shredded chicken with the cheddar cheese. Then add minced garlic, sour cream, parsley, garlic powder, salt, and pepper. Stir it all together so the flavor mixes real good.
Lay out your flour tortillas nice and flat on the counter. Spoon that chicken mixture evenly across each one, try not to overstuff or you’ll have a mess on your hands.
Now roll up each tortilla tight to enclose all the filling inside. The tighter the roll, the better it holds up while cooking.
Heat your olive oil in a large skillet over medium heat. You want the pan hot but not smoking, so your wraps get crispy golden crusts.
Place the wraps seam side down in the skillet. Cook them about 3 or 4 minutes on each side until they’re golden brown and the cheese inside is melty. You might gotta flip carefully so nothing spills.
Once done, pull the wraps off the heat. Let them cool a bit for finger-friendly eating before you slice or bite in. You’re ready to serve comfort wrapped tight in tasty goodness.
Smart Shortcuts for Busy Days
You can skip shredding fresh chicken by grabbing pre-cooked rotisserie chicken. It’s already tender and juicy, making your life easier.
Buy pre-shredded cheese if you wanna save time on the prep. Less mess and faster mixing, dang convenient.
If you got a garlic press, use it! Minced garlic comes out super quick and releases that garlic flavor way better than chopping by hand.
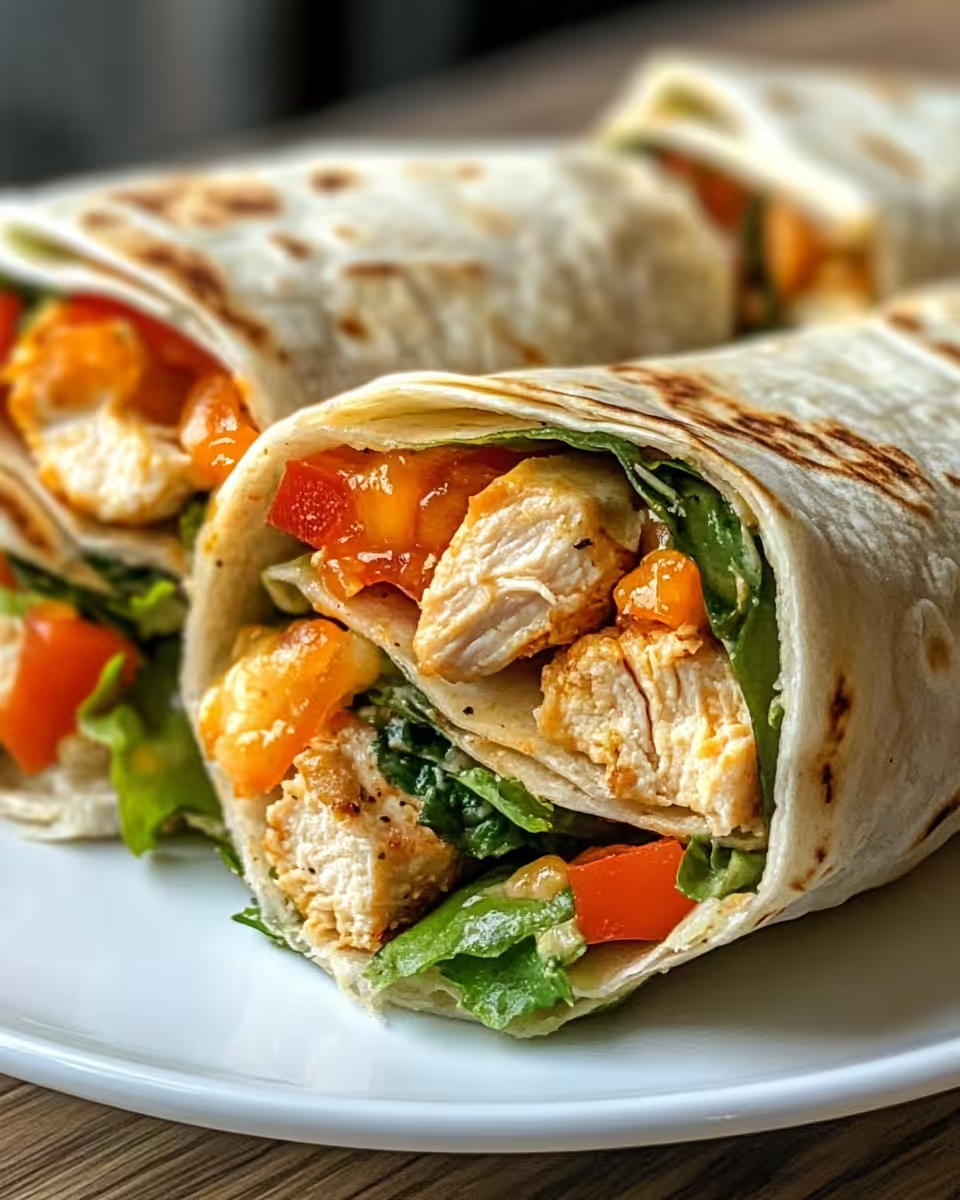
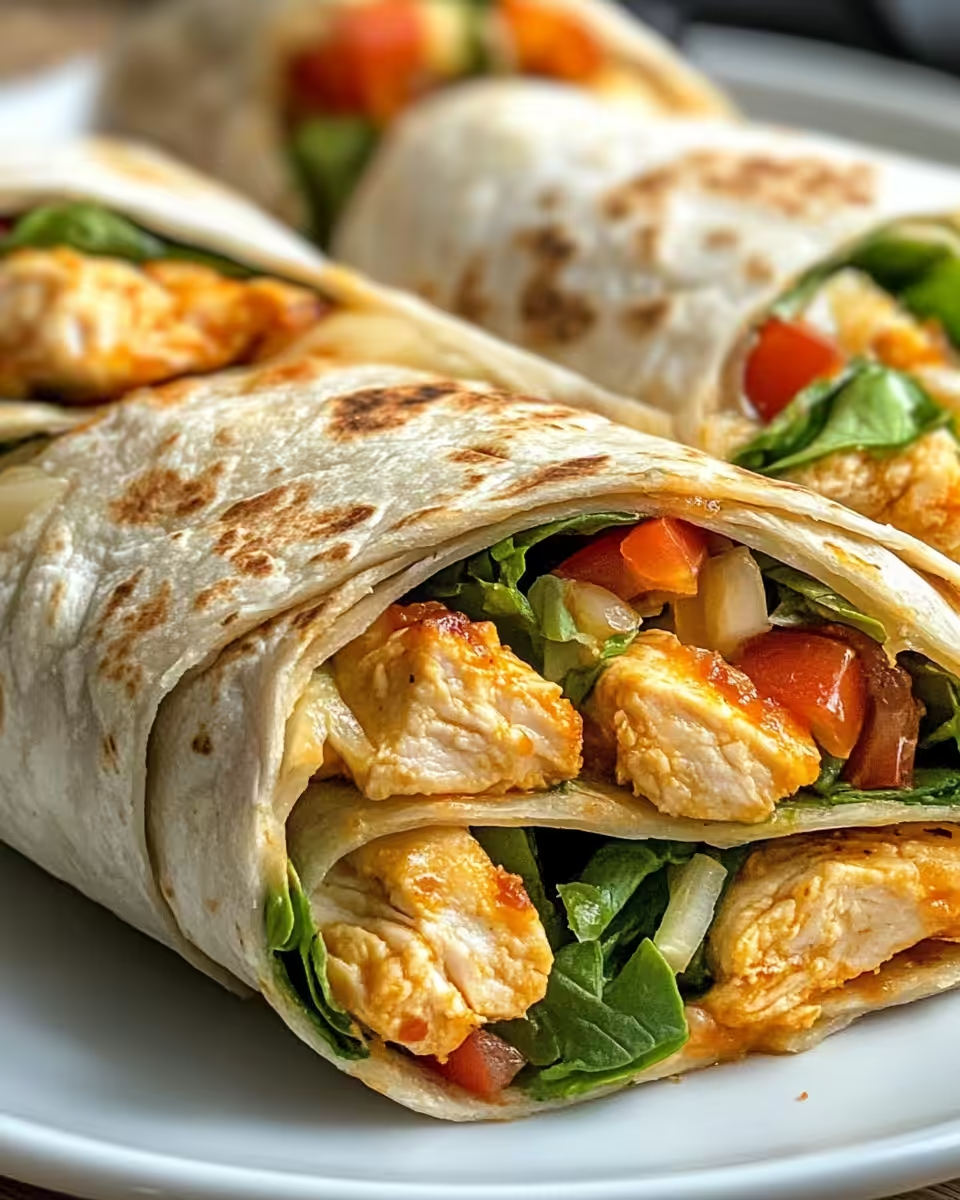
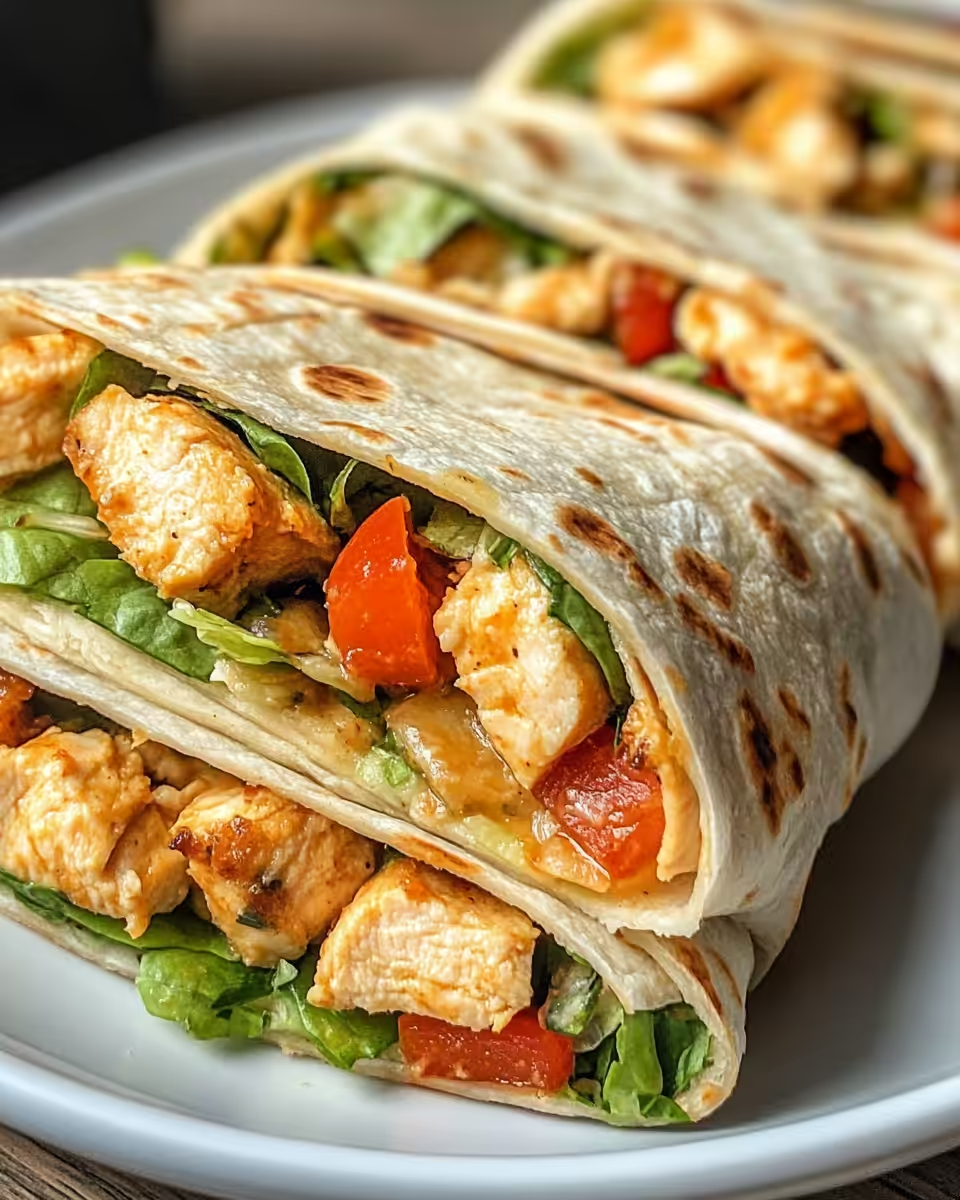
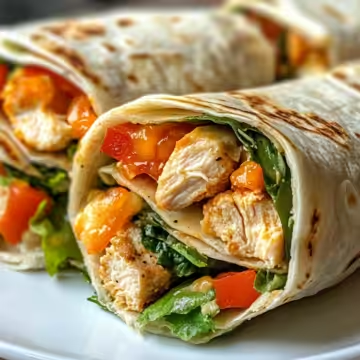
The Flavor Experience Waiting for You
Every bite hits you with sharp cheddar melted perfectly around tender chicken pieces. It’s cheesy, but not too overwhelming.
The garlic blends right in like a warm hug for your taste buds. You catch little bursts of fresh parsley keeping it fresh and bright.
The sour cream adds a creamy tang that balances out the savory richness. You kinda wanna savor every bite to soak up all those tastes.
On the outside, the wrap crisps up golden and flaky, making it so satisfying to bite through. That crunchy feel pairs real good with the melty filling inside.
Keeping Leftovers Fresh and Ready
Wrap your leftovers tight in foil or plastic wrap to keep them from drying out. Store in the fridge for up to 3 days.
You can also place them in airtight containers. This works especially good if you plan to reheat individual wraps.
Reheat in a skillet over medium heat to get that outside crispy again. Avoid the microwave if you want the wrap’s crunch back.
If you gotta store them longer, freeze the wrapped and sealed wraps in freezer bags. Thaw overnight then crisp them again in a skillet when ready to eat.
The FAQ Section You Actually Need
- Can I use frozen chicken? Yeah, just thaw it before mixing so the cheese melts proper and everything cooks even.
- Is it okay to add other cheeses? Sure thing! Mozzarella or Monterey Jack will work fine and change the flavor up a bit.
- Can I make these wraps ahead and freeze them? Yup, wrap 'em and freeze just like leftovers. Cook right from frozen in your skillet but cook a bit longer.
- What kinda side goes best with these wraps? A fresh green salad or some roasted veggies balance the richness real good.
- How do I know when to use quick release vs natural release? Quick release works for quick meals like this. Natural release is better if you want extra tender chicken for other recipes.
- Can I swap flour tortillas for corn tortillas? You can but they’re less flexible and might crack rolling. Warm 'em up real good before filling.
Recipe Cheesy Garlic Chicken Wraps
Equipment
- 1 Skillet large
Ingredients
Main ingredients
- 2 cups Cooked chicken shredded
- 1 cup Cheddar cheese shredded
- 2 Garlic cloves minced
- 0.5 cup Sour cream
- 0.25 cup Fresh parsley chopped
- 0.5 teaspoon Garlic powder
- Salt and pepper to taste
- 4 Flour tortillas large
- 1 tablespoon Olive oil
Instructions
Instructions
- Mix chicken, cheddar, garlic, sour cream, parsley, garlic powder, salt, and pepper together well.
- Lay tortillas flat and evenly distribute chicken mixture across each one.
- Roll each tortilla tightly to hold in the filling.
- Heat olive oil in a skillet over medium heat until hot but not smoking.
- Cook wraps seam side down for 3–4 minutes per side until golden brown and cheese is melted.
- Remove from skillet, let cool slightly, then serve warm.

Leave a Reply