
The pressure builds and you start counting down minutes until you eat. It’s kinda exciting when y’all crank that pressure cooker on and hear the steam cues beginning. The sealing ring does its work real good, trapping in all those flavors as the farls start to take shape inside.
You notice the kitchen filling with this comforting smell of cooked potatoes mixed with butter. It’s like a little nudge reminding you that somethin’ good is just moments away. The timer ticks down then you peek under the lid just at the tender pull moment.
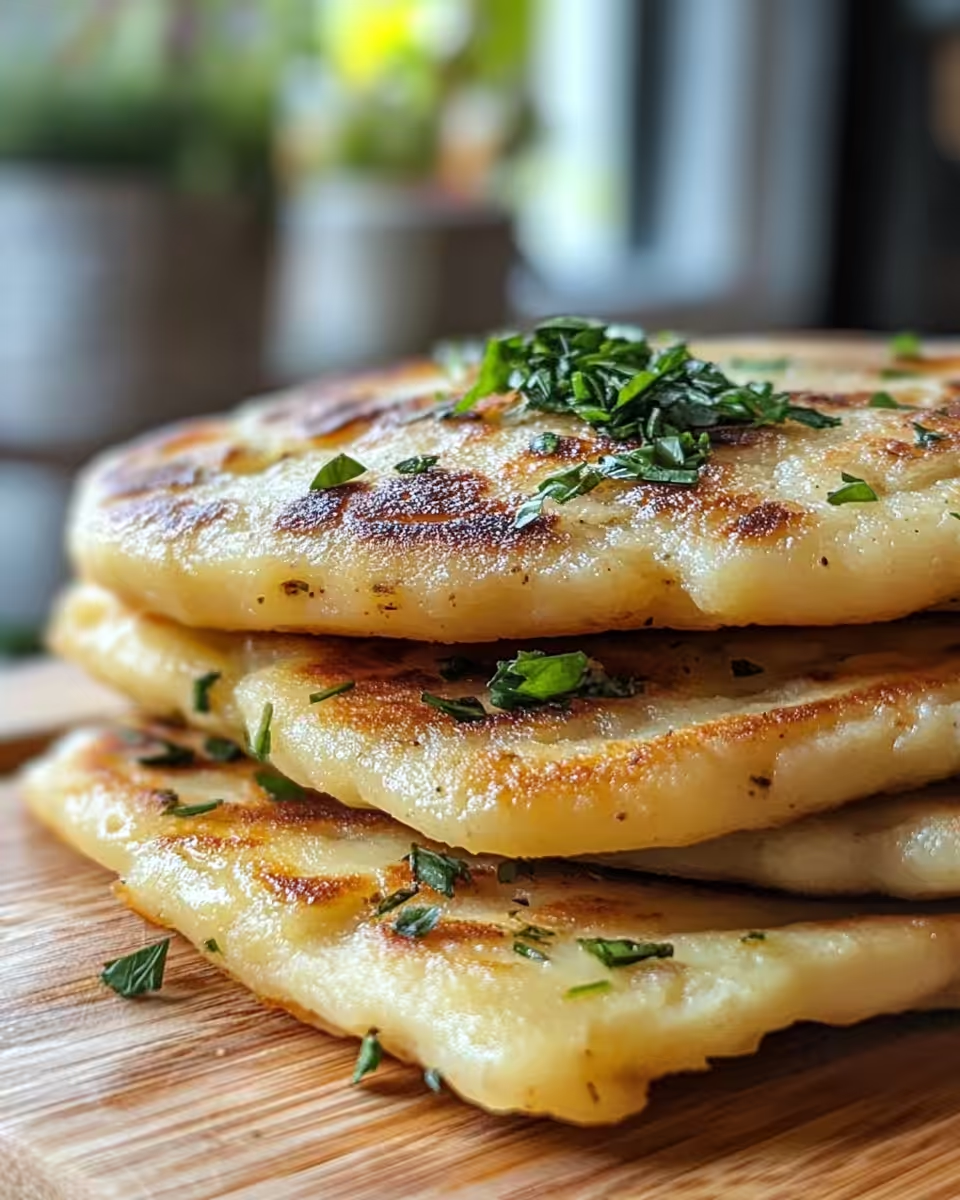
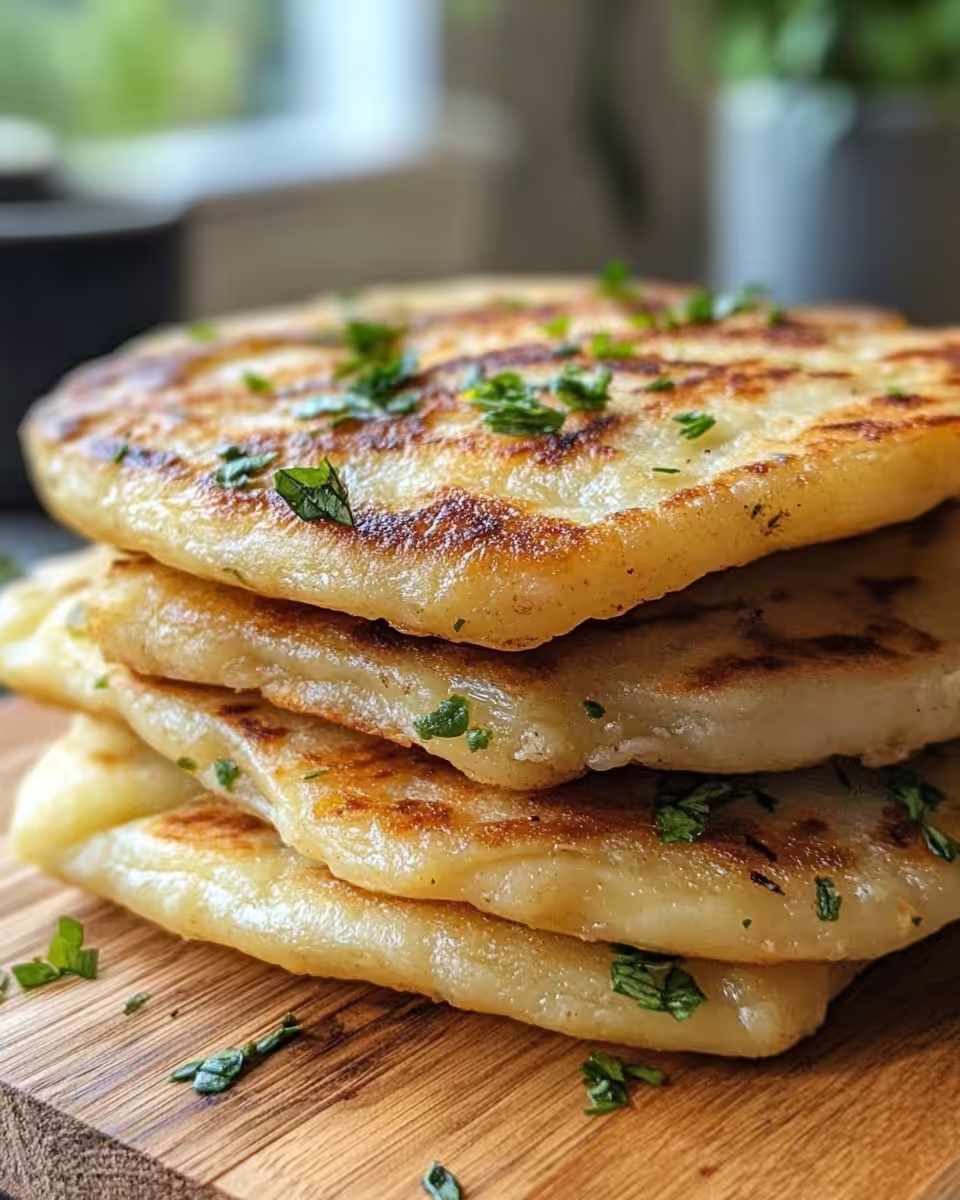
Oh, those golden brown edges catching your eye. You catch yourself drooling even before serving. It’s so dang satisfying knowing you got a bite of tradition with a faster spin using the pressure cooker. That natural release phase lets the farls settle just right, firm but soft in the middle.
The Real Reasons You Will Love This Method
- Fast pressure build gets potato farls on the table quicker than waiting for stove top simmer.
- You don’t gotta watch ’em like a hawk — once sealing ring’s locked, it’s mostly hands off.
- Steam cues tell you the cooker’s doing its job locking in moisture for soft, tender results.
- Natural release is perfect for letting farls finish cooking gently without drying out.
- Even newbies can nail the texture without fussing over tricky dough handling.
The Complete Shopping Rundown
- 2 cups (500g) mashed potatoes made from about 3 medium peeled potatoes
- 1 tablespoon butter plus extra for frying
- Pinch of salt to bring out yumminess
- ¾ cup (100g) all-purpose flour (sometimes called plain flour)
- Extra flour for dusting your work surface
- ½ teaspoon baking powder for a little lightness
- A non-stick skillet or griddle for cooking after pressure step
- Spatula to flip your farls carefully
- Measuring cups and spoons to keep ingredients right
- Mixing bowl sturdy enough for kneading dough
You wanna make sure that mashed potato is kinda cool before mixing. Hot mash can make dough sticky and tricky to handle. Otherwise, all these simple ingredients work together beautiful to get that soft, lightly chewy traditional feel.
How It All Comes Together Step by Step
First, gather your mashed potatoes in a big mixing bowl. Add that tablespoon of butter, pinch of salt, flour, and baking powder next. Get your hands in there or use a spoon to mix until soft dough forms.
Lightly flour a clean surface. You don’t want dough sticking at this point. Knead it just a bit so it’s smooth and ready for shaping.
Roll the dough out to about ¼ inch thick. You spot that it’s pliable but not too sticky, perfect for cutting. Cut it into quarters or triangles — those are your potato farls ready to shine.
Now heat your non-stick skillet or griddle over medium heat. Grease it lightly with butter. You gotta get it nice and warm so your farls sear properly without sticking.
Place your farls gently on the skillet. Cook ’em about 3 to 4 minutes on each side. This makes those edges golden brown and a little crisp, while the insides stay soft and pillowy.
Serve your farls warm, slathered with a little extra butter if you want. It’s dang good and a treat you made yourself, real quick but traditional style.
Quick Tricks That Save Your Time
- Peel and boil potatoes ahead when you got spare time. Store them mashed in fridge, ready to mix fast later.
- Use a hand masher or fork for quick mash, no fancy equipment needed.
- Keep extra flour handy for dusting so rolling and cutting doesn’t slow ya down.
These little shortcuts cut your overall cook time, but don’t skimp on love. You wanna keep that texture just right, so don’t overwork the dough either.
When You Finally Get to Eat
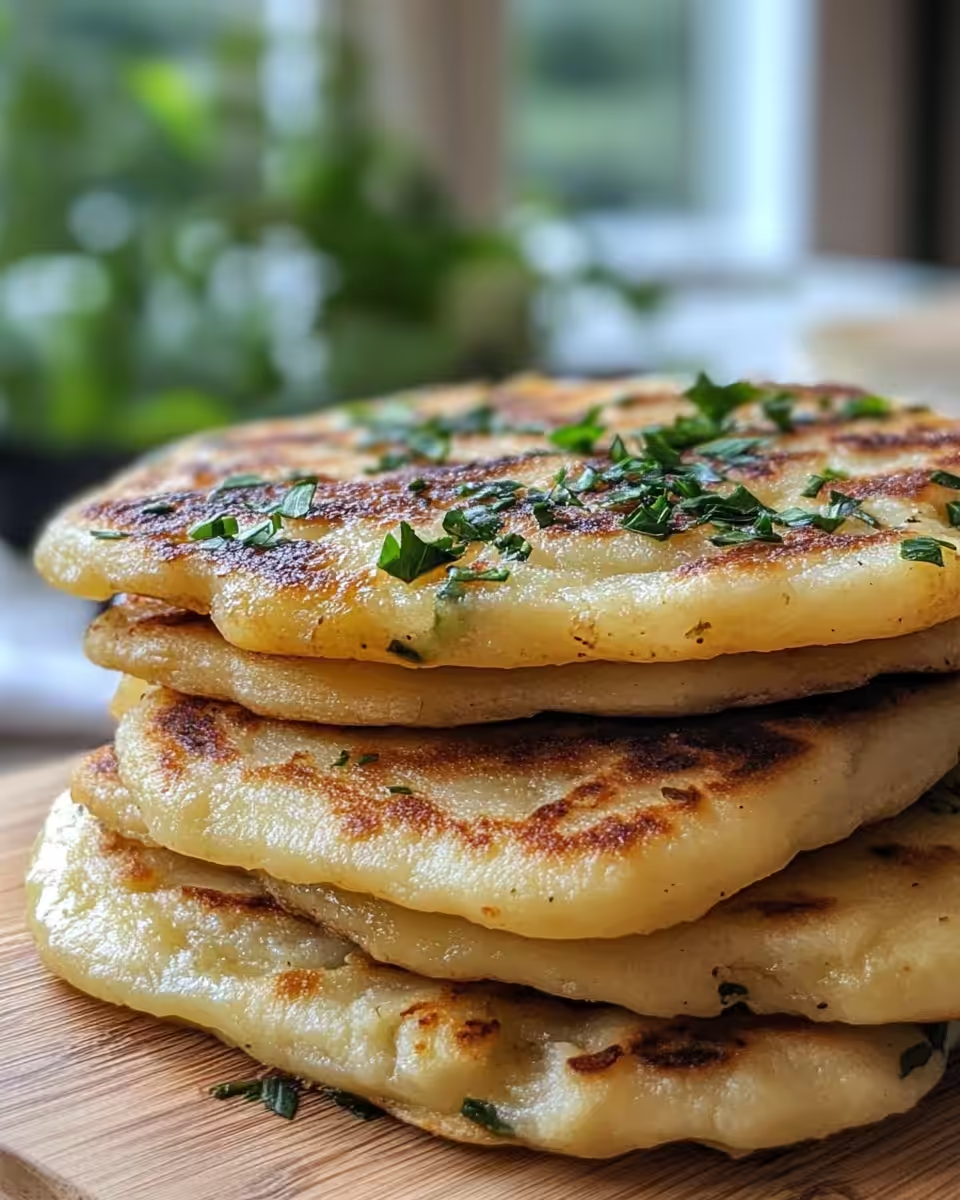
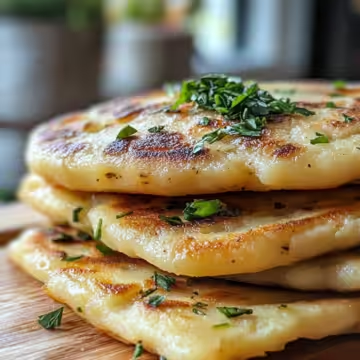
You spot the farls sitting there, golden with a buttery sheen. The smell is kinda nostalgic, makes you wanna bite right in. That crisp edge contrasts nicely with the pillowy insides.
Each bite melts softly, that buttery flavor rolling over your tongue. You catch the faint salty hint tying it all together just right.
Farls make such a cozy snack or side, perfect paired with eggs or just on their own. They warm you up kinda like a hug from an old friend.
Don’t be shy adding extra butter or jam if you wanna jazz it up. It just tastes even better, promise you.
How to Store This for Later
- Fridge: Keep cooled farls in airtight container up to 3 days. Just reheat in skillet or microwave.
- Freezer: Wrap individual farls in plastic wrap, then foil. Freeze for up to 2 months.
- Reheat: Thawed farls get best crisp in hot skillet rather than microwave, but microwave works in pinch.
- Prep ahead: You can shape farls dough and freeze before cooking. Thaw fully and cook fresh.
Storage’s pretty forgiving here. Just watch moisture so they don’t get soggy. Crisp ’em back up with quick skillet heat.
Your Most Asked Questions Answered
Q1: Can I use leftover mashed potatoes for this recipe? Sure thing! Just make sure they’re not too wet or the dough might be sticky and hard to work with.
Q2: What if I don’t have baking powder? You can skip it, but the farls might be a tad denser. They’ll still taste good though.
Q3: Can I bake farls instead of frying? You can, just cook ’em on a lined baking sheet about 350 degrees F until golden around 15-20 minutes. Not same crisp as skillet but works.
Q4: How do I know when pressure cooker is ready? Watch for steady steam cues and hear the pressure build sounds. The sealing ring will be snug.
Q5: Can I add herbs or cheese to the dough? Absolutely! Chopped parsley or grated cheese are great additions for a flavor twist.
Q6: What’s the best way to reheat farls? Skillet on medium heat with a bit of butter gets ’em crispy. Microwave is faster but maybe less tasty texture.
Traditional Irish Potato Farls in Your Pressure Cooker
Equipment
- 1 Mixing bowl sturdy for kneading
- 1 Non-stick skillet or griddle for cooking after pressure step
- 1 Spatula to flip farls
Ingredients
Main Ingredients
- 500 g Mashed potatoes from about 3 medium peeled potatoes
- 1 tablespoon Butter plus extra for frying
- Salt pinch
- 100 g All-purpose flour plus extra for dusting
- 0.5 teaspoon Baking powder for a little lightness
Instructions
Instructions
- In a mixing bowl, combine mashed potatoes, butter, salt, flour, and baking powder until soft dough forms.
- Flour a work surface, knead dough lightly, and roll out to ¼ inch thick.
- Cut dough into quarters or triangles to form farls.
- Heat non-stick skillet or griddle over medium heat and lightly grease with butter.
- Place farls in skillet and cook each side for 3–4 minutes until golden brown.
- Serve warm with extra butter if desired.

Leave a Reply